I have been asked this question several times:
“How can I define my own interrupt vector with Processor Expert?”
So I think it deserves a short tutorial, if more than one person is asking this ;-).
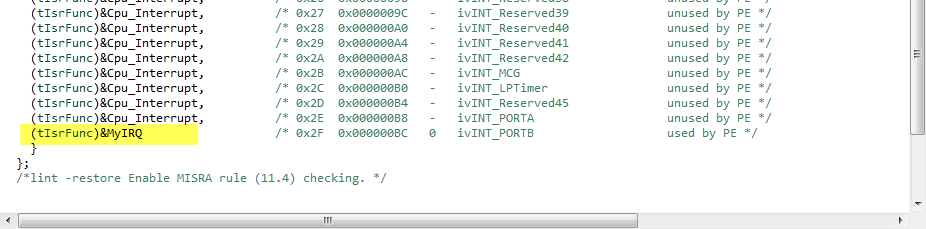
My user interrupt in the vector table

I have been asked this question several times:
“How can I define my own interrupt vector with Processor Expert?”
So I think it deserves a short tutorial, if more than one person is asking this ;-).
My user interrupt in the vector table
There has been a lot of new Freescale releases recently around FTF, and I’m trying to catch up. For me as a Processor Expert Lover, it is good news that there is now the new version 10.4 available. And it comes in different ways:

Microcontrollers Driver Suite v10.4
One question I have been asked several times here at FTF:
“How can I create an S19/Motorola S-Record with Eclipse?”
The answer depends on which Eclipse you are using. Actually it depends on which (ARM) build tools plugin you are using, as with Eclipse you have the freedom of choice.
And this is not only about S19/Binary (Flash Image), but covers ‘Extended Listing’ and ‘Print Size’:
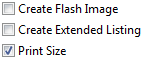
Additional Tool Options
For my embedded course at the University of Lucerne of Applied Sciences and Arts I needed more Bluetooth modules for the Zumo/Sumo robots. I run out of stock as the modules are getting popular and are used in many student projects. So I ordered a handful more from DX/DealExtreme of the same HC-06 type/part number I already ordered a while back. I expected that they will work as the modules I had ordered from DX half a year ago. Was that naïve? Probably. Because they did *not* work, and caused me to reverse engineer the modules and to apply a hardware fix to get them working….
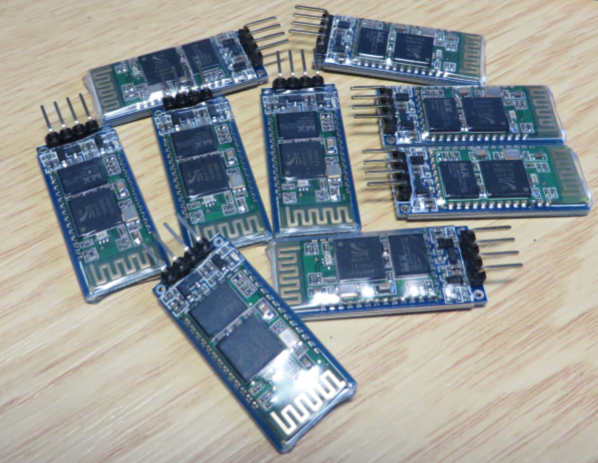
Set of JY-MCU Bluetooth Modules
Nearly all of my projects have built-in command line support: using a serial connection, I can send commands or inspect the system status. For this I have my command line Shell which works over serial-to-Bluetooth, serial-to-USB, USB CDC or with a physical serial (COM) port. But what I need on the host system is a Terminal program: I can use either an external program. There are many ones available (Tera Term, PuTTY, …) where Termite is my favorite one. But it is possible to extend Eclipse so it has its own Terminal view too :-).

Eclipse Terminal View
FreeRTOS has many memory allocation options (see Memory Management) with four ‘schemes’. One of it is the a simple wrapper over the library malloc() and free() routines. I admit, I have not used them, as usually I avoid to include such kind of libraries, as they have their own problems. Anyway, a discussion in the FreeRTOS forum raised my interest: obviously some malloc() implementation (as in the EWL library of CodeWarrior) are making a safety check against the current stack pointer.
In “IoT: FreeRTOS Down to the Micro Amps” I’m using an application with FreeRTOS to get down in micro amps low power mode. Well, nearly all or my applications are using FreeRTOS because it makes the application scalable and extensible. Still, for anyone not used to an RTOS, that might be a hard start. So here we go: how to get into the Kinetis Low Power LLS Mode *without* an RTOS.
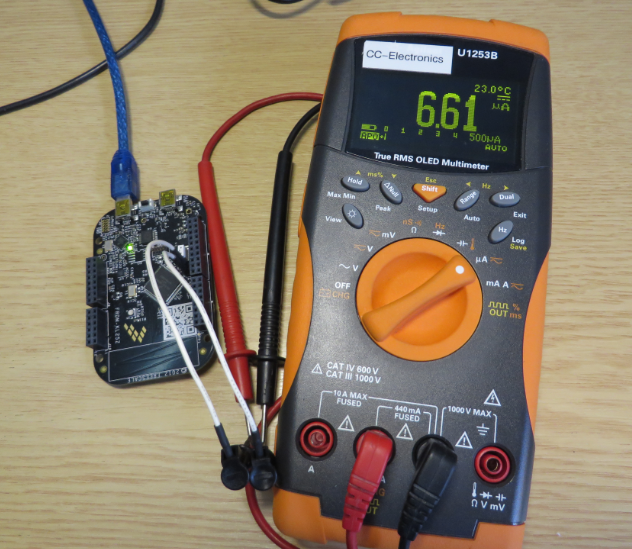
Power Measurement
The current Eclipse Kepler version comes with changes for debugging variables. I have students coming from the earlier Eclipse versions, so here are a few tips for dealing with variables in Eclipse Kepler.

Variables View in Eclipse
Using Processor Expert is an awesome tool: it generates source code for me, and I can can ‘dynamically’ tune my projects to my needs. Still, sometimes it is better or desirable to have a ‘normal’ or ‘static’ project. This is very well possible with Processor Expert (see “Sneaking from Processor Expert” or “Disable my Code Generation“): I can generate the code one time, and then use it without Processor Expert.
To make this even easier, I have added an option to the FreeRTOS Processor Expert component to generate ‘static’ code I can copy-paste to projects and tool chains which are either not supported by Processor Expert, or just for ‘static’ projects.
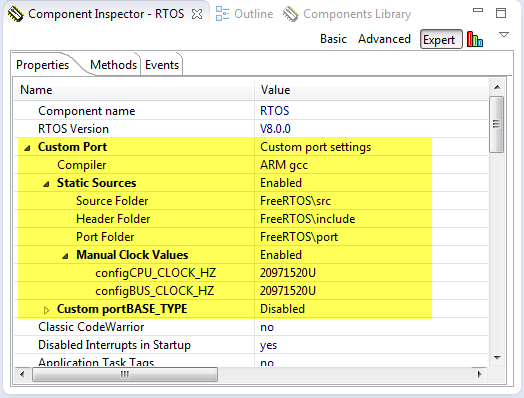
FreeRTOS Custom Port Settings
For the first generation of the INTRO Zumo robots, I have Pololu optical wheel encoders (see “Adding Quadrature Encoder to the Zumo Chassis“) which were available last year. It seems that Pololu heard my feedback, and are offering new encoders. Time to move things to the next level, using an optical encoder attached to the motor shaft:
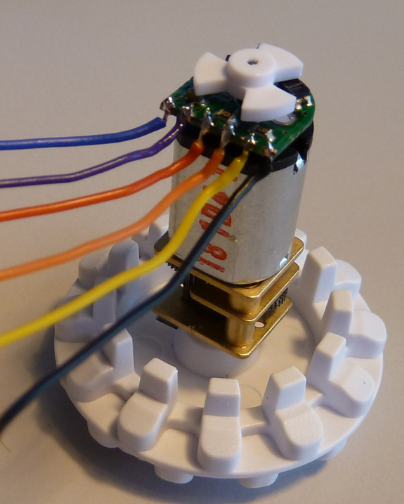
Optical Motor Shaft Encoder

