Last week I received the email notification, that NXP has released an update of the MCUXpresso IDE: the version 11.6.1. So I quickly checked it out:
Last week I received the email notification, that NXP has released an update of the MCUXpresso IDE: the version 11.6.1. So I quickly checked it out:
Tool chains like the GNU compiler collection (gcc) have a plethora of options. The probably most important ones are the ones which tell the compiler how to optimize the code. Running out of code space, or the application is not performing well? Then have a look at the compiler optimization levels!
However, which one to select can be a difficult choice. And the result might very well depend on the application and coding style too. So I’ll give you some hints and guidance with an autonomous robot application we use at the Lucerne University for research and education.

When Espressif released in 2014 their first WiFi ESP8266 transceiver, they took over at least the hobby market with their inexpensive wireless devices. Yet again, the successor ESP32 device is used in many projects. Rightfully there are many other industrial Wi-Fi solutions, but Espressif opened up the door for Wi-Fi in many low cost projects. Many projects use the ESP devices in an Arduino environment which basically means decent debugging except using printf() style which is … hmmm … better than nothing.
What is maybe not known to many ESP32 users: there *is* actually a way to use JTAG with the ESP32 devices :-). It requires some extra tools and setup, but with I have a decent Eclipse based way to debug the code. And this is what this article is about: how to use a SEGGER J-Link with Eclipse and OpenOCD for JTAG debugging the ESP32.

Robot with ESP32 and JTAG Debug Port
The new semester is approaching in a very fast way, and so is the new lecture and lab module ‘Advanced Distributed Systems’ at the Lucerne University. For that module we are going to build a new ‘Sumo’ style robot with WLAN capabilities using the ESP32 chip. It will be a new robot PCB, and below is the current robot (based on NXP K22FX512) with the WLAN module connected to it:

Zumo connected to TTGO ESP32 module
The last challenge of the robotics course of this Fall semester had to be something special: This time it was about a ‘beauty contest’ followed by a line following challenge. Motto: Merry Christmas Time!

I’m making great progress with the firmware for the new Mini Sumo Robot (see “New Concept for 2018 Mini Sumo Roboter“). The goal is a versatile and low-cost Mini Sumo robot, and the robot comes with the feature of magnetic position encoders. In a previous article I have explained how to mold custom tires for robots (see “Making Perfect Sticky DIY Sumo Robot Tires“), this article is about how to make DIY Magnetic disk encoders.

3D Printed Magnetic Encoders Disks
Sumo robot challenges are fun. One important aspect of every Sumo robot are the tires: if they are sticky enough, the robot can push out the opponent. In this article I compare different available robot hubs and tires, and how to make DIY hubs and tires.
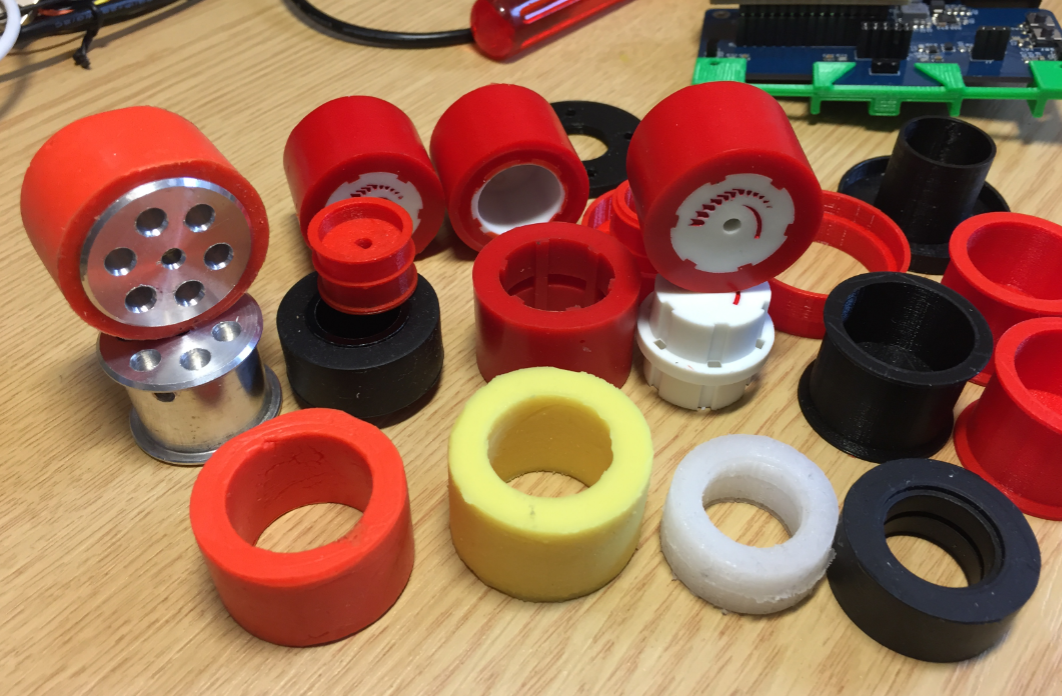
Selection of Sumo Robot Wheels and Tires
