This is a new article in my series about using Microsoft Visual Studio Code: After installation, project setup, building, debugging, setting up a kit and IntelliSense. This one is about setting up and using FreeRTOS:


This is a new article in my series about using Microsoft Visual Studio Code: After installation, project setup, building, debugging, setting up a kit and IntelliSense. This one is about setting up and using FreeRTOS:
The previous parts were about installation, project setup, building, debugging and setting up a kit. This one is about setting up IntelliSense for Cross Development in Visual Studio Code which allows for browsing symbols or code completion:

One major concern of embedded system development is performance. Microcontroller have more MHz than in the past, but embedded applications are all about timing and real-time aspects.

The challenge is: how to get data off the target in realtime? SWO can help with this….
Continue readingIf a Cortex microcontroller is unresponsive to a debug connection for various reasons, then this trick might help to recover that device for you. All you need is a debug probe from PEMICRO and a utility.

The previous parts were about installation, project setup, building and debugging. This one is about defining the ‘tool kit’ so I can make use more of the CMake infrastructure in Visual Studio Code:

The previous parts were about installation, project setup and building. This one is about debugging an ARM Cortex-M Microcontroller with Visual Studio Code:
This is the third part in a series to get up and running using the Microsoft Visual Studio Code for embedded development on ARM Cortex-M. So far we have installed the needed tools, created a project and are able to build it from the command line. Now it is about how execute directly scripts or the build from the IDE.

This is the second part of series or articles how to use the Microsoft Visual Studio Code for embedded development on ARM Cortex-M. In this part I’m going to show how to create and build a project using CMake running Make or Ninja as build system.

I’m in the middle of the university exam season: means writing exams and do grading. The same time the new semester is approaching too and I need to prepare the new course material. For the classes using NXP parts I’m using the Eclipse based MCUXpresso IDE, and I just received the announcement that a new version V11.3.0 is available: time to check out what is new.
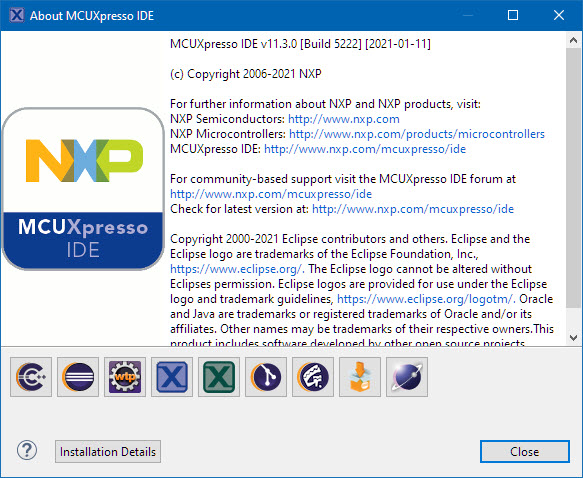
MCUXpresso IDE v11.3.0 (Build 5222)
The MCU-Link is a $10 CMSIS-DAP capable debug probe which works out-of-the box with the MCUXpresso Eclipse based IDE. This is great for development, but how can I programming with the push of a button or a script? The answer is no: there is an easy way to use the debug probe outside Eclipse from a shell script, and you can use that MCU-Link probe to do the job. This is especially useful as with the example below where I have to program 60 boards this week-end :-).

Batch Programming Boards with MCU-Link
