
I’m in the middle of the university exam season: means writing exams and do grading. The same time the new semester is approaching too and I need to prepare the new course material. For the classes using NXP parts I’m using the Eclipse based MCUXpresso IDE, and I just received the announcement that a new version V11.3.0 is available: time to check out what is new.
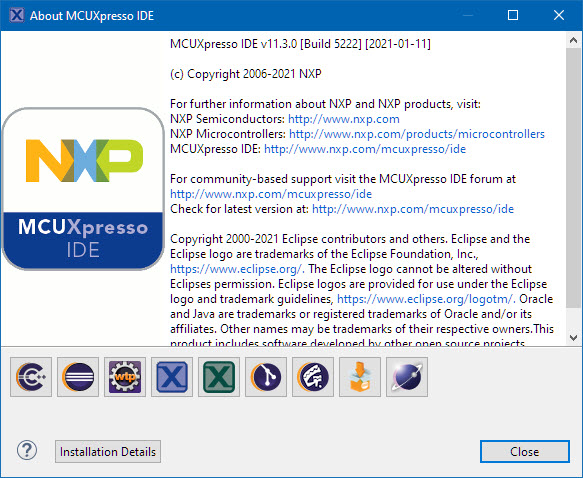
MCUXpresso IDE v11.3.0 (Build 5222)
The MCUXpresso IDE is provided for free by NXP and combined with the MCUXpresso SDK it supports the i.MX RT, LPC and Kinetis devices, from Cortex-M0+ up to M7.
From the release notes there are a several things which definitely are interesting beside of the continued maintenance and bug fixes or new device support:
- Upgraded Eclipse platform (platform 4.16.0, CDT 9.11.1) with OpenJDK8
- Upgraded build tools (GCC9-2020-q2-update)
- Upgraded P&E and Segger support
- Updated Config Tools to v9
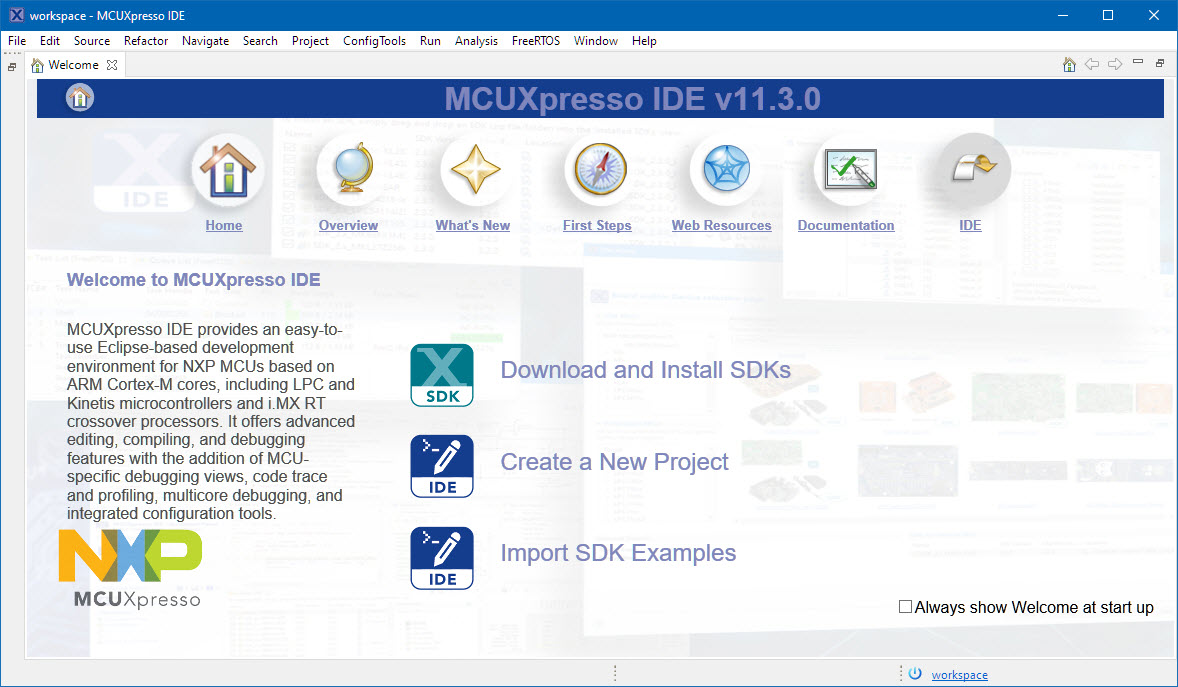
Welcome Screen
Besides of that regular upgrade there is:
- Support for the new MCU-Link debug probe (see “New MCU-Link Debug Probe from NXP“). This had been added in the previous release, but now is ‘official’ with the probes available.
- Simplified usage of GNU coverage (gcov) and profiling (gprof)
- Enhanced SWO views
- New Power & Energy Measurement
- Improved ‘Dark Theme’ support
Let’s have a closer look into some items….
Dark Theme
There are several tweaks and enhancement for the dark theme making manual tweaks mostly obsolete. And with the new Eclipse platform the scroll bars are nice and dark too.
Dark Theme
SWO
The views for the SWO have been updated.
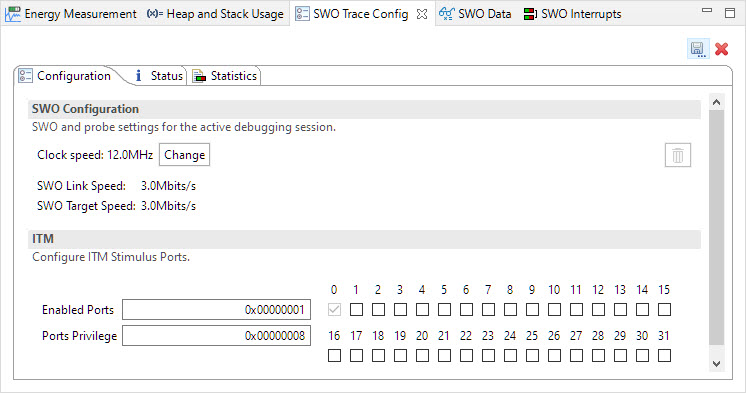
SWO Configuration
The status tab gives an overview:
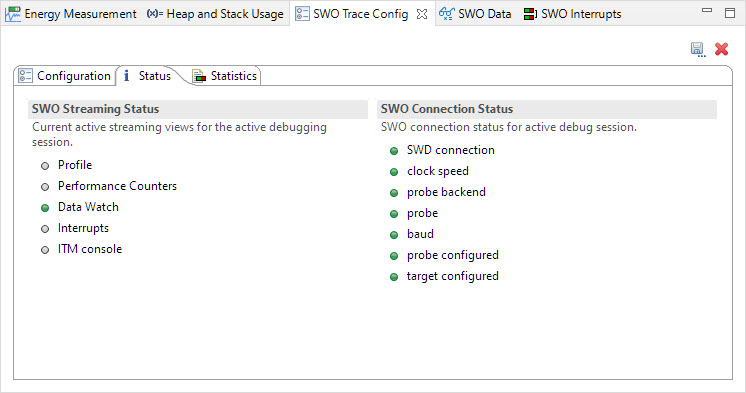
SWO Status Tab
The configuration view has a statistic tabs added:

SWO Statistics
With the SWO data collection I can for example see the interrupt activity:
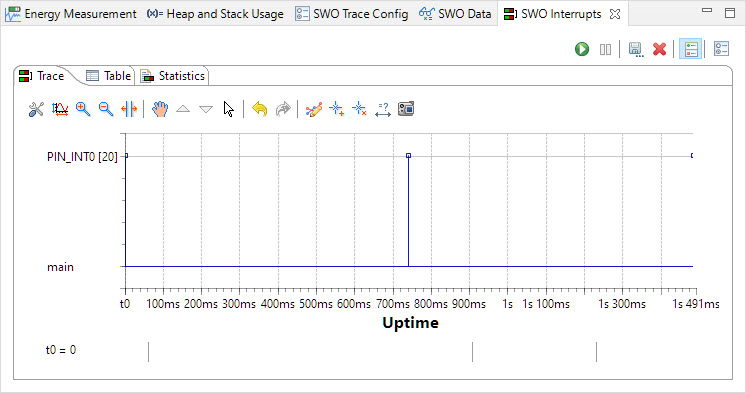
SWO Interrupts
The other very useful feature is to profile the running application:

SWO Profile
Power & Energy Measurement
Several of the NXP LPCXpresso boards include a power measurement circuit, for example the LPCXpresso54608 board I do have:
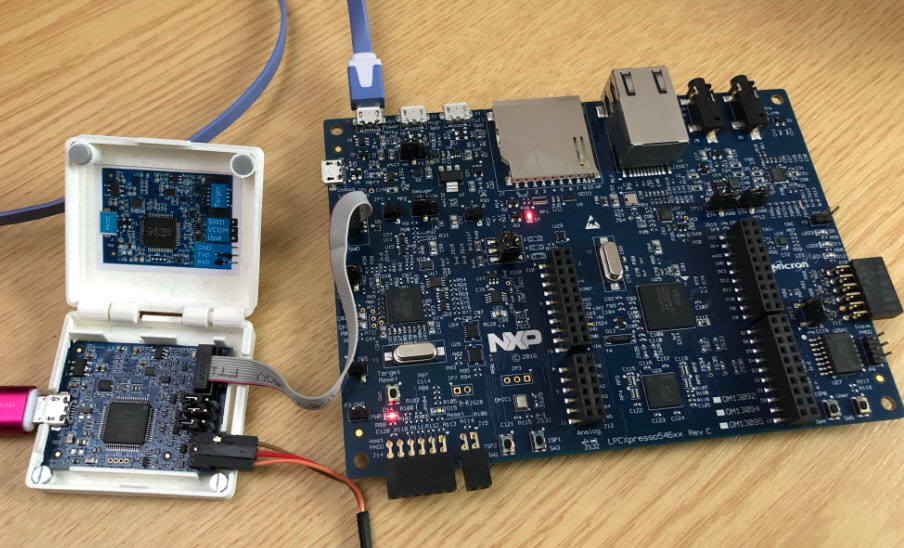
Using MCU-Link with LPCXpresso54608 Board
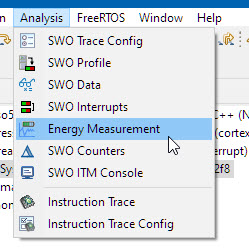
The Energy Measurement view is accessible through a menu:
Energy Measurement menu
The feature works with LinkServer connections, so for example using the LPCLink2 (e.g. on-board) or MCU-Link (external) debug probe.
There is configuration page in the view to configure the measurement. It can measure the target voltage, the target current and a (Arduino board) shield current on my board, with different sample rates and shunt resistor values:
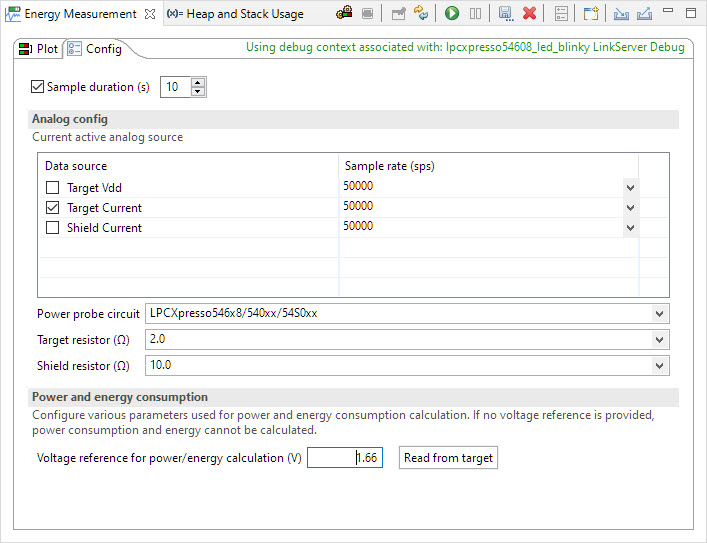
Energy Measurement Configuration
Collected data is then nicely shown in the view. I can add my custom annotation to the data:
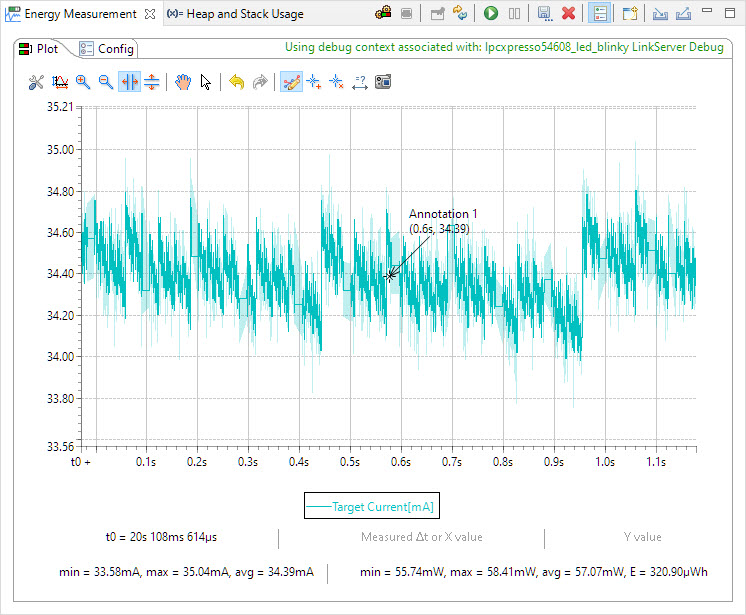
Power Measurement Data
The feature needs a) a LinkServer debug probe and b) the necessary measurement circuit. The LPCXpresso54608 board uses two 1 Ohm shunts with the Maxim MAX9634 and TI ADC122S021:
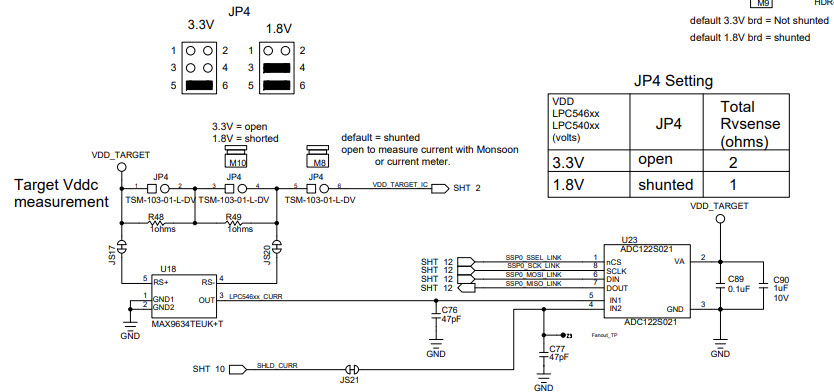
Power Measurement Circuit
Checking a few other boards from the NXP web page and from the release notes, it looks like the ones below could be used out of the box:
- LPCXpresso 54628
- LPCXpresso 54608
- LPCXpresso 54114
- LPCXpresso 54102
- LPCXpresso 43S67
- LPCXpresso 18S37
- LPCXpresso51U68
There might be more already available, and I’m sure there will be more in the future.
Summary
That new release is very welcome, right on time for the new semester preparation. I have run my lab projects and examples and they just imported and run fine. While I’m still moving between ‘light’ and ‘dark’ themes depending on the time of the day, I think most students will appreciate the better Dark Theme support as I see them using the ‘dark’ one most of the time. The power/energy measurement is a nice addition too which I potentially could include into my labs. The GNU gprof/gcov is now easier too, but for this I probably come up with a quick tutorial soon.
Happy MCUXpressing 🙂
Links
- Announcement: MCUXpresso IDE v11.3.0 Now Available – NXP Community
- IDE download link: https://www.nxp.com/mcuxpresso/ide/download
- previous version: MCUXpresso IDE 10.2.1

In section 4.2.1 of the 11.3 User Guide it tells us to install SDKs via the ‘Welcome Screen’.
I found that screen annoying long ago and turned it off. Now there doesn’t seem to be anyway to turn it on, to install SDKs via this method. The setting that controlled this Welcome Screen has either been moved or removed from where it lived in the past.
Why can’t we just install SDKs from the “Installed SDKs” perspective that is in the default view, rather than finding them in some irrelevant place like a Welcome Screen?
I tried leaving a similar message on the support form and it vanished as soon as I posted it.
LikeLike
Hi Bob,
oh, I just responded on the NXP forum (your message was there). You can get the Welcome view back with the menu Window > Welcome (https://mcuoneclipse.com/2017/05/13/customizing-welcome-view-and-splash-screen-in-eclipse-neon/). Indeed, that custom option is gone or moved somewhere (did not find it).
There is another view (Window > show view and then search for SDK) which gives a part selector and you can download the SDK as update package. As mentioned in the forum, I still prefer the ‘classic’ approach to download the zip and install it. Maybe just because I always did it that way. But more that I can have full control over it?
I hope this helps,
Erich
LikeLike
Hi Bob,
Sorry your community post got deleted (not sure why/how that happened)… you can get to the SDK installer screen from the Installed SDK tab. The “X” (MCUXpresso logo styled) icon on the right will take you to the package selection/installed screen.
I was going to post a picture here but it seems the comments dont support that.
Regards,
Brendon
NXP Semiconductors
LikeLike
Pingback: NXP published MCUXpresso SDK 2.9.0 on GitHub | MCU on Eclipse
Hi.
I want to program or erase a microcontroller from MCUXpresso, not run a Debug session, just program or erase the chip (Kinetis or i.Mx RT).
I see that in the left column are the three programmers that I have, NXP Link Server board, PEMicro and SEGGER Jlink, and in each of them there are four options for Debug, Attach to a running target, Program Flash and Erase Flash.
I have tried all four options on each of the three programmers, but a Debug session always runs, I can’t program or erase the chip. I also tried running the second option “attach to a running target” and then trying to run Program or Erase, but it doesn’t work either.
For my final product I want to program the microcontrollers with read protection by modifying the Flash_Config in the Startup file and I would also like to test that once the Read protection and not allow Erase bits are enabled, the chip can no longer be read or erased .
Using the SEGGER Jlink programmer with the Jflash software I can program, read and erase, but I would like to do it from MCUXpresso and with any of the three programmers that I use.
Regards
LikeLike
Indeed, in 11.3.0 for example ‘program’ action does launch the debugger too. I think this is bug and works fine in 10.2.1: as a workaround you could use that previous version
LikeLike
Pingback: Tutorial: GNU Coverage with MCUXpresso IDE | MCU on Eclipse
Pingback: MCUXpresso IDE: S-Record, Intel Hex and Binary Files | MCU on Eclipse
Pingback: New MCUXpresso IDE v11.3.1 | MCU on Eclipse
Pingback: Using FatFS and MinINI with the NXP LPC55S16 EVK | MCU on Eclipse