For a research project and demonstrator at HSLU university I have to measure voltage a DC voltage and current. For this I’m planning to use the Texas Instrument Texas Instruments INA260, so I had to quickly develop a software driver for it.
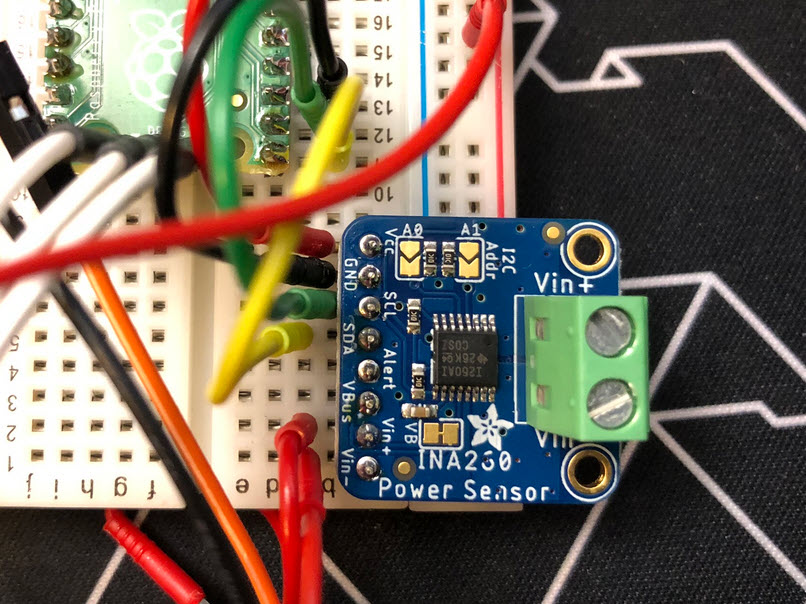

For a research project and demonstrator at HSLU university I have to measure voltage a DC voltage and current. For this I’m planning to use the Texas Instrument Texas Instruments INA260, so I had to quickly develop a software driver for it.
There are many ways to organize projects and workflows, and I would say Eclipse is flexible enough for everything. As I have been asked recently how I organize my projects, I’ll share it here.
This is the second part of series or articles how to use the Microsoft Visual Studio Code for embedded development on ARM Cortex-M. In this part I’m going to show how to create and build a project using CMake running Make or Ninja as build system.

This article is part of a ‘mini series’ about hidden gems, tips and tricks around Eclipse.
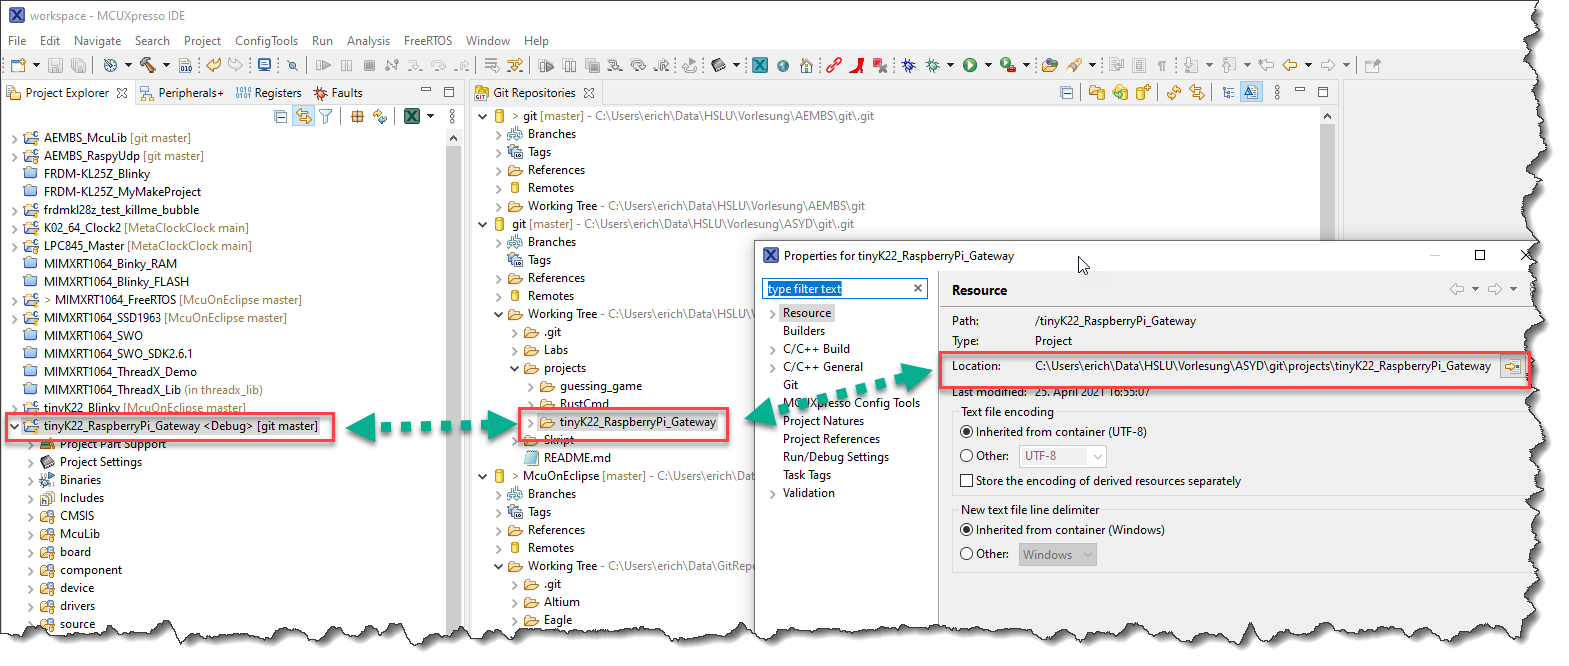
The topic of this one is how to import existing projects into a workspace.

Drag&Drop Import
Some silicon vendors provide their Eclipse example and SDK projects using linked files and folders. For example a bootloader demo application is provided in the context of an SDK or library. That’s fine until the time I want to transform such an example into a real project or if I want to have it without the hundreds of files for all the other devices I don’t need or use. I cannot take the project and put it into a version control system as the linked files won’t be in my VCS. I cannot move the project to another place as the links are pointing to many places. What I need is a ‘standalone’ project: a project which has all the needed files in it and is self-containing.

Eclipse Project with Linked Files and virtual groups
