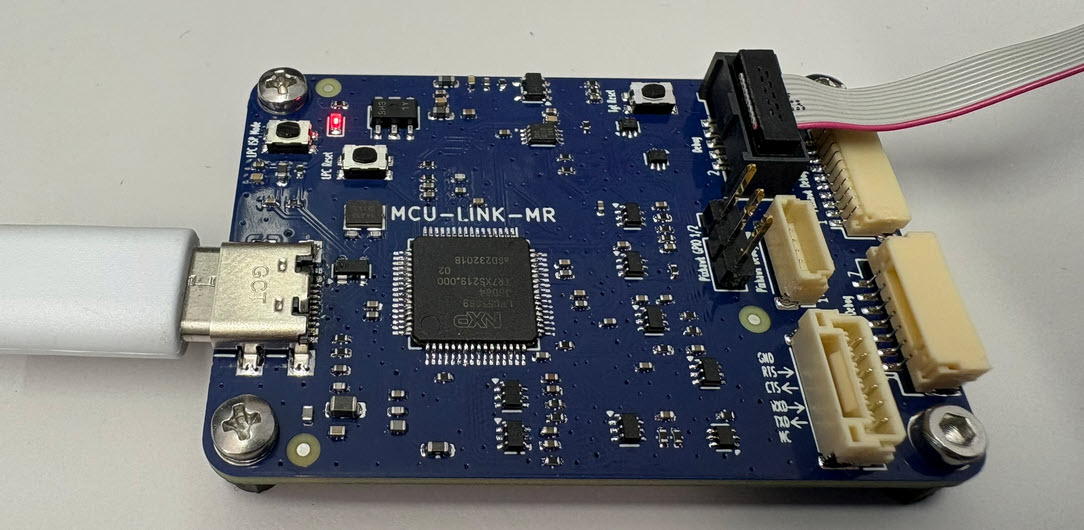
The MCU-Link-MR is a CMSIS-DAP debug probe for ARM Cortex-M devices with extra features for mobile robot and drone debugging. The project is open source and available on GitHub with KiCAD files and BOM.
The MCU-Link-MR from NXP is a CMSIS-DAP debug probe. It includes dedicated connection headers found on mobile robotic systems. These systems include the Pixhawk/PX4 drone and robotics hardware.
The GNU Coverage (gcov) is a source code analysis tool, and is a standard utility in the GNU gcc suite. It works great in a hosted environment (e.g. Linux or Windows), where you have plenty of resources and a file system. But the gcov tools is relevant and usable for restricted embedded systems too. I have used it for years with the help of debug probes and file I/O semihosting. But semihosting does not come for free, depends on a library with support for constructors and destructors, plus relies on file I/O.
Fortunately, there is a way to use gcov without debugger, semihosting, file I/O and special system initialization: using a freestanding environment:
gcov in freestanding environment with embedded target
This article explains how to collect coverage information using a data stream for example over UART or USB-CDC. Key benefits are less code side, no need for a debugger or on-target file system, improved performance, better automation and flexible data collection.
A new eclipse-based NXP MCUXpresso IDE v11.10 is available With this new release, it includes an even easier firmware update mechanism for the MCU-Link (LinkServer) debug probes.
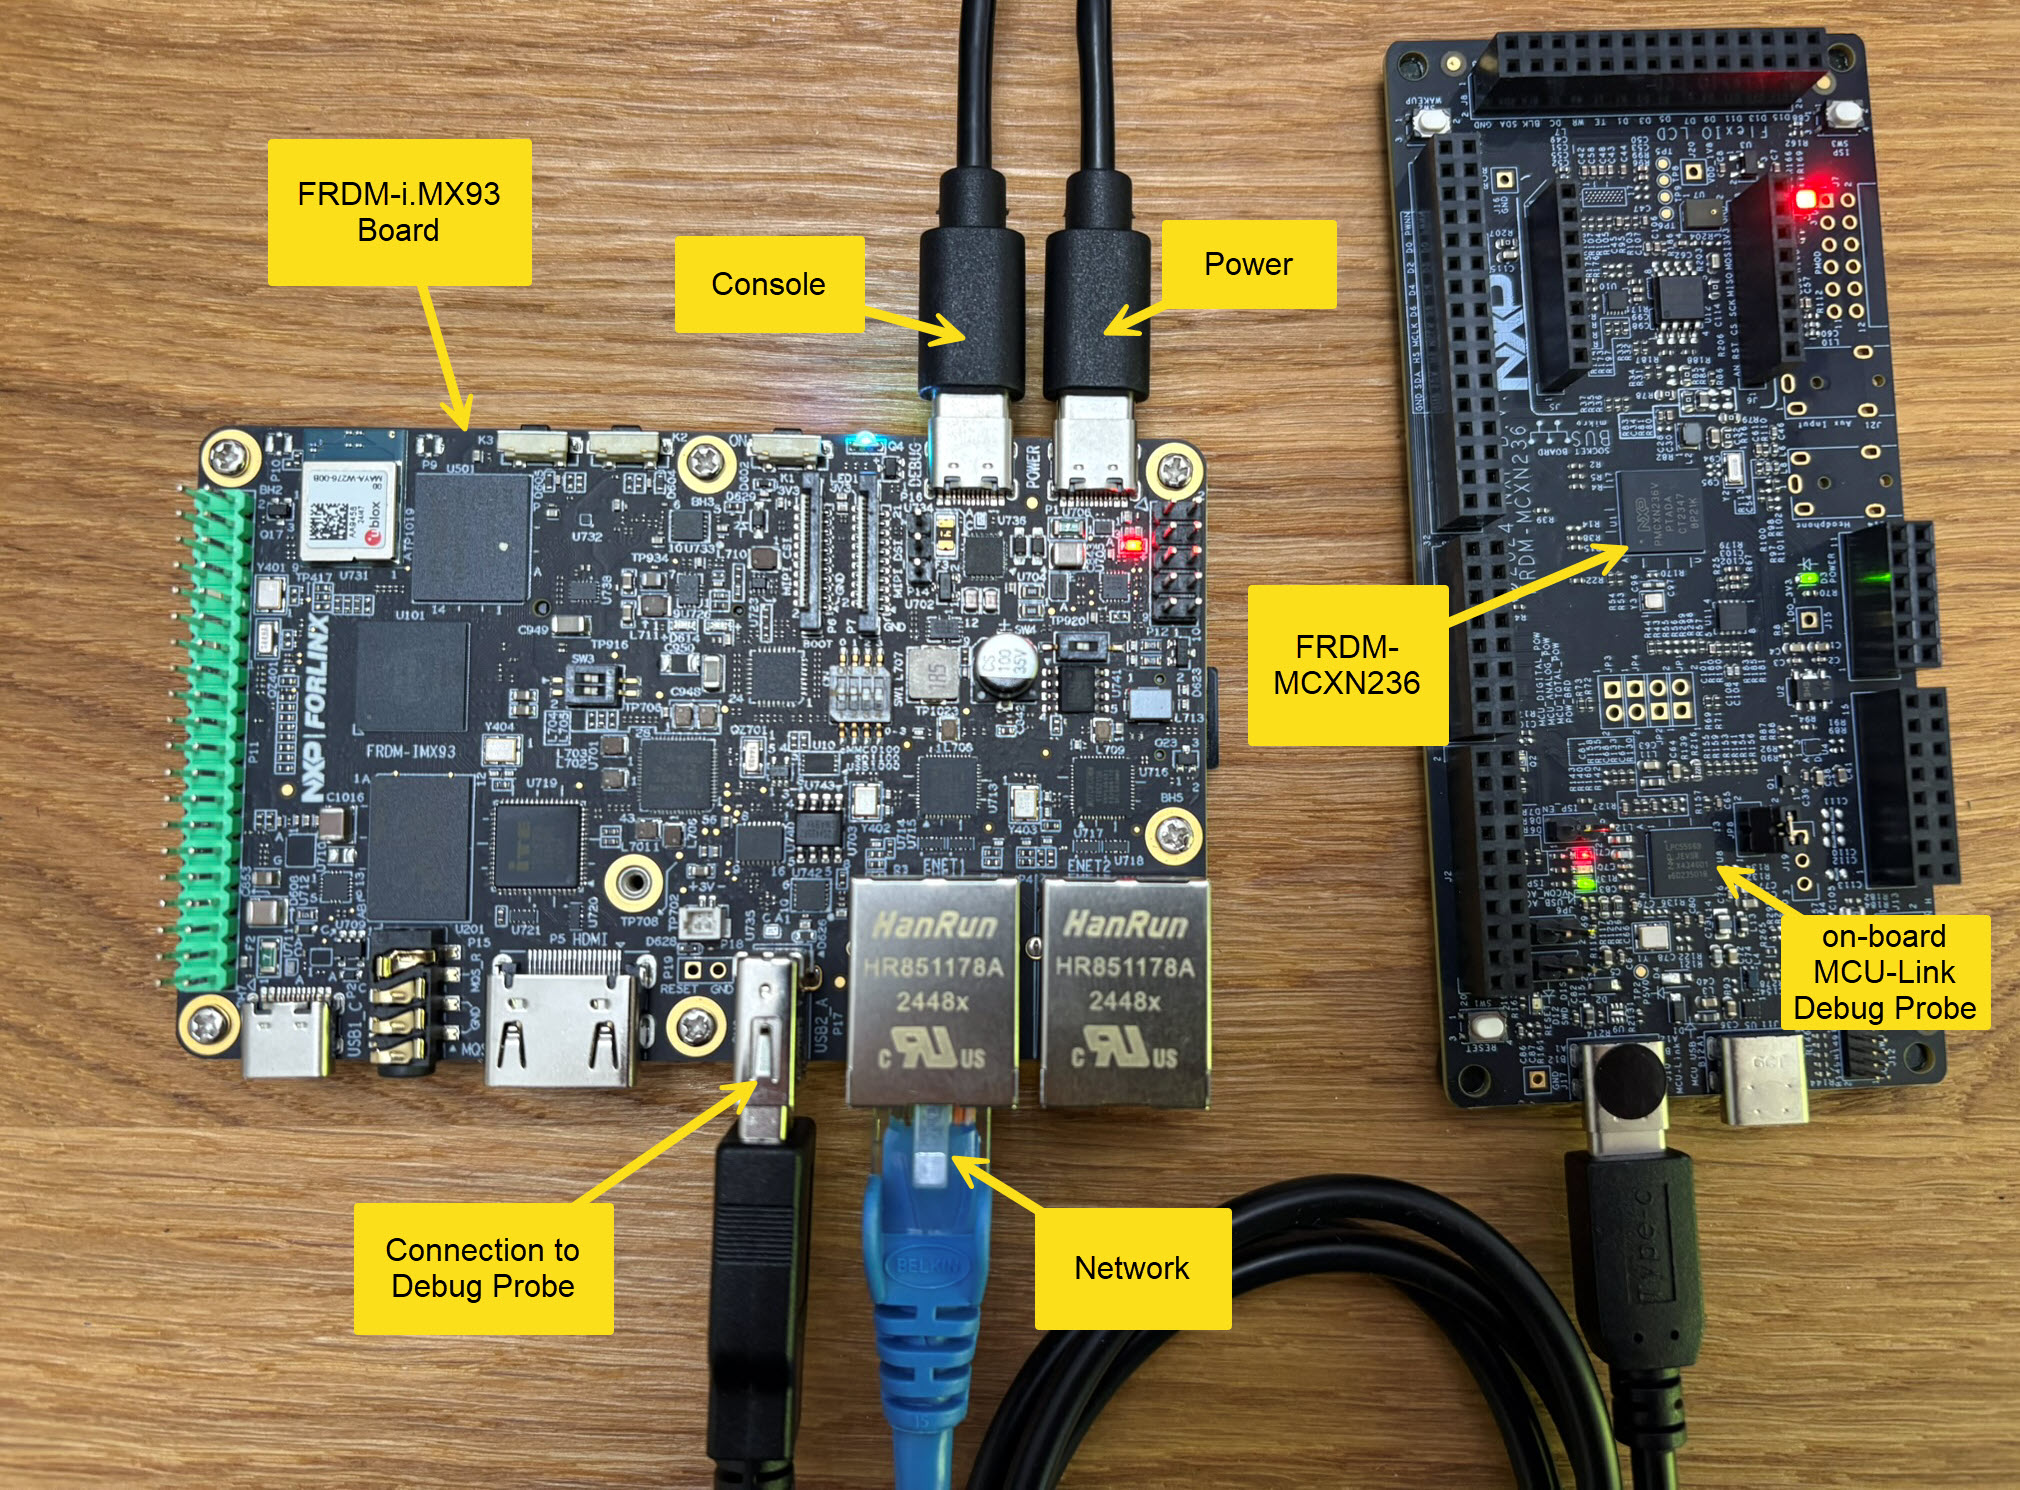
The MCU-Link debug probes are versatile and very useful debug probes from NXP. This article describes how to update the firmware on it, both the ‘traditional’ way with using the ISP jumper, and the new way using a command line script without the need to use a jumper.
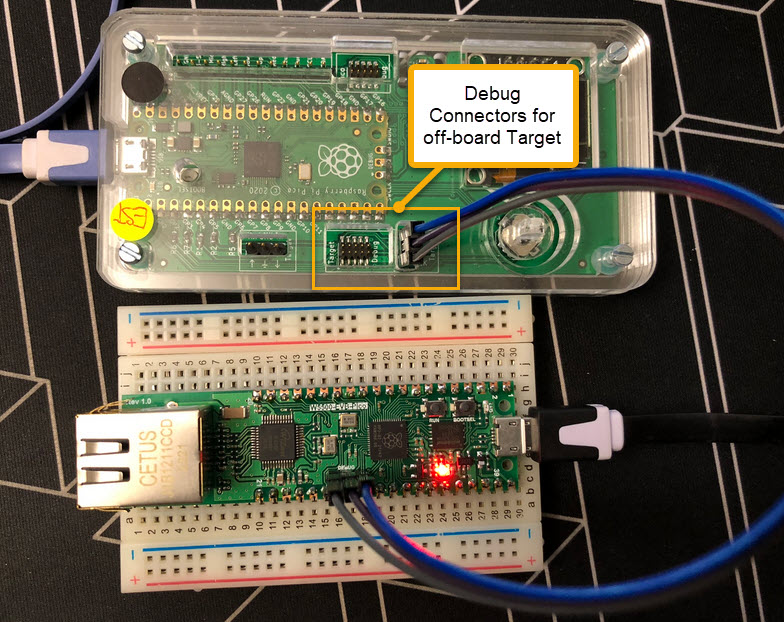
Who needs a debug probe, if you have printf()? If doing serious development, you most likely want a hardware debug probe. We at the HSLU IET use different hardware, boards and kits, and for many of the classroom equipment it is very useful to have the debug probe embedded on the target board: less cables, easier to use. For this we have developed a new Open Source Hardware (OSHW) debug probe in KiCad which can used in different ways: as external debug probe, integrated and soldered on top of the target board, or fully integrated and embedded into a custom design.
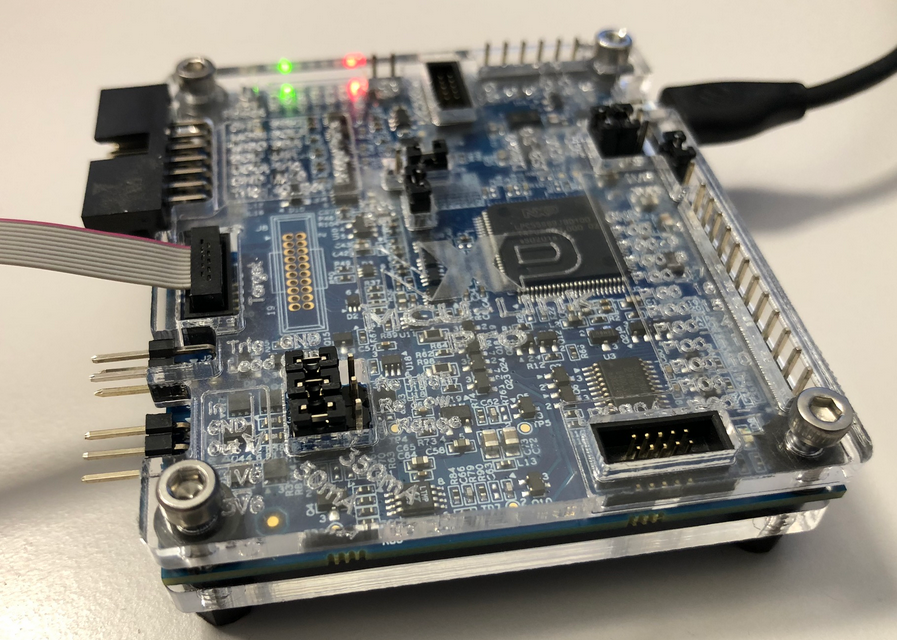
But I did not had enough time to replicate this for a full set of classroom hardware. The original card boxes from NXP showed already after one semester severe wear, so I have to setup something more robust: a box to store all the cables, and an enclosure to protect the PCB, for 40 units.
3D printing would take to much time, so I ended up with buying storage boxes and creating an laser-cut acrylic (PMMA) enclosure for the debug probe itself: