From my previous MetaClockClock project, I still had some hardware available. So I decided to build my largest build so far: to clocks with 78 clocks each.
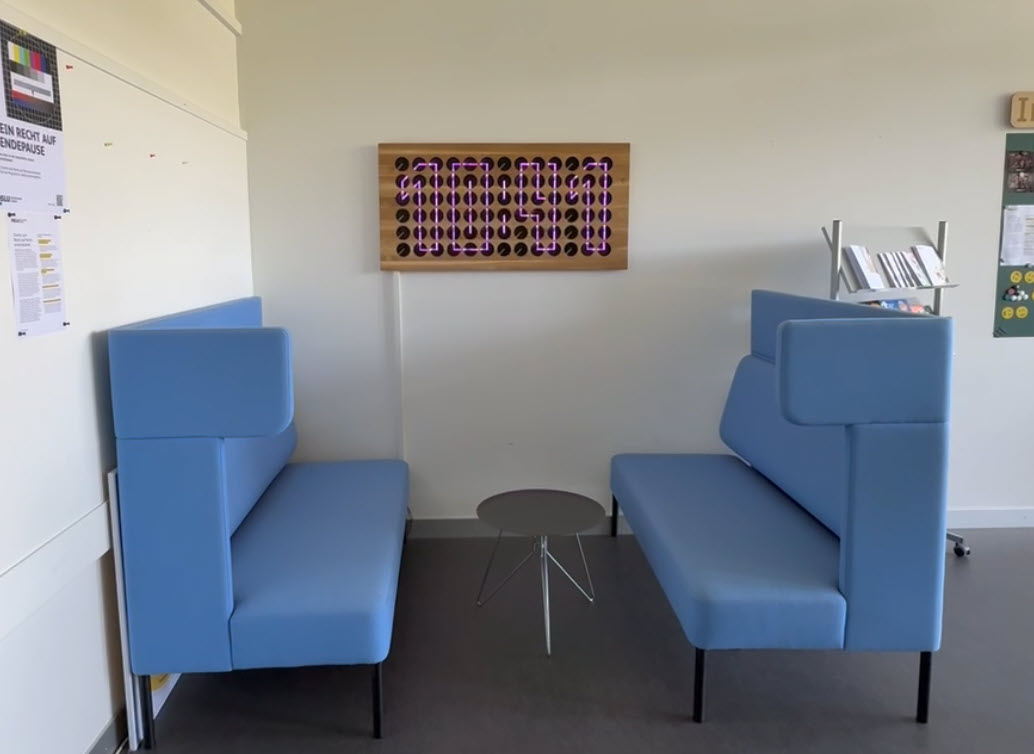

From my previous MetaClockClock project, I still had some hardware available. So I decided to build my largest build so far: to clocks with 78 clocks each.
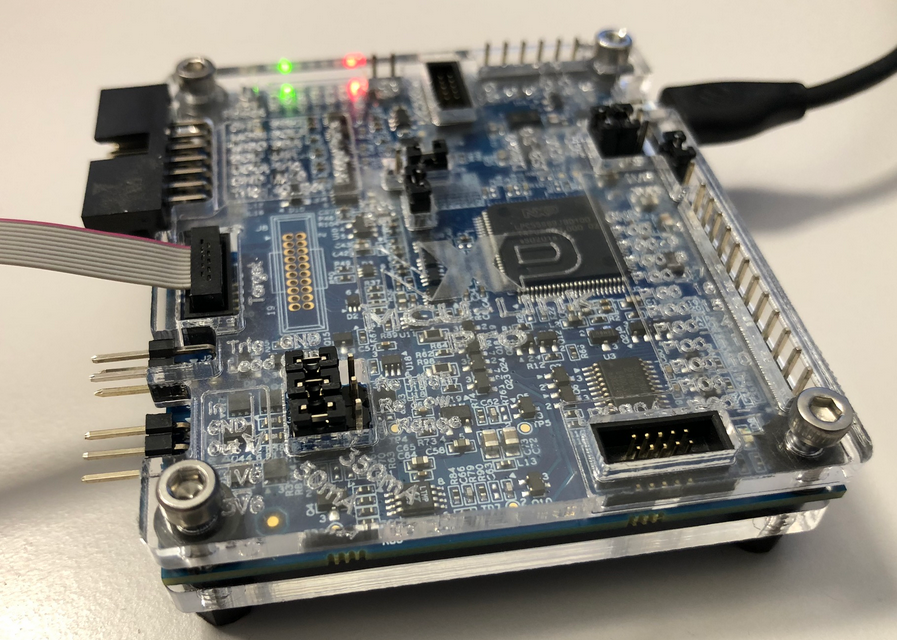
The new v0.5 MCU-Link-MR PCB (see MCU-Link-MR v0.5: Enhanced Debug Probe for ARM Cortex-M) comes with an extra pin header for logic analyzer signals. Because of this I have updated the enclosure for it:
In case you are looking for an unusual business card, company badge or event badge holder, then this article is for you: A DIY RFID badge and business card with bling-bling addressable RGB LEDs to impress your customer, clients, friends at work or at a conference, packed with electronics. Plus it includes 10 original tools from Victorinox, the manufacturer of the Swiss Army Knife.

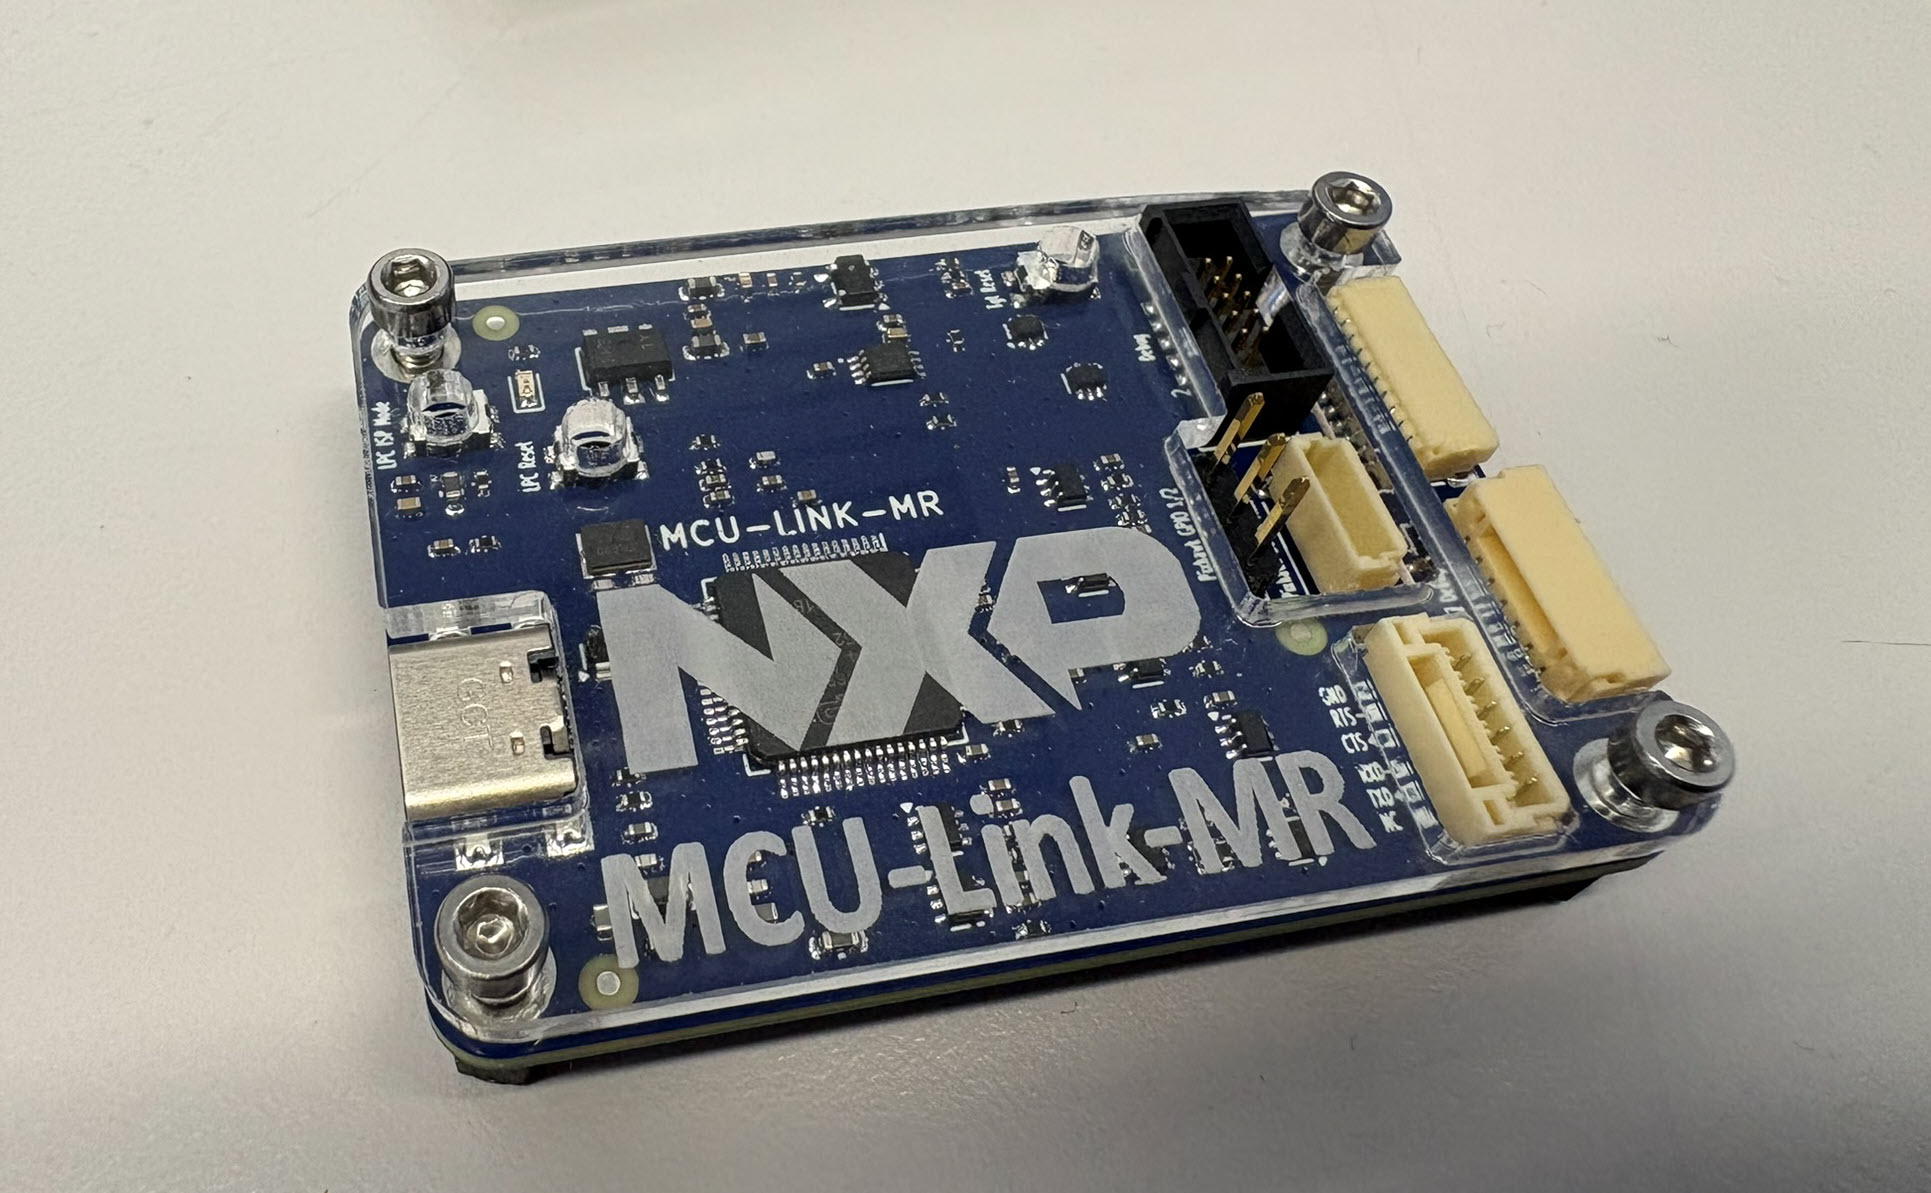
This week I have received the new PCBs for the MCU-Link MR for drones and robots and have populated the parts on the PCB, and it works fine as UART bridge and debug probe for the PixHawk i.MX RT:

Need to debug your robot or drone? In a HSLU university research project I’m using a Pixhawk and PX4 based drone hardware. Pixhawk and PX4 is an open standard for drone hardware and firmware and runs with NuttX RTOS. It is mainly used for drones, but is very capable for any other kind of mobile robots.
With the Pixhawk 6x-RT there is a powerful flight controller, using the NXP i.MX RT1176 dual-core processor. While this and other controller hardware do offer a hardware debug probe, it is not a simple task as there are different pin-outs and connectors, making debugging a mess with different cables and adapters. To simplify this, I have now a unified debug CMSIS-DAP debug probe using the NXP LPC55S69 as processor, with all the different headers and UART adapters included: the MCU-Link-MR (Mobule Robots) debug probe.

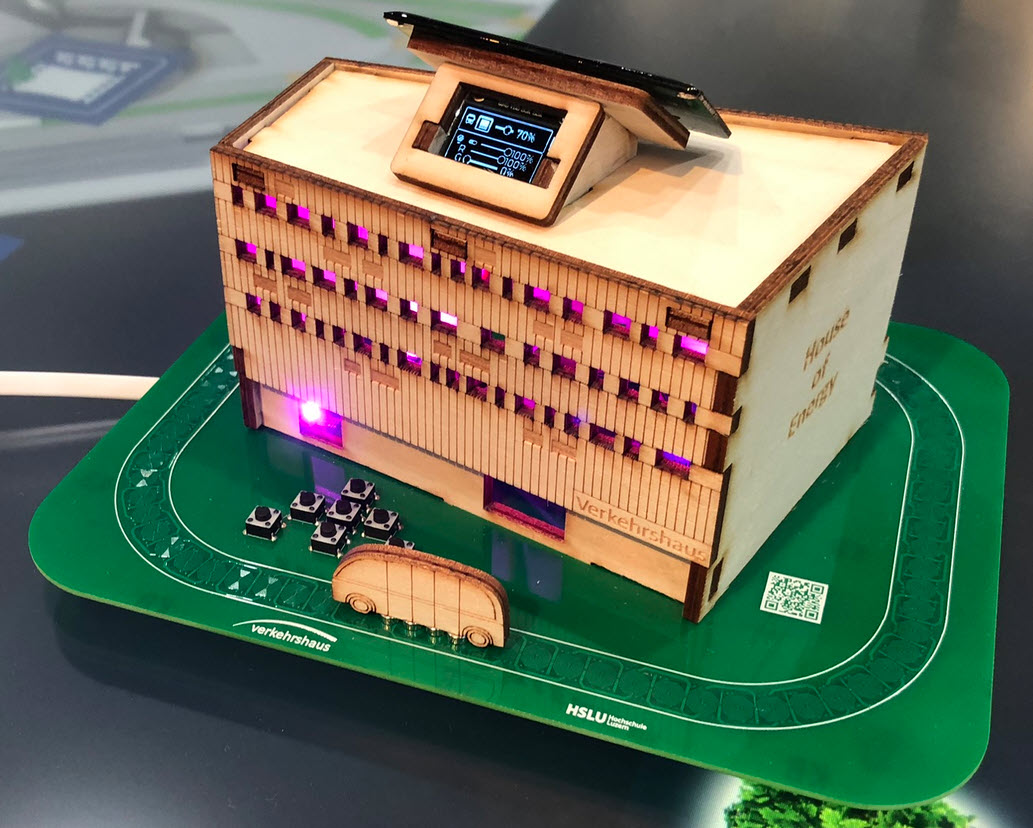
The ‘Verkehrshaus der Schweiz‘, the ‘Swiss Museum of Transport’ is Switzerland’s most popular museum.
In April 2023, it opened up a new building and the ‘Experience Energy!’ exhibition. For the opening event we created a unique construction kit to explore energy: from harvesting to storing and up to distributing and using energy.
Clock projects are cool. LED projects are cool too. And if it moves, the better. So why not building a moving pixel LED mechatronics clock? A matrix with addressable RGB LEDs, each can change color and is moved by a tiny stepper motor, to let pixels stand out?
Solar panels and electrical vehicles become more and more common in Switzerland. Ten years ago I installed solar panels. To use the available solar energy, the electrical vehicle charging box has been augmented with an open source charge controller. The controller monitors the building energy usage and adjusts the current using the Modbus connection to the charger.

With “Adding RGBW Wings and Enclosure to a Debug Probe” I have a really shiny enclosure for the MCU-Link Pro Enclosure.
But I did not had enough time to replicate this for a full set of classroom hardware. The original card boxes from NXP showed already after one semester severe wear, so I have to setup something more robust: a box to store all the cables, and an enclosure to protect the PCB, for 40 units.
3D printing would take to much time, so I ended up with buying storage boxes and creating an laser-cut acrylic (PMMA) enclosure for the debug probe itself:
The MCU-Link debug probe comes without an enclosure. To protect the hardware against ESD issues, I had created a 3D printed enclosure for it. That one worked fine, but takes some time to print it. If you have to build many enclosures for a full classroom setup, then a laser cutter is much faster. And to create some variations, I have decided to cut it with different materials and colors. To be environment friendly, extra glue is needed, and with recycled PMMA, different colors are possible too.

