If you are a regular reader of my articles, you probably know that I’m using FreeRTOS in most of my applications, for obvious reasons. But clearly this is not the only RTOS out there. After Microsoft had acquired Express Logic back in April 2019 things kept quite for a while. To me the crown jewel of Express Logic is the ThreadX RTOS. But recently Microsoft is pushing more and more the ‘Azure Sphere’ and trying to monetize the ‘IoT’ (I apologize for mentioning that overused acronym) application space and providing it now free for devices from selected partners which includes NXP now.
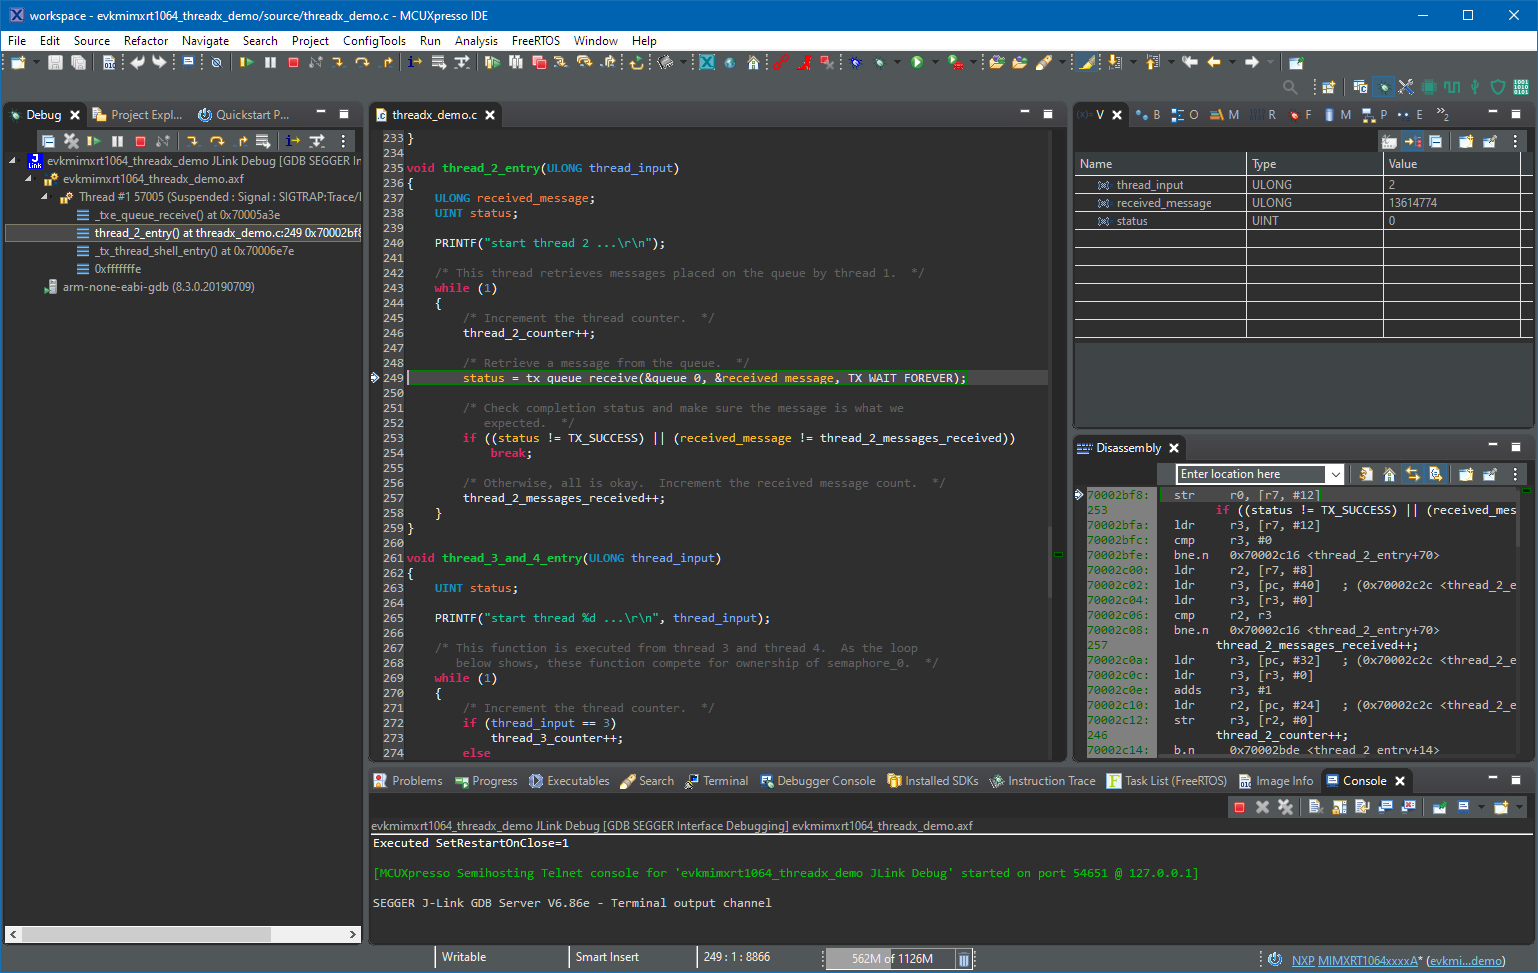
Category Archives: MCUXpresso SDK
Debugging Bootloader and Application with one Debug Session
If having a boot loader running on a micro-controller, it is very useful if both the boot loader and the loaded application can be debugged together:
Tweaking MCUXpresso IDE Black Theme
‘Dark’ or ‘Black’ themes are on vogue: some love it, some do not care. The good thing is that we all have a choice. Things are getting improved on the host OS (Windows/Linux) side, but the challenge is still on the application side, but things are getting better. This is true for the Eclipse based IDEs too, with the NXP MCUXpresso IDE V11.2.1 just recently released: it comes with improved Dark Theme support:
MCUXpresso IDE V11.2.1
I have started the semester and labs using the MCUXpresso IDE V11.2.0 which has been available from July this year. The past week I received the notification that the update V11.2.1 is available: time to check it out….
FreeRTOS V10.4.1 with SEGGER SystemView V3.12
Amazon has released in the past week the FreeRTOS version V10.4.0. Time to upgrade, actually the most recent version 10.4.1! The same time the SEGGER SystemView V3.12 was released back in April this year. No surprise: with the FreeRTOS changes they don’t work out of the box: but no worries, I have you covered and applied all the needed patches and changes to have them working again together: the latest FreeRTOS v10.4.x with Segger SystemView v3.12:
MCUXpresso IDE V11.2.0
At the university the end of a semester means that you have to get ready for the next semester. I always tend to use the latest and greatest tools for the labs. This week I received the notification that a new version of the Eclipse based MCUXpresso IDE is available, time to check it out for the next semester.
Using eInk display with LPC55S69 and OKdo E1 board
I have continued to explore my two hobbies (embedded systems, and Talking About The Weather) during these weeks of lock-down. I have finally got to the point that my Weather Station project can sit on the window shelf of my office, and show me the temperature, humidity and atmospheric pressure on the attached eInk display.

In this blog I’m going to focus on driving that display.
Continue readingFrom C to C++: Converting Eclipse C Projects
Creating a new project with Eclipse for a microcontroller these days is fairly easy, and I have the choice if I want to start the project with C or C++:
Still the embedded microcontroller world is dominated by C and not C++. So while it is easy to start with a C++ project, most vendor provided example or tutorial project are C projects. So how can I transform such project to C++?
MCUXpresso SDK Tutorial – using I2C Driver on OKdo E1 board
In an earlier tutorial I introduced using I2C with the NXP LPC55S69 on OKdo E1 board to read a Bosch BME280 environmental sensor on a Mikroe Weather Click board. The MCUXpresso Clocks, Pins and Peripheral Config tools were used to get it running. It’s all for my Weather Station project that I’ve been working on during these months of lockdown. It is starting to take shape – as you can see from the photograph:

Now I really need to start reading and writing to the BME280 sensor, and that means using the I2C driver in the lpcxpresso55s69 SDK. And so this week I’ll provide a forensic examination of the most commonly-used I2C function call.
Continue readingDisabling NMI (Non Maskable Interrupt) Pin
The NMI is a special interrupt on ARM Cortex-M architecture: as the name indicates, it cannot be ‘masked’ by the usual ‘disable interrupts’ flags (PRIMASK, BASEPRI), similar to the Reset signal.
Dealing with the reset signal is kind of obvious, and most designs and boards have it routed to a reset button or similar. The NMI is less obvious if you don’t pay attention to it: most ARM-Cortex implementations and boards have the NMI signal routed to a pin and are ‘hiding’ it in the schematics behind a normal GPIO pin or port: if you don’t pay attention to the NMI functionality, the board might not work as intended.


