I have continued to explore my two hobbies (embedded systems, and Talking About The Weather) during these weeks of lock-down. I have finally got to the point that my Weather Station project can sit on the window shelf of my office, and show me the temperature, humidity and atmospheric pressure on the attached eInk display.
weather station project: it is warm, cloudy and low pressure outside
In this blog I’m going to focus on driving that display.
I selected the Bosch BME280 environmental sensor as the heart of my OKdo E1-based weather station. It is convenient to use, and I can prototype with the Mikroe Weather Click board MIKROE-1978. But the sensor is accessed over I2C, and that is my least favourite of the communication interfaces. In this short tutorial, I show you how the MCUXpresso Config tools (Pins, Clocks, Peripherals) are used to set up the I2C driver from the MCUXpresso lpcxpresso55S69 SDK. And very quickly, I am able to communicate with the BME280 sensor.
For this last blog in the series Investigating ARM Cortex® M33 core I decided to explore the expansion features of the LPC55S69-EVK. This board has three expansion ports (PMOD, Arduino Duo, Mikroe click) and I picked the Mikroe expansion port. Why? Only because I had good experience with these boards with the Hexiwear project.
And because I have been doing some work this month with AWS IOT I wanted to get my LPC55S69-EVK onto my office WiFi network for the Christmas holidays. I know that the MCUXpresso SDK for lpcxpresso55s69 version 2.6.3 has a built-in WiFi example named qca_demo, and so that is what I am investigating today.
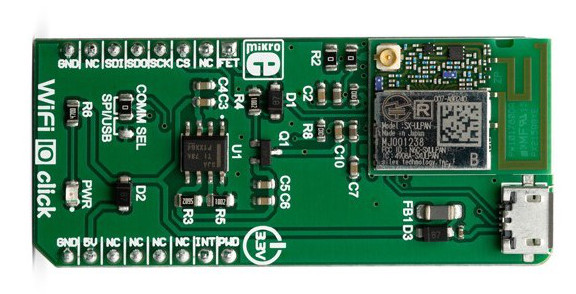
That WiFi example supports three WiFi shield boards, and I picked the Mikroe WiFi 10 click board. It’s part number MIKROE-3432 and available from all of the usual catalogue distributors.