In an earlier article I explained how to generate GNU coverage information, for an embedded application written in C.
In this article, I show the steps and configuration needed to use GNU gcov targeting an embedded application with C++.


In an earlier article I explained how to generate GNU coverage information, for an embedded application written in C.
In this article, I show the steps and configuration needed to use GNU gcov targeting an embedded application with C++.
The GNU Coverage (gcov) is a source code analysis tool, and is a standard utility in the GNU gcc suite. It works great in a hosted environment (e.g. Linux or Windows), where you have plenty of resources and a file system. But the gcov tools is relevant and usable for restricted embedded systems too. I have used it for years with the help of debug probes and file I/O semihosting. But semihosting does not come for free, depends on a library with support for constructors and destructors, plus relies on file I/O.
Fortunately, there is a way to use gcov without debugger, semihosting, file I/O and special system initialization: using a freestanding environment:

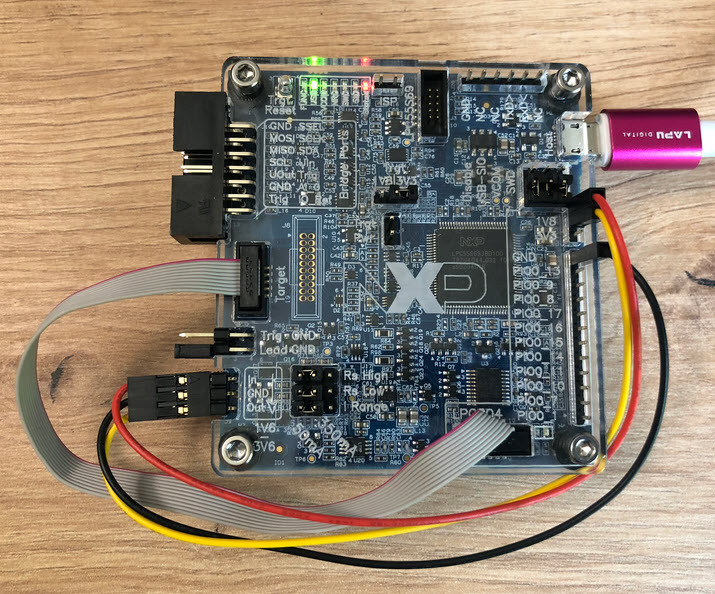
This article explains how to collect coverage information using a data stream for example over UART or USB-CDC. Key benefits are less code side, no need for a debugger or on-target file system, improved performance, better automation and flexible data collection.
Continue readingA new eclipse-based NXP MCUXpresso IDE v11.10 is available With this new release, it includes an even easier firmware update mechanism for the MCU-Link (LinkServer) debug probes.

In case you are looking for an unusual business card, company badge or event badge holder, then this article is for you: A DIY RFID badge and business card with bling-bling addressable RGB LEDs to impress your customer, clients, friends at work or at a conference, packed with electronics. Plus it includes 10 original tools from Victorinox, the manufacturer of the Swiss Army Knife.

The NXP i.MX RT685 is an interesting device: an ARM Cortex M33 with a Cadence Xtensa audio DSP. To explore the features of the device, I’m using the NXP EVK board:

I have used it so far with the on-board MCU-Link debug probe and LinkServer. This article describes how I have added pyOCD as debug interface for the RT685, as well how to patch and use custom DFP (Device Family Pack) files with pyOCD and Eclipse.
Continue readingEurope is currently facing an ‘Energy Crisis,’ and ‘Sustainability’ is a popular topic among companies. However, embedded engineers go beyond talking—they take action and make tangible changes in the world. With the increasing use of electronic devices, minimizing their energy and power consumption is crucial. Optimizing systems for deep low power or deep low energy is a challenging task. Nonetheless, as I will demonstrate in this article, it is possible to reduce energy consumption by a factor of 100 or more. This article provides a brief overview of the foundational concepts and then applies them step-by-step to an ARM Cortex microcontroller.
This week I have received the new PCBs for the MCU-Link MR for drones and robots and have populated the parts on the PCB, and it works fine as UART bridge and debug probe for the PixHawk i.MX RT:

The MCU-Link debug probes are versatile and very useful debug probes from NXP. This article describes how to update the firmware on it, both the ‘traditional’ way with using the ISP jumper, and the new way using a command line script without the need to use a jumper.

Need to debug your robot or drone? In a HSLU university research project I’m using a Pixhawk and PX4 based drone hardware. Pixhawk and PX4 is an open standard for drone hardware and firmware and runs with NuttX RTOS. It is mainly used for drones, but is very capable for any other kind of mobile robots.
With the Pixhawk 6x-RT there is a powerful flight controller, using the NXP i.MX RT1176 dual-core processor. While this and other controller hardware do offer a hardware debug probe, it is not a simple task as there are different pin-outs and connectors, making debugging a mess with different cables and adapters. To simplify this, I have now a unified debug CMSIS-DAP debug probe using the NXP LPC55S69 as processor, with all the different headers and UART adapters included: the MCU-Link-MR (Mobule Robots) debug probe.

The Rust programming language is making its way into the embedded world, and getting more and more popular and not only at the Lucerne University. With Rust, the probe-rs is one of the popular debug choices, as it nicely comes with cargo. On the hardware side, the NXP MCU-Link is $15 debug probe hardware I use for many targets. Why not using the MCU-Link with probe-rs and Rust?

