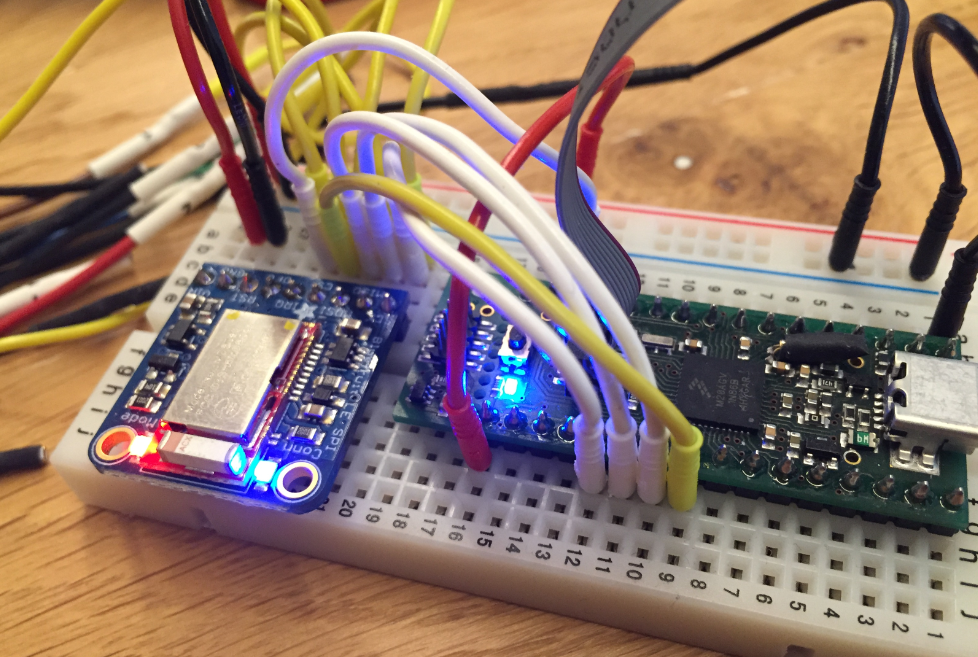
The reset and signal line of a microcontroller is probably the most important signal to a microcontroller. And if things go wrong, then a first thing to check is the reset line. So having control over reset is an important aspect for embedded development. You would think that if you download a program to a microcontroller, the debug probe would put the device into reset at the start with a short pulse like this:
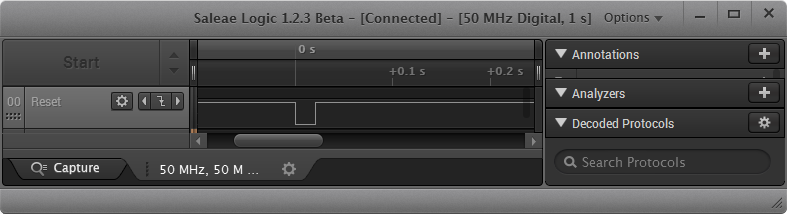
Category Archives: Boards
Blaze: Miniature, Powerful, Hackable Display with Touch
I’m not much monitoring what is happening on Kickstarter or Indiegogo, only for time reasons, but maybe I should? For a while I’m looking for the next level for the tinyK20 project: better and more powerful microcontroller with touch display/graphic LCD. And when I see a Freescale/NXP Kinetis microcontroller on a crowd funding platform like this one, I hardly can resist 😉 :

Blaze Board (Source: http://kck.st/1S0HyUp)
First 3D Printed tinyK20 Board Enclosure
The tinyK20 boards are now used in several projects. Initially I was considering a commercial USB thumb drive enclosure for it. But this needed some tweaking of the enclosure so at the end it was not ideal. 3D printing is probably that hot topic for 2016. So why 3D printing an enclosure for that board?
How to Add Bluetooth Low Energy (BLE) Connection to ARM Cortex-M
In many of my embedded projects I’m using successfully the Nordic Semiconductor nRF24L01+ (see “Tutorial: Nordic Semiconductor nRF24L01+ with the Freescale FRDM-K64F Board“) and the HC-06 Bluetooth transceivers (see “Getting Bluetooth Working with JY-MCU BT_BOARD V1.06“) for wireless communication. However, the nRF24L01+ is using a proprietary protocol, and the HC-06 does not work with Apple products (it does very well with Android devices). To close that gap I decided to add Bluetooth Low Energy (BLE, or Bluetooth 4.x). So this post is about how to add Bluetooth Low Energy (BLE) to NXP (formerly Freescale) Kinetis devices:
USB CDC with the Raspberry Pi
For my home automation project with openHAB I want to attach Freescale (now NXP) FRDM (Freedom) boards so they can take care about the realtime aspects and to act as gateways to my other systems. One way is to use USB CDC (Serial over USB) as communication channel. USB has the advantage that it powers the board, plus I can attach multiple devices: up to four on the Raspberry Pi 2 and even more with using a USB hub. In a standard configuration with a USB WiFi and a USB HID (mouse plus keyboard) dongle I still can attach two Freescale (ahem, NXP) Freedom boards to the Raspberry Pi:
Blinky LED with openHAB on Raspberry Pi
In my earlier post I showed how I have installed the open source openHAB home automation system (see “Installing openHAB Home Automation on Raspberry Pi“). In this post I show how to control a local LED on the Raspberry Pi with openHAB home automation system: how to control any GPIO pin on the Raspberry Pi from remote:
Autostarting openHAB on Raspberry Pi
In “Installing openHAB Home Automation on Raspberry Pi” I have set up openHAB on a Raspberry Pi 2. But when I reboot it, I need to start openHAB manually. This post is about how to start openHAB automatically after a reboot.
Installing openHAB Home Automation on Raspberry Pi
I’m currently building a home automation project around Raspberry Pi: I want to be able to monitor and control things like the lights, garage doors and the heating system both at home and from remote. I already have added a touch screen to one of my Raspberry Pi 2 computers (see “Adding a Touch LCD to the Raspberry Pi 2“). This article is about how to install the openHAB on that Raspberry so it can be the brain of the automation system.
Raspberry Pi Tips: IP Address
Question: What is the IP address of my Raspberry Pi?
Adding a Touch LCD to the Raspberry Pi 2
I use my Raspberry Pi’s usually with an external VGA or HDMI monitor. How cool would it be to use a touch LCD screen instead?


