The tinyK20 boards are now used in several projects. Initially I was considering a commercial USB thumb drive enclosure for it. But this needed some tweaking of the enclosure so at the end it was not ideal. 3D printing is probably that hot topic for 2016. So why 3D printing an enclosure for that board?

3D Printed Enclosure for the tinyK20 board
If using the tinyK20 board as programmer, I want to protect it as the bare board is sensitive to any ESD. One way I using it is to put it inside a heat shrink tube:
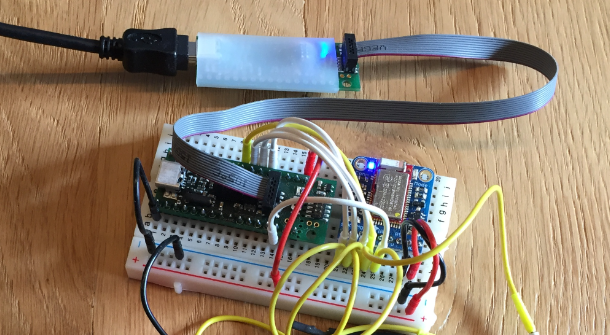
tinyK20 in Heat Shrink Tube
That’s a good solution, but if I want to switch using the board as a general purpose microcontroller board I have cut the tube. So what I was looking for was a more universal thing, so I ended up designing a simple 3D printed enclosure:
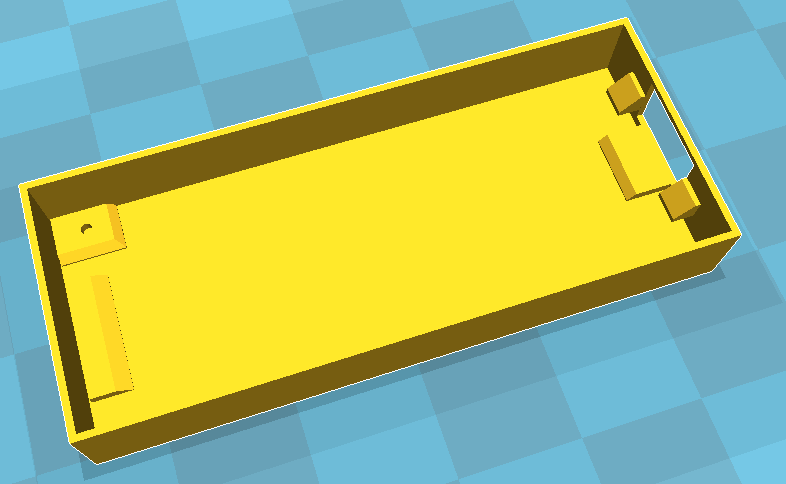
tinyK20 Enclosure Rendering (V1)
Printing the enclosure takes around 30 minutes and needs 2g of PLA:
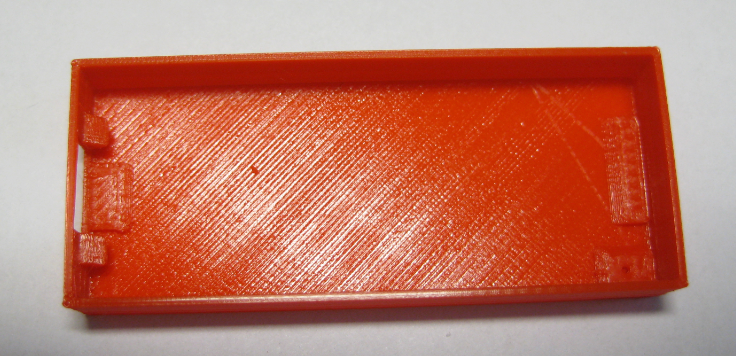
Printed tinyK20 Enclosure
The tinyK20 board (Freescale/NXP Kinetis K20) gets snapped into the enclosure and can be easily removed again.

Enclosure with Freescale NXP Kinetis K20
Summary
I have now a simple enclosure for the tinyK20 board and ads some level of protection for the board.
The design files for V1 are available on Thingiverse: http://www.thingiverse.com/thing:1257657. I’m considering an advanved version with a lid in a next version.
💡 It might take up to 24h until the files are available on Thingiverse.
Happy Enclosing 🙂
Links
- tinyK20 articles: https://mcuoneclipse.com/category/boards/tinyk20/
- 3D project: http://www.thingiverse.com/thing:1257657

Pingback: Hardware Reset for ARM Cortex-M with Segger J-Link and Kinetis Design Studio | MCU on Eclipse
Pingback: How to put the Kinetis K20 on the tinyK20 Board into Bootloader Mode | MCU on Eclipse