
I use my Raspberry Pi’s usually with an external VGA or HDMI monitor. How cool would it be to use a touch LCD screen instead?

Raspberry Pi 2 with 7 Inch Touchscreen
Normally I use an external monitor for my Raspberry Pi projects. But this is rather bulky, and for a home automation project I want to have something smaller.
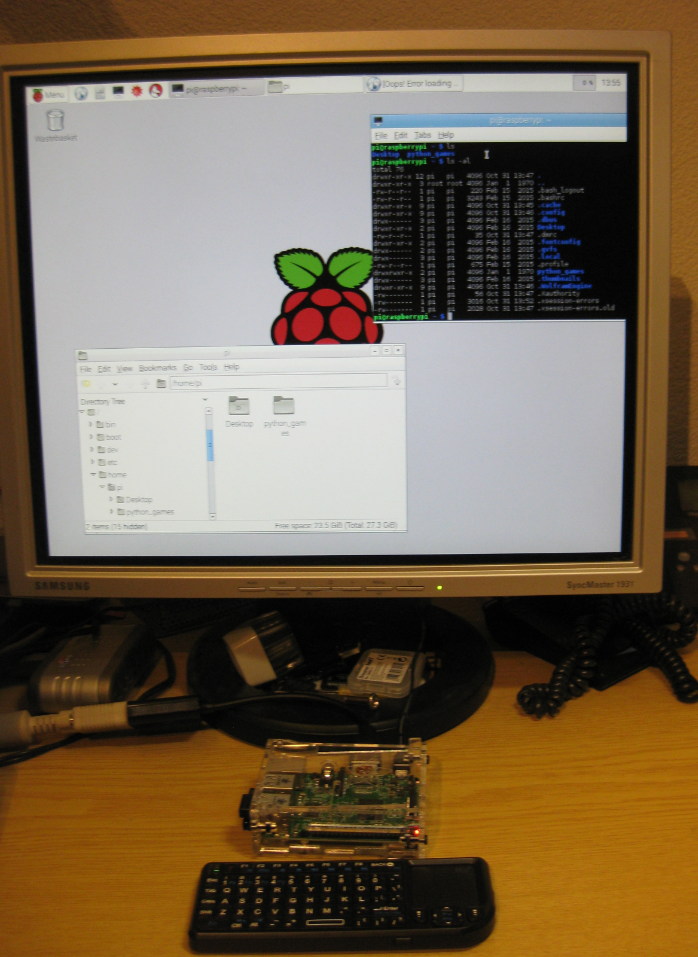
Raspy with external monitor
I already use a wireless mini keyboard/touchpad to reduce the space needed:

There are several display solutions on the market for Raspberry Pi today, but what finally convinced me was the Raspberry 7″ Touch Pi Foundation Display (https://www.raspberrypi.org/blog/the-eagerly-awaited-raspberry-pi-display/) which I have ordered.
The Display board gets attached to the back of the LCD:

Mounted Display Board
Because the display does not come with a case, I had ordered a display frame from Adafruit (https://www.adafruit.com/products/2033):

Adafruit Display Frame with Cover on
Three layers of acrylic build up the frame:
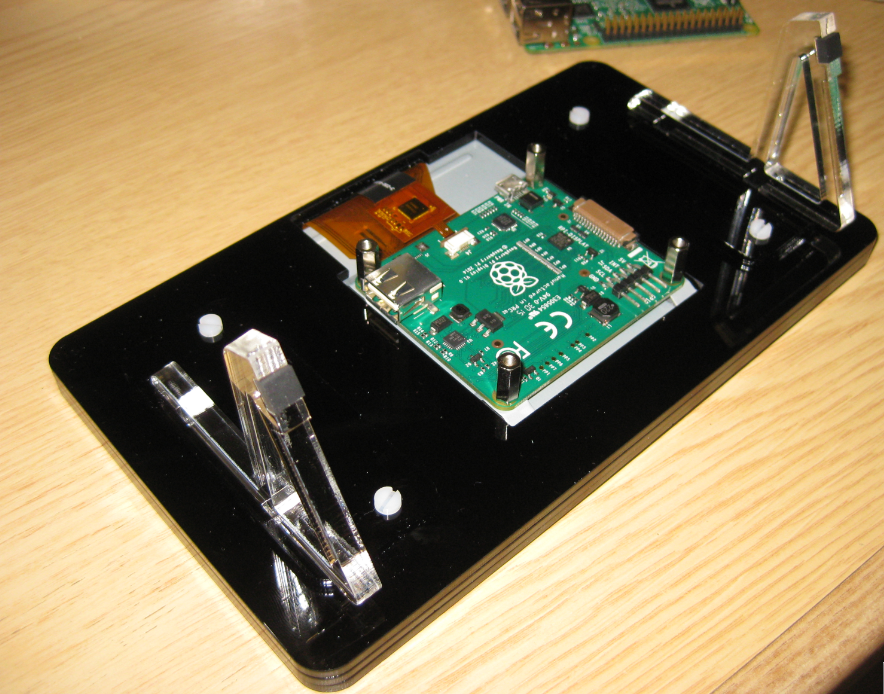
Adafruit Acrylic Display Frame
The Raspberry board gets mounted on top of the LCD board. There are multiple power options for the display, for now I’m using the 5V and GND from the Raspberry board:

Powering Display with Jumper Cables
The board itself is behind the frame:

Raspberry Pi Frame Backside
Enabling the Display
By default, the Raspy still uses the HDMI output. To install the updates for using the display, I have to use
sudo apt-get update
Followed by
sudo apt-get upgrade
Then reboot it:
sudo reboot
Rotating the Display
For me, the display was upside-down (rotated 180°):
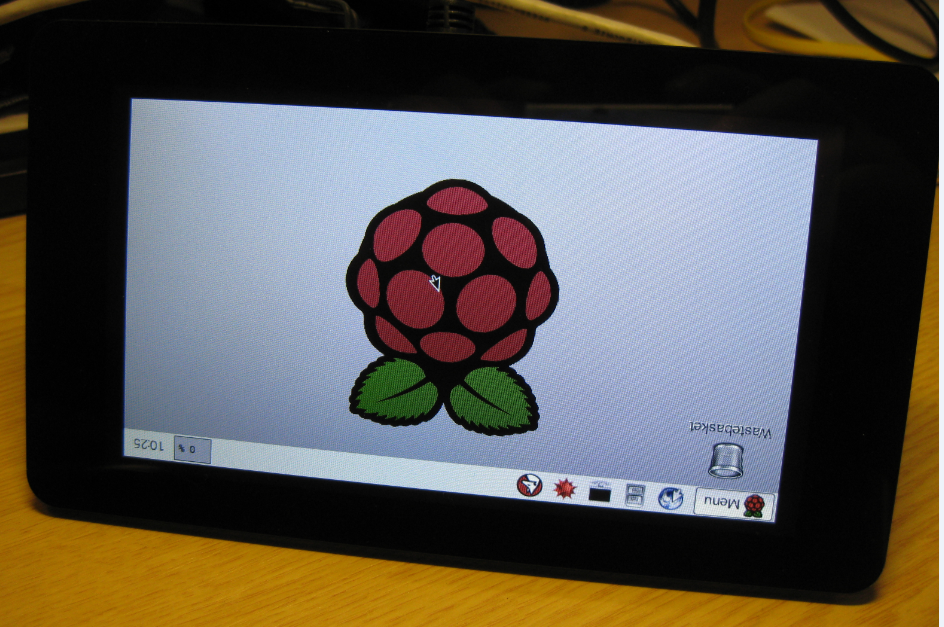
Wrong Display Orientation
To rotate it back, I added the following to /boot/config.txt based on the FAQ:
lcd_rotate=2

Edited config.txt
With this, everything was fine after a reboot:
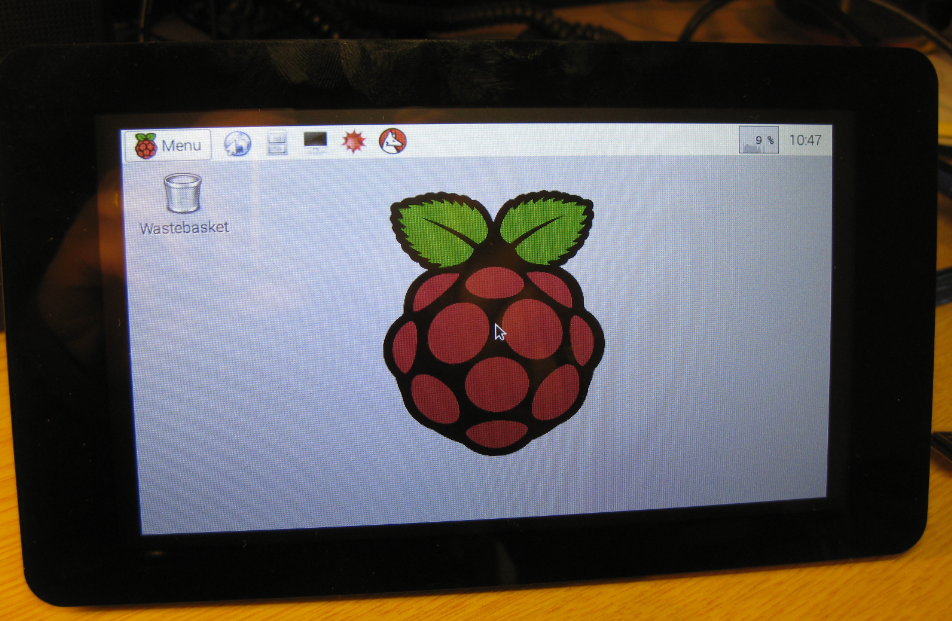
Rotated Raspberry Pi Display
Virtual Keyboard
To be able to enter text on the Pi with the display, I have installed a virtual keyboard. I used
sudo apt-get install matchbox-keyboard
Then reboot with
sudo reboot
After reboot I have a virtual keyboard in the Accessories menu:

Raspy Virtual Keyboard
This opens the virtual keyboard layout:

Virtual Keyboard
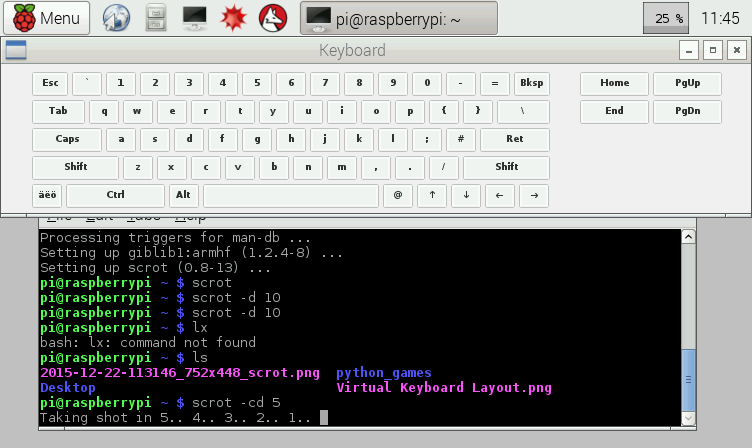
Screenshot with Virtual Keyboard
It works ok for small things, but clearly it does not replace a real keyboard for me.
Switching Back to HDMI Display
With above setup, the Raspberry Pi uses the touch LCD as the default display. But sometimes it is good to have a larger screen. To switch back to the HDMI port by default, I need to edit the following line in /boot/config.txt:
display_default_lcd=0
Dual Display Use
Currently it seems that it is only possible to use a second monitor e.g. to play videos, see “Dual Display Usage” in https://www.raspberrypi.org/blog/the-eagerly-awaited-raspberry-pi-display/. I have not found a way to have run two displays in true ‘extended’ mode. The latest information I have found on this topic is here: https://www.raspberrypi.org/forums/viewtopic.php?f=108&t=120541
Summary
The 7″ Raspberry Pi foundation touch LCD is a cool extension for the Raspi, turning it into a kind of tablet computer. With the display frame and stand I can have it on my desk and do not need an extra keyboard, mouse and display. Using the Raspy with the touch display works well for larger UI item (buttons, menus), but is hard to use for smaller UI items like to minimize windows. For this, a wireless USB mouse or touch area is better. The virtual keyboard is better than nothing, but again for typing text a real keyboard is better.
I’m not so happy with the ‘bare’ Pi board on the backside of the LCD frame. I wanted to use the acrylic case (see picture at the beginning of this post), but the mounting screws were not long enough, so I first need to buy new mounting screws.
Anyway, I want to use the display to show information and to implement a home automation system. For this, it could be an ideal solution. More to write about that project I guess in a future post 🙂
Links
- Raspberry Pi Foundation Touch Display: https://www.raspberrypi.org/blog/the-eagerly-awaited-raspberry-pi-display/
- Pi Foundation Display from Adafruit: https://www.adafruit.com/products/2718
- Pi Foundation Display from Element14: http://www.element14.com/community/docs/DOC-78156/?CMP=KNC-PS-G-EU-RPI-TOUCHSCREEN
- Adafruit LCD Frame: https://www.adafruit.com/products/2033
- Raspberry Pi Touch Screen FAQ: http://forums.pimoroni.com/t/official-7-raspberry-pi-touch-screen-faq/959
- Dual Display usage: https://www.raspberrypi.org/forums/viewtopic.php?f=108&t=120541

Pingback: Installing openHAB Home Automation on Raspberry Pi | MCU on Eclipse
:))
Hi,
This is great, I have the same setup.
I bought the same LCD right after it was available in Germany.
I also have the same Key+Mouse combo.
And also had the same issue with the upside down image.
After I setup anything and got it working it landed on a shelf. Now it has a nice gray dust coating.
Some day, some time, I will use this :)))
Best wishes.
LikeLike