The Raspberry Pi is a versatile mini computer: as such I can use it with USB keyboard, mouse and HDMI LCD monitor. But having multiple keyboards and mouse on my desktop is not my thing: somehow I always grab the wrong one. So what I prefer is to run the Raspberry with VNC (Virtual Network Computing). That way I have the Linux GUI as a window on my normal desktop, and no messing up with keyboards and mouse 🙂 :

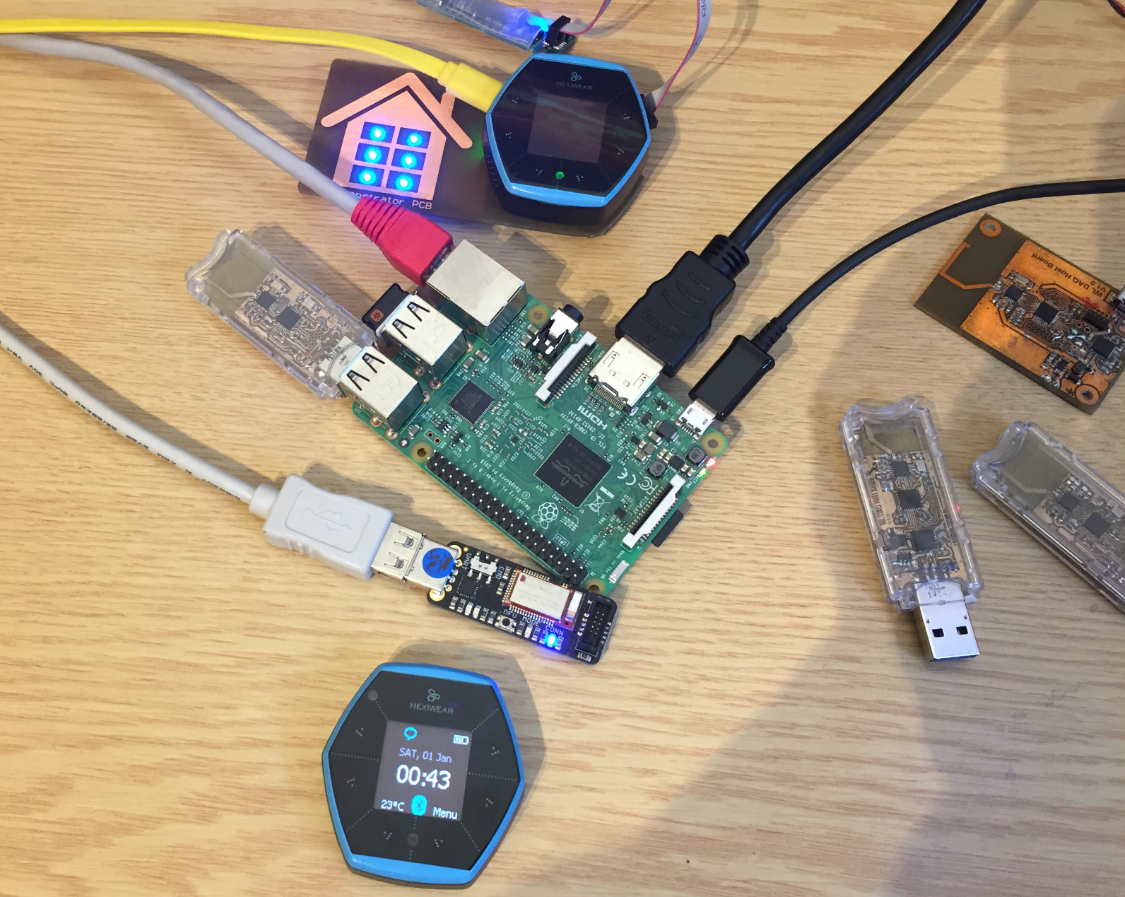
Raspberry Pi on my Dekstop