After the problems with level shifters (see “First Adafruit NeoPixel Blinks with the FRDM Board“) I received the ordered 74HCT245N. Put it on a bread board, wired it up, … only to find out that the device gets very hot… turned off power, and realized that had the device put in with a wrong orientation 😦 oh darn! That’s why I always order things like that in quantities of 3 or more :-). Corrected the mistake, and things are running (or blinking) again 🙂
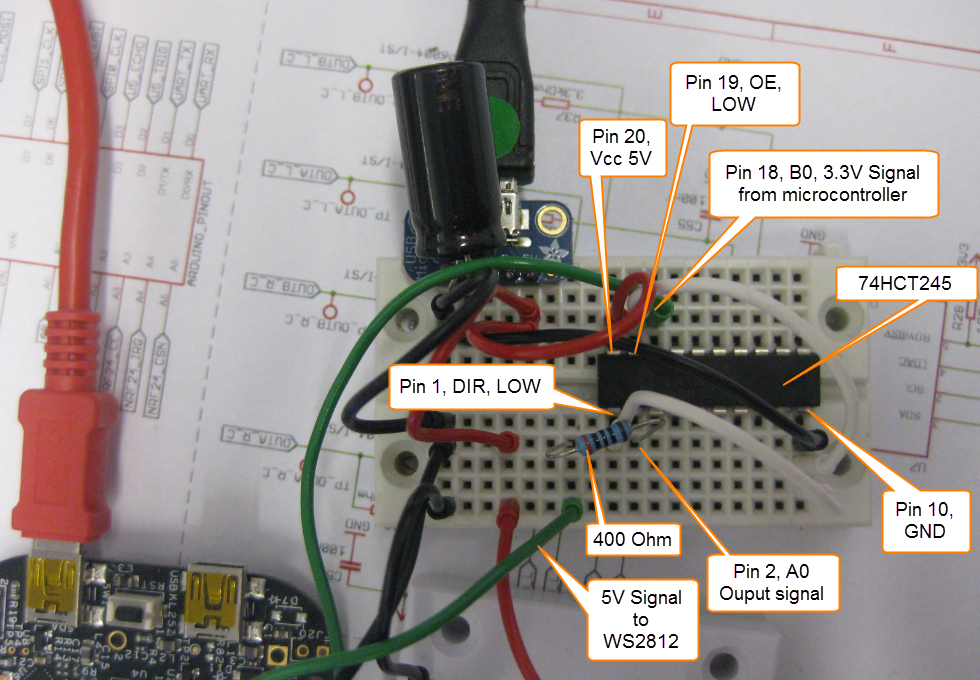
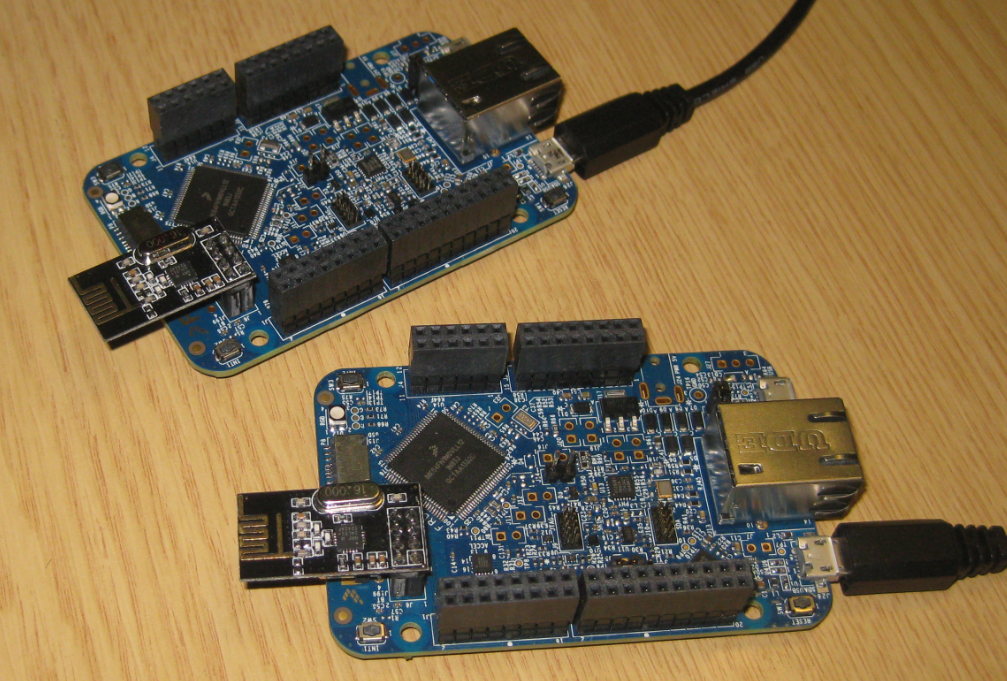
Tag Archives: Freescale
Switching ARM GNU Tool Chain and Libraries in Kinetis Design Studio
The Freescale Kinetis Design Studio (KDS) V1.0.1 beta is using a different GNU ARM toolchain than the ARM Inc. supported one on launchpad (GCC ARM Embedded). Additionally, KDS is using newlib 1.19 and newlib-nano 1.0, while there just has been a new release of the GCC ARM Embedded a month ago with the 4.8.4 update 2 release in June this year. So how to upgrade KDS to the latest and greatest GCC ARM Embedded?
printf() and scanf() with GNU ARM Libraries
In “Semihosting with Kinetis Design Studio” I’m using the debugger with semihosting to output text with printf(). But how to use a physical serial connection instead?
This post is about how to enable and use printf() and scanf() with GNU ARM libraries. I show it both for the Freescale Kinetis Design Studio (KDS) and for stock Eclipse Kepler with the GNU GCC ARM Embedded (launchpad) toolchain and libraries. The principles are the same, just the details are different ;-).
Step-by-Step: Updating OSBDM/OSJTAG Debug Firmware
While new Freescale boards come with the OpenSDA debug firmware, I still students using boards with the OSBDM/OSJTAG. And with new CodeWarrior tools, it might be that there is a new OSBDM/OSJTAG firmware, and when I download to a board with an older firmware, the tool will prompt me to update the firmware. To me, after doing this several times, not a big deal. But for someone who sees this the first time, it might not be that easy. So to avoid any further questions, here we go with a step-by-step tutorial how to update the OSBDM/OSJTAG firmware.
Showcase of Student Project Exhibition 2014 in Horw
Yesterday Friday afternoon, the students at the Lucerne University of Applied Sciences and Arts in Horw showcased their last semester project work to the public at the university. There were many, many interesting projects, so here are a few to give an idea what has been accomplished …
Snake Game on the FRDM-KL25Z with Nokia 5110 Display
So I have a graphics driver for a Nokia display (see “Zero Cost 84×48 Graphical LCD for the Freedom Board“), I have a joystick shield (see “JoyStick Shield with the FRDM Board“) and I do have a Freescale Freedom board: why not creating a simple game for it? Snake!
Tutorial: Nordic Semiconductor nRF24L01+ with the Freescale FRDM-K64F Board
For some time I’m using the Nordic Semiconductor nRF24L01+ transceiver successfully in many projects (see “Tutorial: Ultra Low Cost 2.4 GHz Wireless Transceiver with the FRDM Board“). Since that tutorial things evolved a lot with the introduced RNet Stack. To honor the popularity of the Nordic Semiconductor nRF24L01+, Freescale has put a socket on the FRDM-K64F board. So time to make a new step-by-step tutorial how to use the nRF24L01+ with the FRDM-K64F.
First New Zumo Board out of the Reflow Oven
Andreas populated the first board with SMD parts and sent it through the reflow oven. The 32 kHz quartz is missing because not all parts arrived on time. The soldering of the Freescale Kinetis K22 microcontroller is not perfect yet, so will need some tweaking and inspection under the microscope, as well some other parts. Christian will do an inspection and electrical tests, then it will be my job to get it connected to the debugger. Keep my fingers crossed to get a blinking LED 🙂
Slow 32 kHz Oscillator Startup
In an IoT (Internet of Things, see “IoT: FreeRTOS Down to the Micro Amps“) project I’m using the Freescale KL15Z microcontroller. The nodes are moving around, and the board is using a special inductive charging ‘on the fly’ when nearby the charging station. The energy is stored in capacitors, so no batteries are needed. That worked very well, but some system failed: they need to quickly check sensor signals after power-up. Tracking down the problem, it was obvious that most of the systems failed because it took them too long to boot from the power-on reset. So I instrumented the application to toggle an LED so I can monitor what happens: It was over 400 ms after power-on! Yikes!
Tutorial: DIY Kinetis SDK Project with Eclipse – Board Configuration
In “Tutorial: DIY Kinetis SDK Project with Eclipse – Startup” I showed how to create a Kinetis SDK project from scratch. In this post it is about adding the board initialization files. With the board initialization the peripheral clocks and pin muxing is configured.


