For my embedded systems lecture I need a wireless connection to the robot we will develop during that course. So far I have SMAC (IEEE802.15.4) and Bluetooth worked out. But that IEEE802.15.4 (ZigBee) is expensive, and the cheap Bluetooth modules are great for robot-to-host connection, but not for swarm robots which need to communicate to each other. Alex Vecchio (see this post) pointed me to a $2.75 (!) wireless module featuring the Nordic Semiconductor nRF24L01+. Exactly what I needed, with an incredible low price :-).

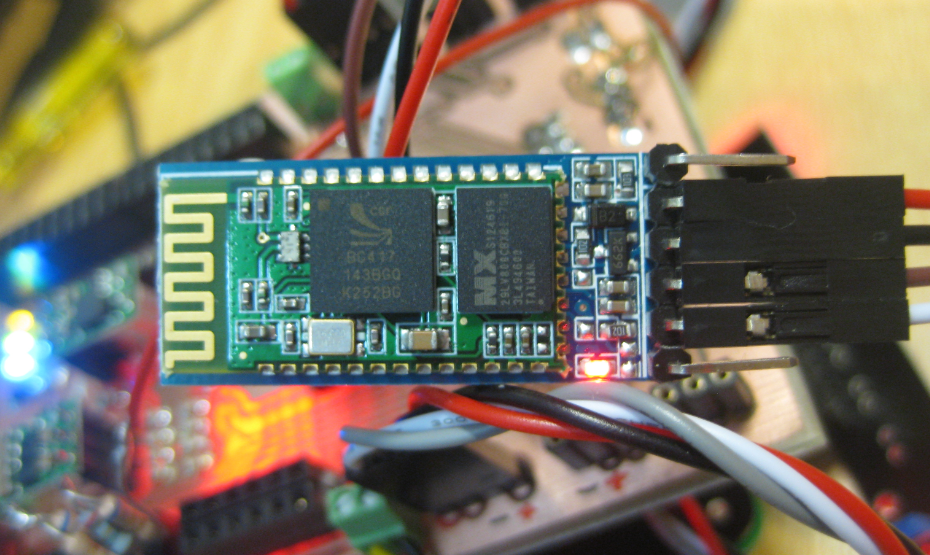
nRF24L01+ Module Detail