For my home automation project with openHAB I want to attach Freescale (now NXP) FRDM (Freedom) boards so they can take care about the realtime aspects and to act as gateways to my other systems. One way is to use USB CDC (Serial over USB) as communication channel. USB has the advantage that it powers the board, plus I can attach multiple devices: up to four on the Raspberry Pi 2 and even more with using a USB hub. In a standard configuration with a USB WiFi and a USB HID (mouse plus keyboard) dongle I still can attach two Freescale (ahem, NXP) Freedom boards to the Raspberry Pi:
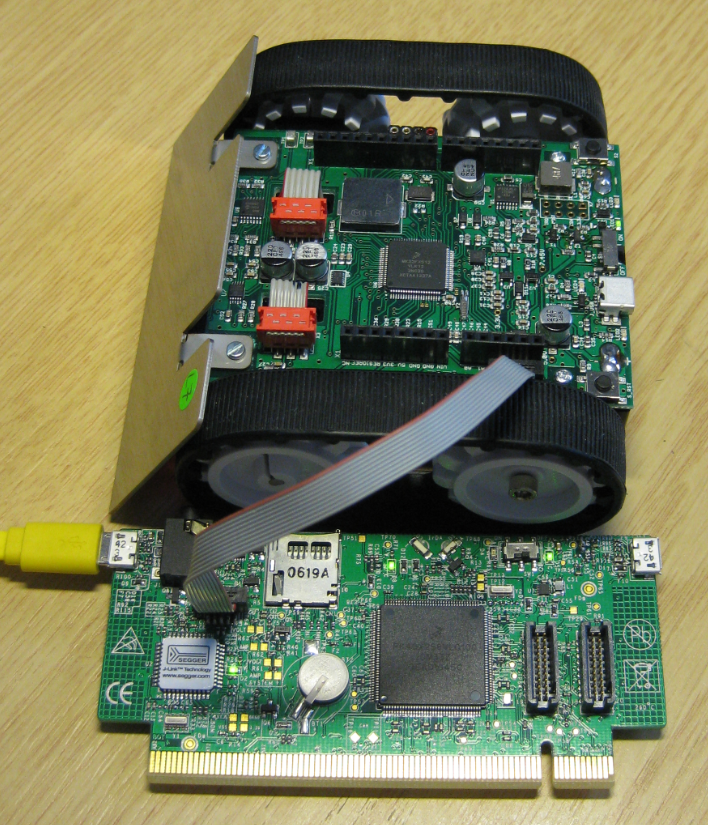
Category Archives: ARM
Blinky LED with openHAB on Raspberry Pi
In my earlier post I showed how I have installed the open source openHAB home automation system (see “Installing openHAB Home Automation on Raspberry Pi“). In this post I show how to control a local LED on the Raspberry Pi with openHAB home automation system: how to control any GPIO pin on the Raspberry Pi from remote:
Autostarting openHAB on Raspberry Pi
In “Installing openHAB Home Automation on Raspberry Pi” I have set up openHAB on a Raspberry Pi 2. But when I reboot it, I need to start openHAB manually. This post is about how to start openHAB automatically after a reboot.
Installing openHAB Home Automation on Raspberry Pi
I’m currently building a home automation project around Raspberry Pi: I want to be able to monitor and control things like the lights, garage doors and the heating system both at home and from remote. I already have added a touch screen to one of my Raspberry Pi 2 computers (see “Adding a Touch LCD to the Raspberry Pi 2“). This article is about how to install the openHAB on that Raspberry so it can be the brain of the automation system.
Raspberry Pi Tips: IP Address
Question: What is the IP address of my Raspberry Pi?
Adding a Touch LCD to the Raspberry Pi 2
I use my Raspberry Pi’s usually with an external VGA or HDMI monitor. How cool would it be to use a touch LCD screen instead?
Linting with Eclipse and the GNU ARM Embedded Launchpad Compiler
For a space project we have to make sure that things are not failing while our hardware orbits around the Mother Earth. Therefore we are using different static and dynamic analysis tools, and one of it is using PC-lint from Gimpel to catch as many errors and bugs as possible. For that project, we are using Eclipse with the GNU ARM Embedded (launchpad) ARM compiler and Eclipse as IDE with the GNU ARM Eclipse plugins. There are commercial plugins available for linting with Eclipse (e.g. Linticator), but with a few tweaks it is possible to lint with Eclipse free-of-charge. So this article is about how to lint an Eclipse (Freescale/NXP Kinetis Design Studio) project with PC-Lint.
From Zero to NOOBS: Starting with Raspberry Pi Zero
My Raspberry Pi Zero arrived last week (see “A Raspberry Pi for $5! What are your decision factors?“), and finally I have found an hour to try it out. Because the ‘bare board’ $5 version was sold out at that time, I ordered a package with 8GB SD card, micro USB cable and mini HDMI adapter. That way I had all the needed cables, including the mini HDMI adapter cable:
Tutorial: FreeRTOS Projects with Kinetis SDK V1.3 and the SDK Project Generator
This tutorial describes how to create a Kinetis SDK V1.3 project using the Freescale project generator in Kinetis Design Studio.
Using the KwikStik K40 Board to Debug an external Board
When I left for the week-end, I missed to take with me my Segger J-Link debug box. I have one P&E Universal Multilink at home, but I needed a Segger J-Link to use the SystemViewer with my robot. I need that for a FreeRTOS trainig I will deliver in Poing/Germany on Monday at Avnet/Silica.
But I had a Freescale KwikStk board at home, and I did remember that I can use that board as a Segger J-Link to debug my custom hardware (see “Freescale Kinetis KwikStik (part 1)“).


