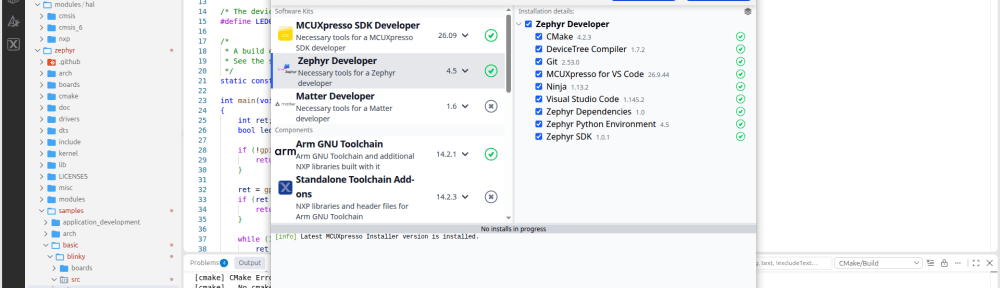
The Zephyr project has recently reached version 4.5, following its 10-year anniversary in March 2026. It has certainly come a long way and continues to improve with each release.
While there are plenty of other excellent resources about Zephyr, new users may be confused by outdated tutorials or simply overwhelmed by the amount of information available. This article serves as a cheat sheet to help you get started quickly.
In this article, I show how to install and get started with Zephyr. For this, I use the tinyK22 (NXP K22FN512) and NXP FRDM-MCXN947 board as an example.
Outline
I started using Zephyr back in 2017. Since then, it has improved a lot! It uses many proven concepts from the (embedded) Linux world, closing the gap between bare-metal or FreeRTOS development and the Embedded Linux world. Zephyr is *not* Linux, but it has adopted many of the good Linux concepts for the embedded domain. While at HSLU we are still using many bare-metal and FreeRTOS projects, the number of Zephyr projects is growing.
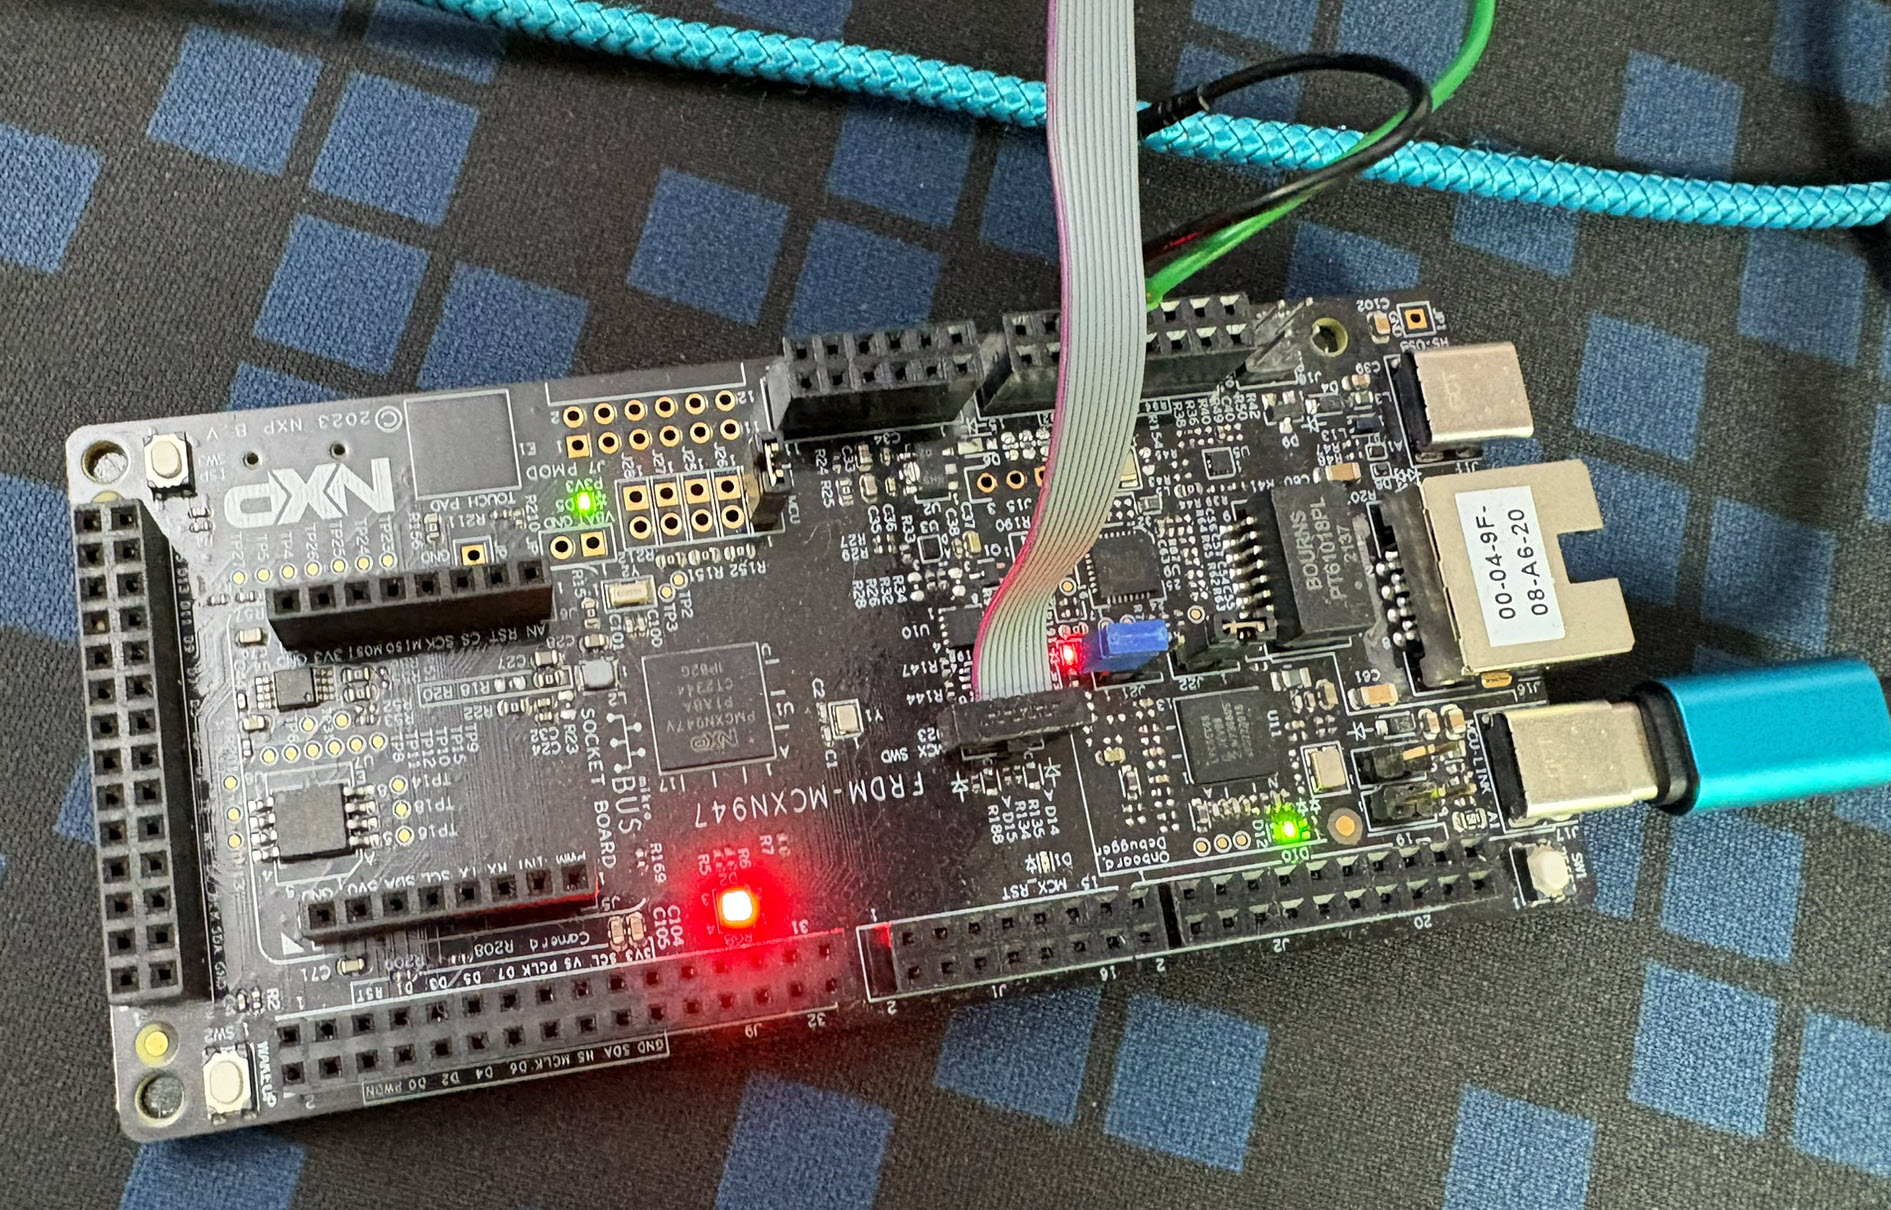
I’m using two boards here with Zephyr: on one hand the NXP FRDM-MCXN947 with a modern dual-core Cortex-M33 architecture. The same time I’m using an older MK22FN512 on the tinyK22 board which is still a ‘workhorse’ at the projects here at HSLU. The tinyK22 board is a custom board we developed at the Lucerne University of Applied Sciences and Arts (HSLU).

You could use any other board supported by Zephyr too.
If you are new to Zephyr, read the Zephyr introduction. For a larger list of related Zephyr articles, please see the list at the end of this article.
Host Setup
Here, I use Ubuntu/Linux as the host operating system. Of course, Zephyr also works on macOS and Windows. For Windows and macOS, see the getting started guide.
To develop with Zephyr, we need recent versions of the following tools. Most systems already have them installed:
- CMake (3.28.0 or later)
- Python (3.12 or later)
- Devicetree compiler (1.4.6 or later)
$ sudo apt update
$ sudo apt upgrade
$ sudo apt install --no-install-recommends git cmake ninja-build gperf   ccache dfu-util device-tree-compiler wget python3-dev python3-venv python3-tk xz-utils file make gcc gcc-multilib g++-multilib libsdl2-dev libmagic1
Workspace
In the next step, we create a workspace. This is the modern way to work with Zephyr projects: all the necessary files, including the Zephyr SDK and application source files, are stored in one folder. A workspace typically looks like this:
zephyr-workspace
├── .venv
├── .west
├── apps
│   ├── blinky
│   │   ├── boards
│   │   ├── src
│   │   ├── CMakeLists.txt
│   │   ├── prj.conf
│   ├── hello
│   │   ├── src
│   │   ├── CMakeLists.txt
│   │   └── prj.conf
│   └── README.md
├── build
│   └── ...
├── modules
│   └── hal
│       ├── cmsis
│       ├── cmsis_6
│       └── nxp
├── zephyr
│   ├── arch
│   ├── boards
│   ├── drivers
│   ├── include
│   ├── kernel
│   ├── ...
│   └── README.license
└── README.md
The workspace contains the following directories:
- .venv: Python virtual environment, needed to isolate the workspace Python tools from the rest of the host
- .west: marks the root directory of a west workspace and stores its local configuration.
- apps: folder with one or more applications. Each application has a CMakeLists.txt
- build: output folder of the build tools, stores the produced binary files.
- modules: Modules are externally managed software libraries, which are pulled in. For example CMSIS or hardware related abstraction layers
- zephyr: the Zephyr kernel and related files
In the next steps, we create this workspace.
Creating the Workspace
First, create the workspace and enter it:
mkdir workspace
cd workspace
This creates the workspace folder.
Creating a Python Virtual Environment
Next, create a Python virtual environment:
$ python3 -m venv .venv
$ source .venv/bin/activate
💡 This adds
(.venv)to the console prompt. Make sure that all Zephyr commands, such aswest, are executed in this environment!
Next, make sure that you are using the latest version of pip:
(.venv)$ python -m pip install --upgrade pip
This is important because Zephyr uses pip to install packages and run scripts. Not having a recent version of pip is a frequent source of failures.
This creates the .venv folder.
Installing west
Next, install the west tool in the Python virtual environment:
(.venv)$ pip install west
west is Zephyr’s Swiss Army knife command-line tool. It is used for many tasks, including configuring, building, and flashing applications.
Initializing the Workspace
Next, initialize the workspace with west:
(.venv)$ west init
This clones the Zephyr repository. The process can take a few minutes and requires roughly 85,000 files and 1.5 GB of disk space.
This creates the .west and zephyr folders.
Setting Project Groups for Modules
This step is optional, but it can save a great deal of time and disk space. The previous step gives you an idea of how large Zephyr is, and the modules add even more content. Because we do not need every module, we can use project groups to filter the modules we download.
I only need Zephyr, CMSIS, and the NXP hardware abstraction layer (HAL):
west config manifest.project-filter -- '-.*,+zephyr,+cmsis,+cmsis_6,+hal_nxp'
This is recorded in the .west/config file and can be changed at any time:
[manifest]
path = zephyr
file = west.yml
project-filter = -.*,+zephyr,+cmsis,+cmsis_6,+hal_nxp
Updating with west
The next step is to pull all the configured modules into the workspace:
(.venv)$ west update
This creates the modules directory and adds the selected modules to it.
To inspect the installed modules, run:
(.venv)$ west list
The command produces the following output:
manifest     zephyr                       HEAD                                     N/A
cmsis        modules/hal/cmsis            512cc7e895e8491696b61f7ba8066b4a182569b8 https://github.com/zephyrproject-rtos/cmsis
cmsis_6      modules/hal/cmsis_6          1c1840af7a7e757d6e2fec3ddb0e5ce0dfcc93c8 https://github.com/zephyrproject-rtos/CMSIS_6
hal_nxp      modules/hal/nxp              94438e50a4d831cf3dc081898e4a66724b81cb17 https://github.com/zephyrproject-rtos/hal_nxp
Installing Python Packages
Next, install the Python packages required by Zephyr and its modules:
(.venv)$ west packages pip --install
### Exporting the CMake Package
Export a Zephyr CMake package so that CMake can find it with find_package(Zephyr) in CMakeLists.txt:
(.venv)$ west zephyr-export
Toolchain
Finally, we need a toolchain, also known as the Zephyr SDK. It may already be installed globally, or you can install it here:
(.venv)$ west sdk install
One Script File to Do It All
Because it can be difficult to remember all the steps above, I usually keep a setup.sh script in my workspace:
#!/usr/bin/env bash

# setup the zephyr project environment
# create a new workspace folder, place this script into it and run it.
python3 -m venv .venv
source .venv/bin/activate
python -m pip install --upgrade pip
pip install west
west init
west config manifest.project-filter -- '-.*,+zephyr,+cmsis,+cmsis_6,+hal_nxp'
west update
west packages pip --install
west zephyr-export
west sdk install
MCUXpresso Installer
If you are more a ‘GUI person’ and want to install everything with a mouse click, then I recommend the MCUXpresso Installer: It has a ‘Zephyr’ section which installs all the necessary tools for a workspace:
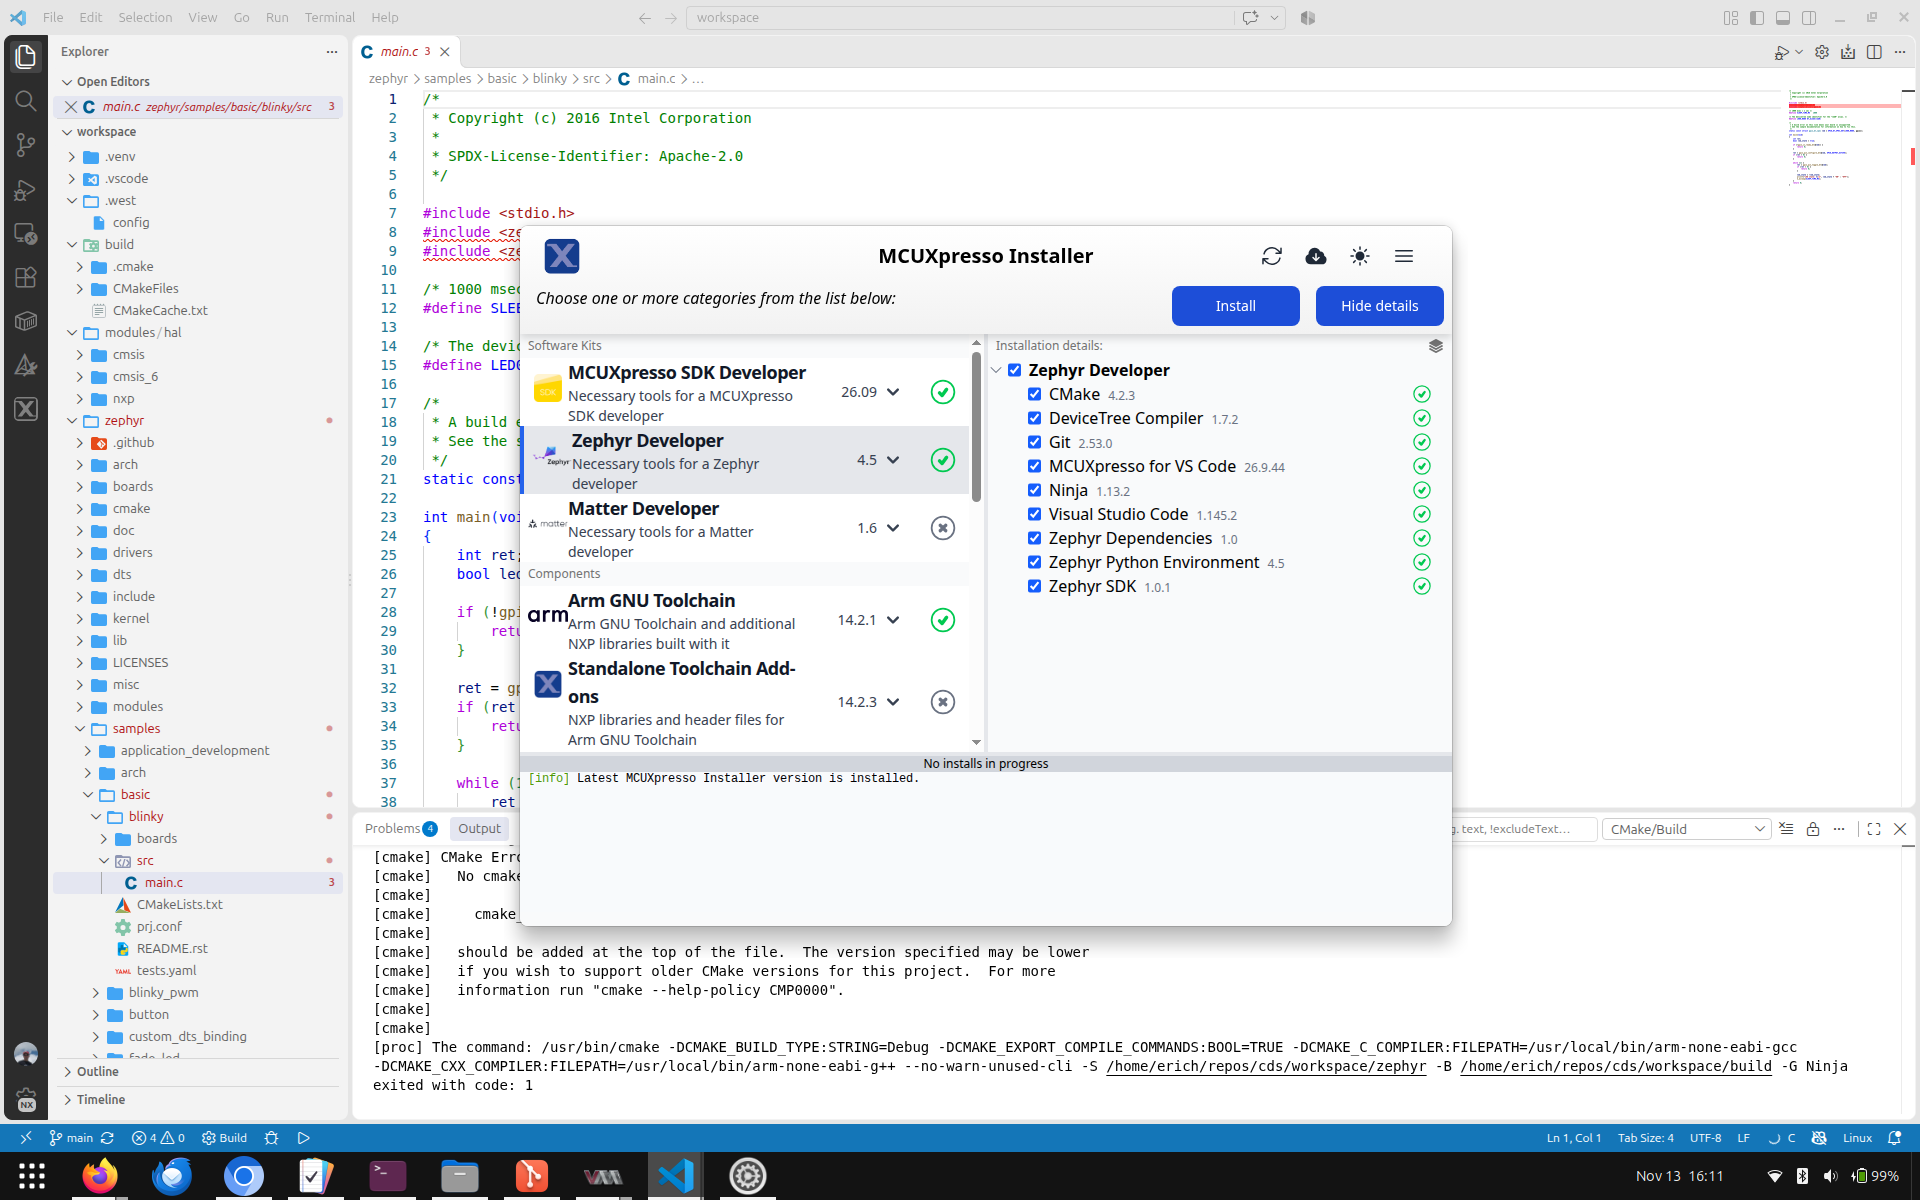
When using it with the VS Code extension, you can create workspaces and projects through the GUI as well. I list the command-line method first because understanding how Zephyr works under the hood is important for mastering and adapting your development flow.
Summary
With this you should be able to set up a Zephyr RTOS development environment. I have covered the required host tools, creating a west workspace and Python virtual environment, installing west and the necessary Python packages, initializing and updating Zephyr modules, installing the Zephyr SDK toolchain, and using a script or the MCUXpresso installer to simplify the process. By following these steps, developers can get a working Zephyr environment ready for building applications on supported boards.
Happy zephyring 🙂
Links
- Zephyr Project: https://www.zephyrproject.org/
- Getting started guide with Zephyr: https://docs.zephyrproject.org/latest/develop/getting_started/index.html
- Beyond the getting started: https://docs.zephyrproject.org/latest/develop/beyond-GSG.html
- Excellent guide by Martin Lampacher: https://interrupt.memfault.com/blog/practical_zephyr_basics
- tinyK22 board: https://mcuoneclipse.com/category/boards/tinyk22/ and https://mcuoneclipse.com/2020/11/01/tinyk22-board-rev-1-3-released/
- Zephyr: Thoughts and First Steps on the ARM Cortex-M4F with gcc, gdb and Eclipse


Nice. Thanks for the write up.
LikeLike
thanks!
LikeLike