
The engineering and development landscape is constantly changing. This includes the embedded tooling and SDKs.
Back in the year 2017 I have used the version 2 (see Tutorial: Using Eclipse with NXP MCUXpresso SDK v2 and Processor Expert). Back then, it was Eclipse with make. Now we are in 2026 and things have changed to VS Code, cmake, ninja, python and west.
Luckily, although more and different tools are needed these days, the installation experience has improved significantly. It has shifted from installing multiple different tools to a streamlined installation process.
Outline
In this article, I’ll show how to get quickly up and running with the NXP SDK. The first article is about installing the necessary development tools.
The steps include installing VS Code with the NXP extension. One main reason for the extension is that it simplifies the installation process. You don’t need to install tools like cmake, ninja, west, and other tool chain binaries separately. It provides an installer that takes care of installing these tools for you.
What is the MCUXpresso SDK?
The MCUXpresso SDK is provided by NXP. The SDK includes software, drivers and middleware for many NXP controllers and CPUs. It is hosted on GitHub: https://github.com/nxp-mcuxpresso/mcuxsdk-manifests. Unlike other SDKs or older versions of the MCUXpresso SDK, the actual version is composed of multiple SDK repositories. https://github.com/nxp-mcuxpresso/mcuxsdk-manifests is hosting a manifest pointing to all the different individual repositories. So instead a monolithic repository, many smaller repositories build the SDK. For this, the MCUXpresso SDK borrowed ‘west’, a tool used in the Zephyr world.
VS Code
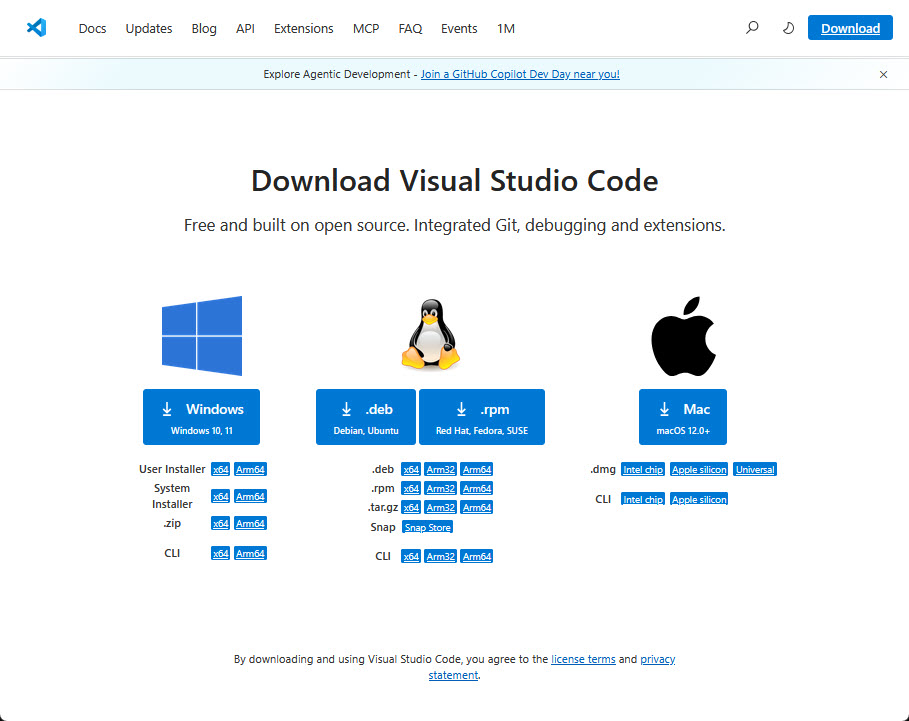
In this tutorial, I’m using Visual Studio Code. If you don’t have it already installed, go to https://code.visualstudio.com/ and install it.
In case you are concerned about using Microsoft tools: check out VSCodium.
MCUXpresso for VS Code Extension
The next step is to install the NXP extension for VS Code.
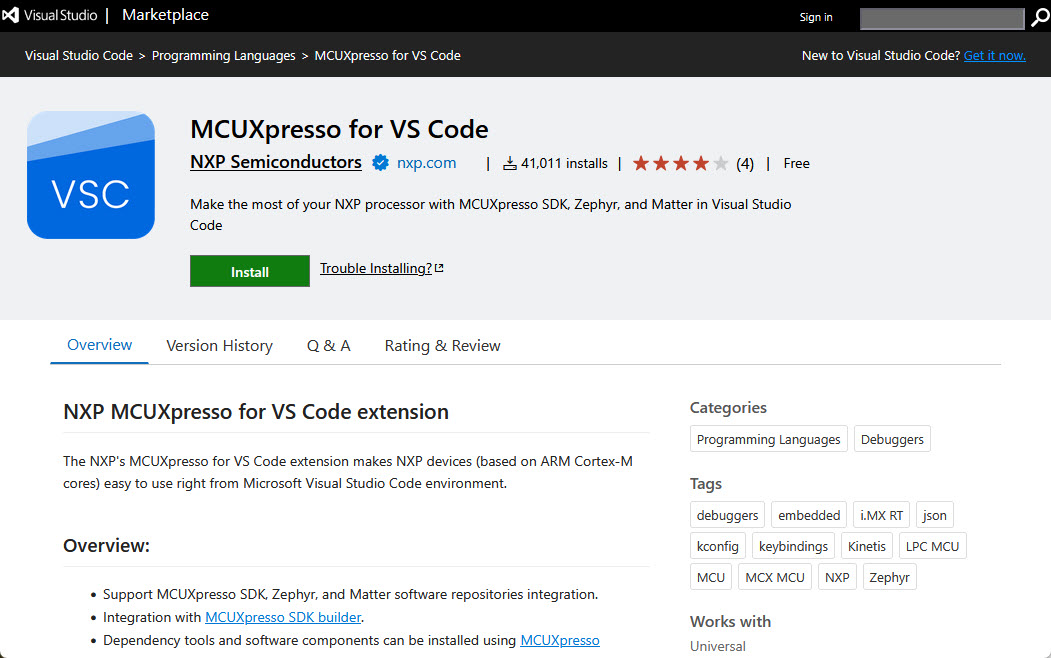
Go to https://marketplace.visualstudio.com/items?itemName=NXPSemiconductors.mcuxpresso and install the extension.
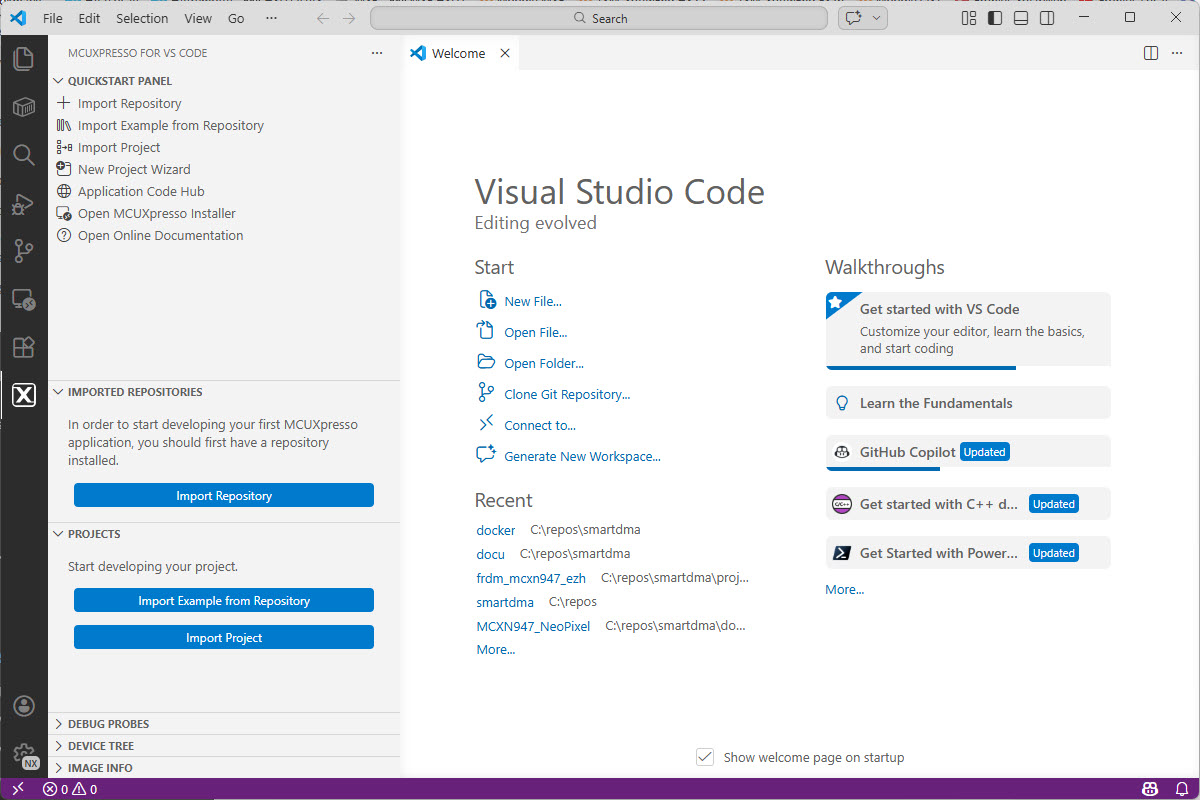
Now you have that ‘X’ icon in the left toolbar with the NXP extension:
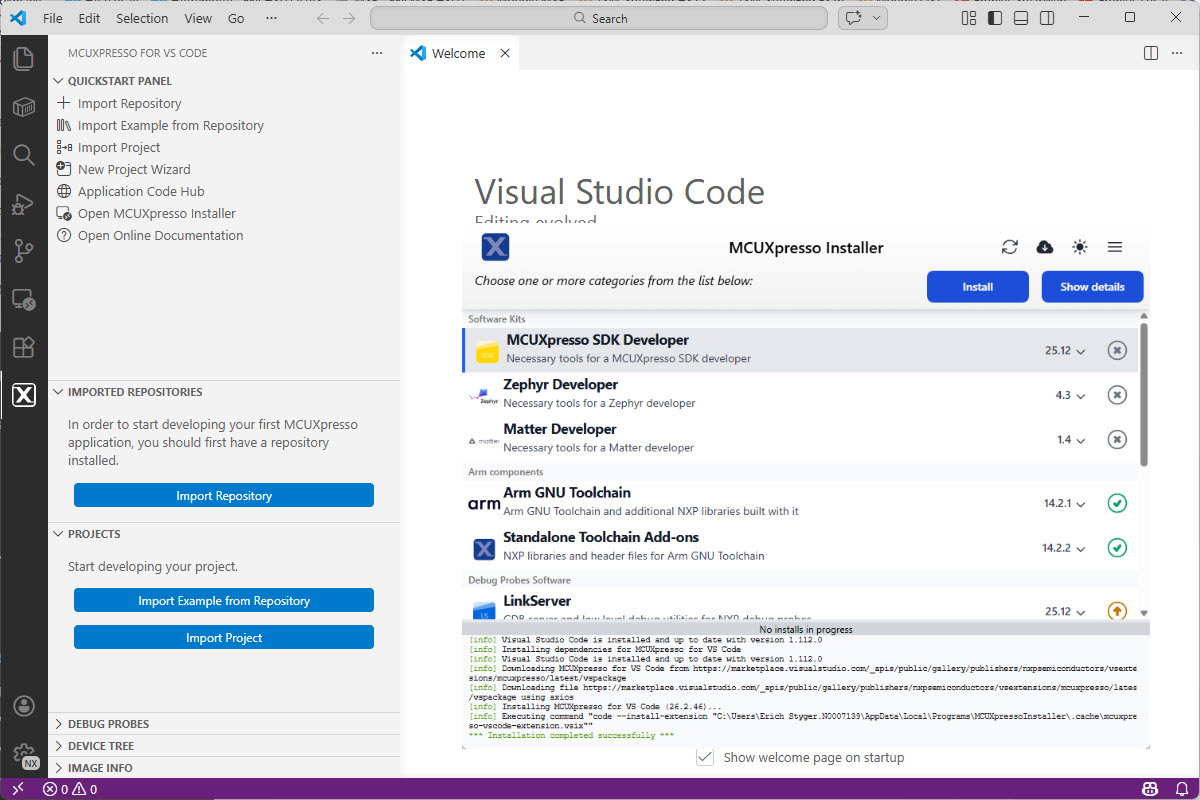
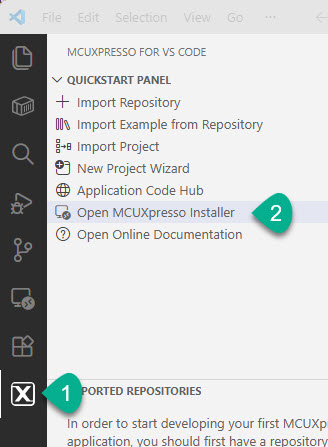
Installer
From the NXP extension, open the MCUXpresso Installer:
In the installer, install the ‘MCUXpresso SDK Developer’ kit:
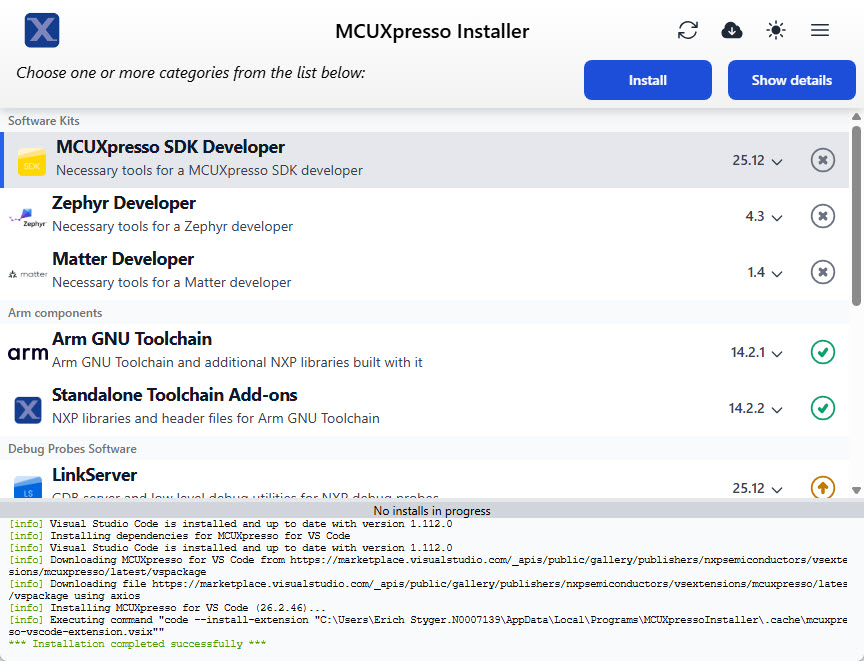
With this, we have all the necessary tools installed.
If you want to install things using the CLI: https://mcuxpresso.nxp.com/mcux-vscode/latest/html/MCUXpresso-Installer-CLI.html
Summary
Installing the necessary tools for a development environment with VS Code has evolved a lot. In the past, one needed to install many different tools, one by one. Now I install VS Code. I add an extension and launch an installer from there. It installs or updates everything for me. It is still not as simple as for packaged Eclipse distributions. But on return I get a flexible development environment in return.
In a next article I’ll show how to work with the SDK repositories.
Happy installing 🙂
Links
- VS Code: https://code.visualstudio.com/
- VSCodium: https://vscodium.com/
- MCUXpresso for VS Code: https://www.nxp.com/design/design-center/software/development-software/mcuxpresso-software-and-tools-/mcuxpresso-for-visual-studio-code:MCUXPRESSO-VSC
- NXP VS Code Extension:
- MCUXpresso for VS Code documentation: https://mcuxpresso.nxp.com/mcux-vscode/latest/html/index.html
