
If your child is making a special wish, you will do everything to make it happen, right? So my daughter’s wish was a ‘moon lamp’. And here is it: a magnetic levitating (MagLev) wireless moon light:

MagLev wireless LED Moon
It is the 50th anniversary of moon landing, so I thought that wish needs to be realized.
To build it, I used the following:
- A laser cutter or access to it (I used an enhanced version) to cut plywood and PMMA material
- a 3D printer or access to it (I used an Ultimaker 2) to print the moon, I used a white PLA
- 3D model of the moon: I have used the fantastic work from Leung Chan (https://www.thingiverse.com/thing:3242080)
- MagLev Kit, search the usual vendors, e.g. this one: https://www.aliexpress.com/item/32826436109.html
- For a wireless moon illumination, search for “Magnetic levitation wireless power supply module”, e.g. this one: https://www.aliexpress.com/item/32822002952.html
- For a battery/USB based LED kit with remote controller, see https://www.aliexpress.com/item/32998601607.html
The wireless LED module gets placed into a 3D printed enclosure:

Wireless LED module
The magnet is put inside the enclosure and the LED module glued on top of it:
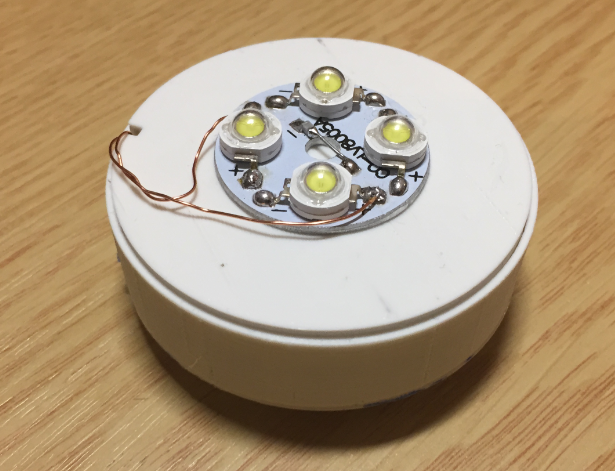
LED Module with Magnet
Below a test with the 4″ version of the moon:

4 Inch Moon Version
The module gets glued into the moon while it gets printed. Below the 6″ version of it:
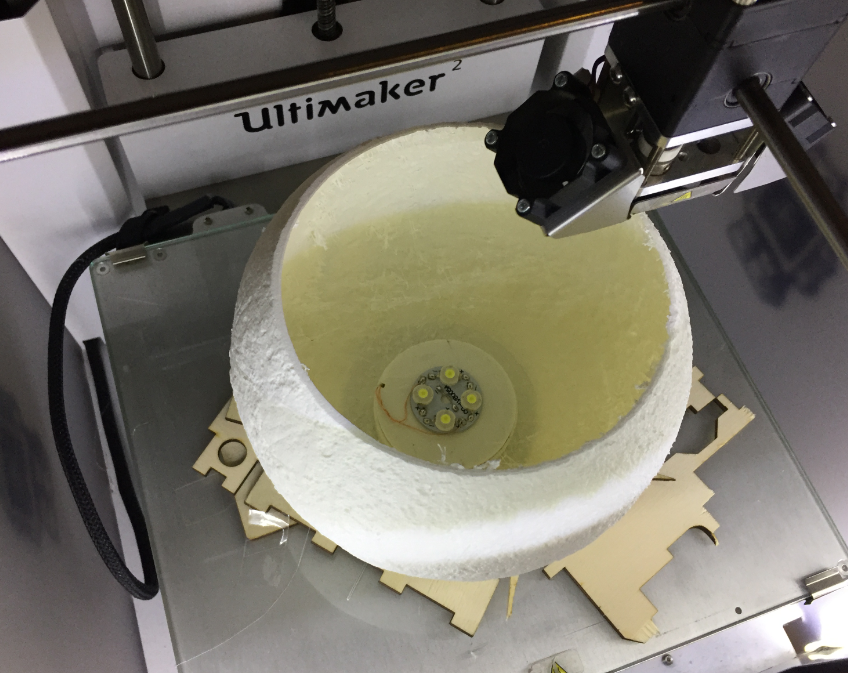
LED Module placed into Moon
I printed the moon without any support and with 100% infill, using a white PLA. To stabilize, I uses some scrap plywood to keep it in place:
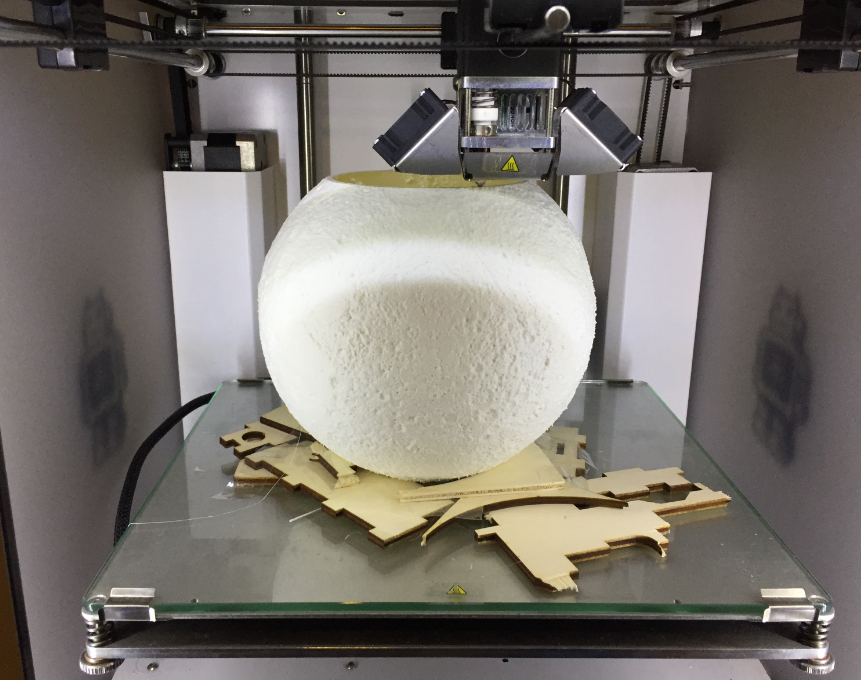
Fixing the Moon while printing
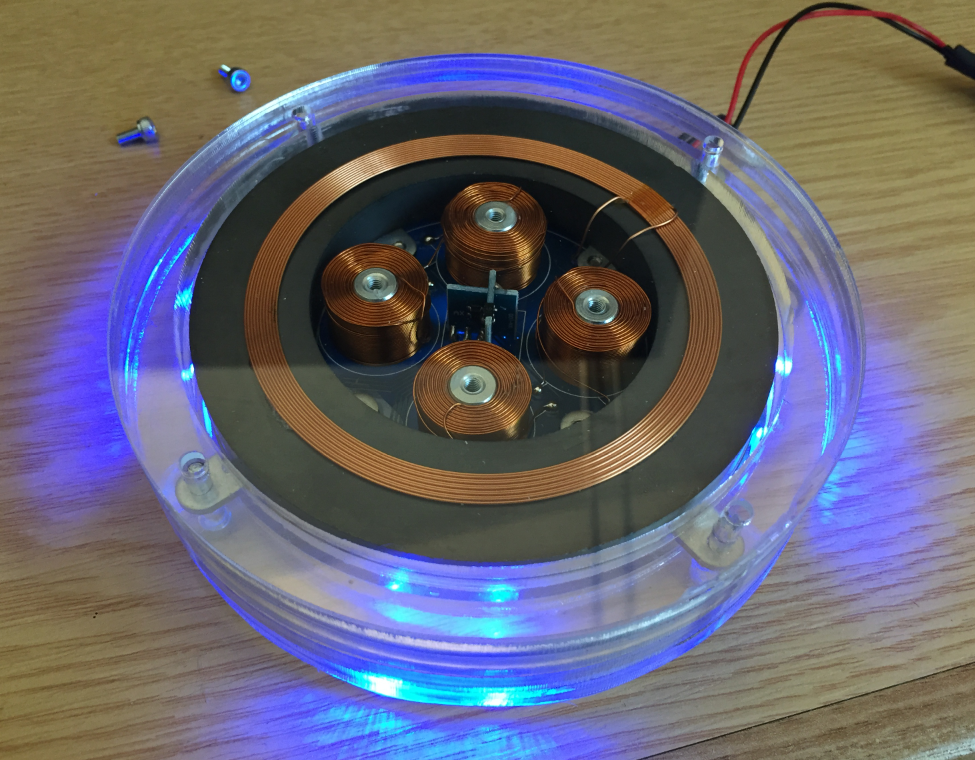
MagLev Base
The original MagLev base came with 8 LEDs on the side. I have cut them and re-attached them to have everything inside a circle.
Ring LEDs
Below is a version of the enclosure using laser cut 5mm PMMA/Acrylic:
PMMA Enclosure
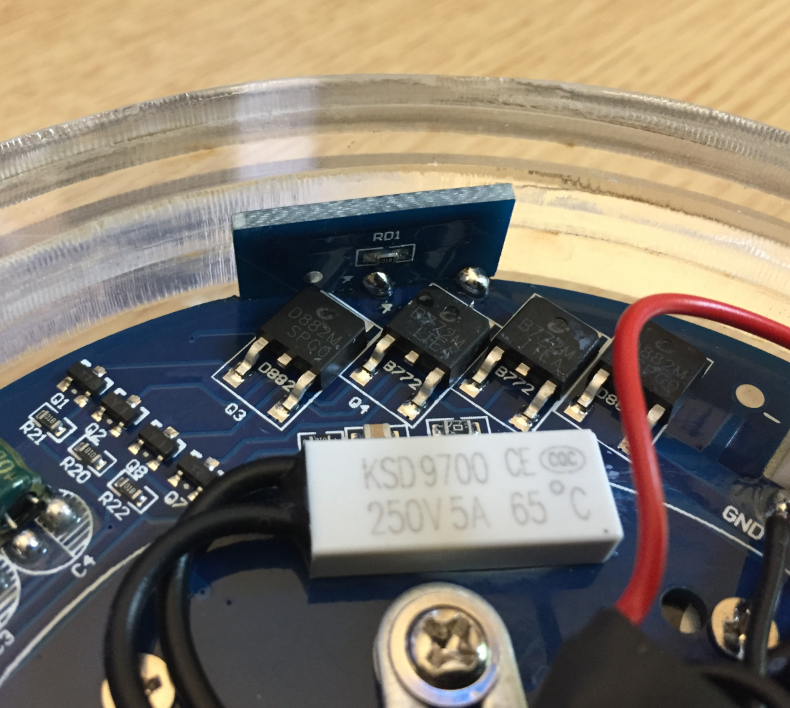
I have put the wireless charging board into the bottom part of the PCB and added an on-off switch to turn off the light:

MagLev Bottom Side
Placing the moon on the base takes a bit of practice and should be done quickly, otherwise the coils get very hot and could overheat. The video below shows the process:
The magnetic field can pull away the magnet with up to about 500 g. Of course no sensitive devices should be placed in the magnetic field.
A cool use case is to levitate small things or a cactus on the magnet :-):

MagLev Cactus
Desk Lamp
I have built a version of the moon lamp with a LED bump inside. I used a 40W (10 or 20W would do it as well) LED light bulb with a cable and a switch:
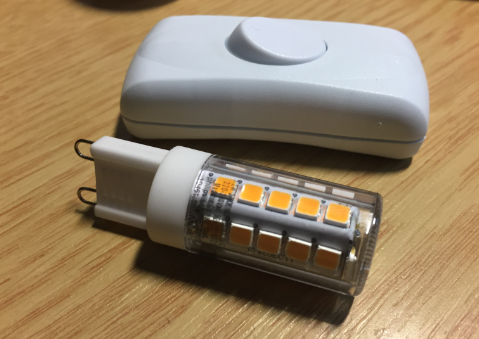
LED Light Bulb
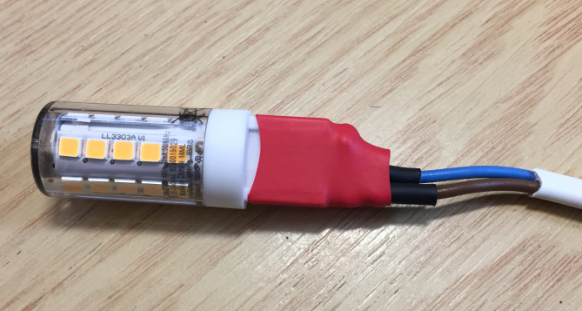
LED Lamp
The LED bulb then gets placed inside the moon and it can hang up. I used a ‘warm white’ LED here:
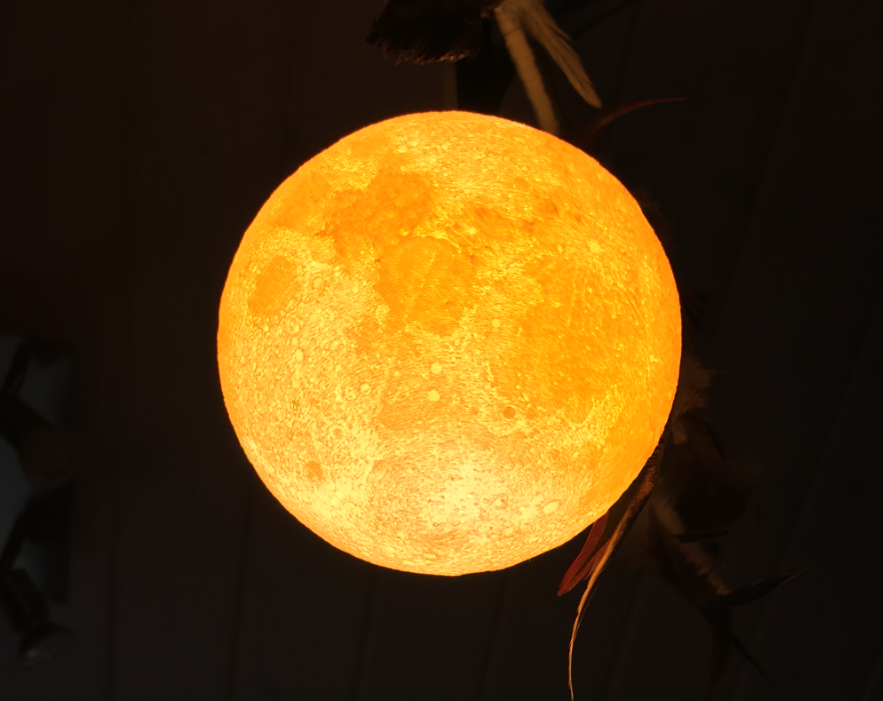
Moon Lamp
Another option is to use a charged version: this includes an IR sender and a microcontroller board with 4 LEDs (white, red, green, blue). The picture below shows it with a 4″ moon version:

Remote Moon Light
The board with the battery is glued into a 3D printed socket:
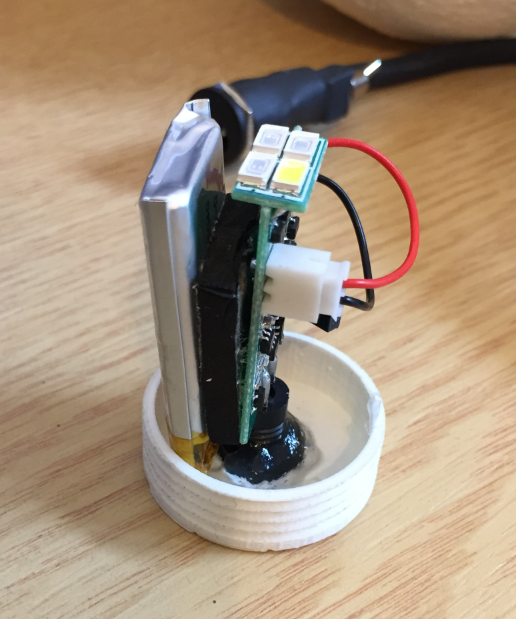
3D printed socket
With this, I have a color cycling moon 🙂
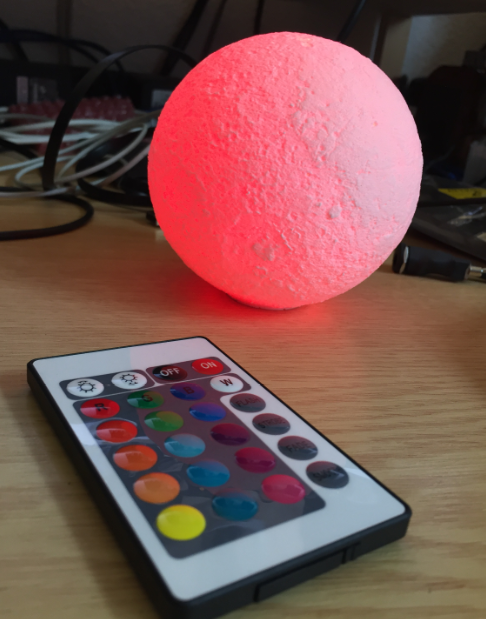
red moon
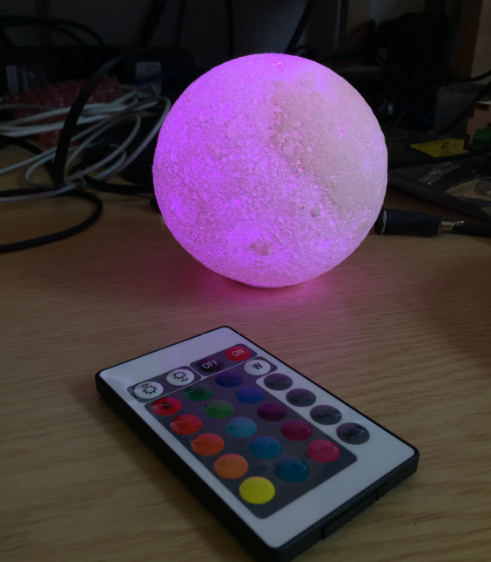
purple moon
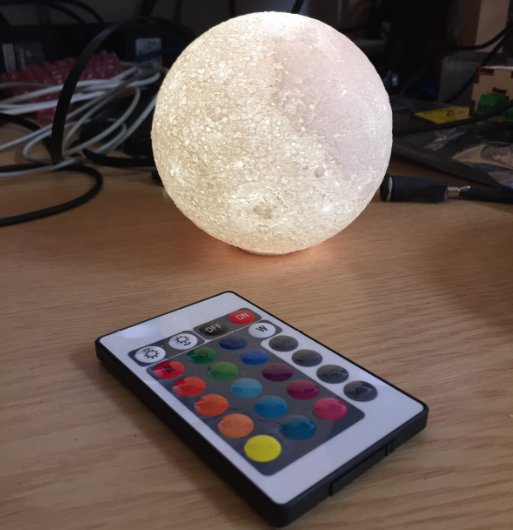
white moon
Name Plate Version
Looking for another use case? At the university our institute chief assistant designed his own name plate:
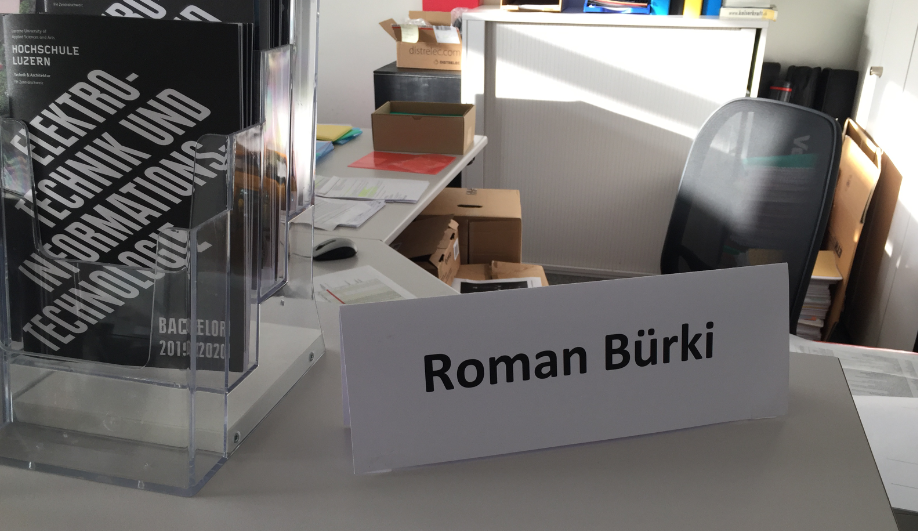
Name Plate
Kind of boring, right? The next step in the evolution is to have something laser cut like this:
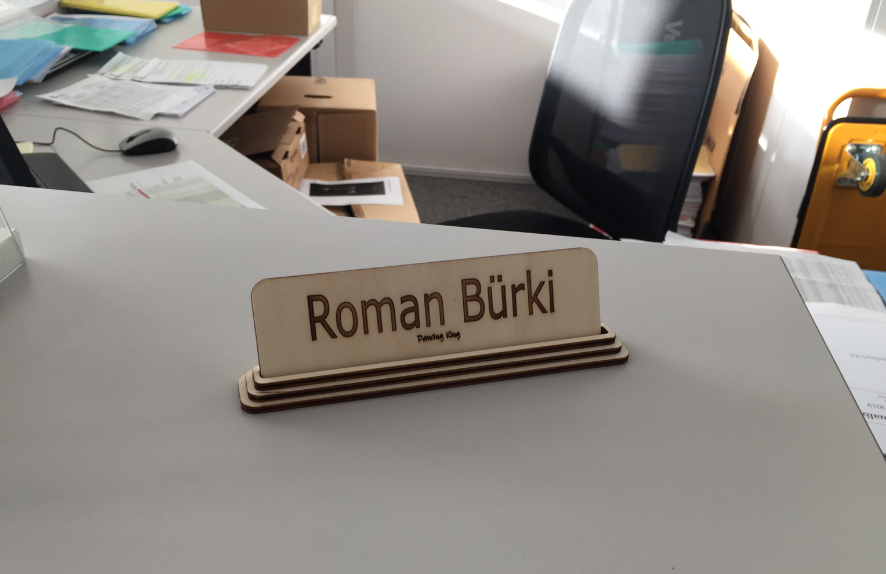
lasercut plywood name plate
Having a MagLev available makes things a bit more exiting:
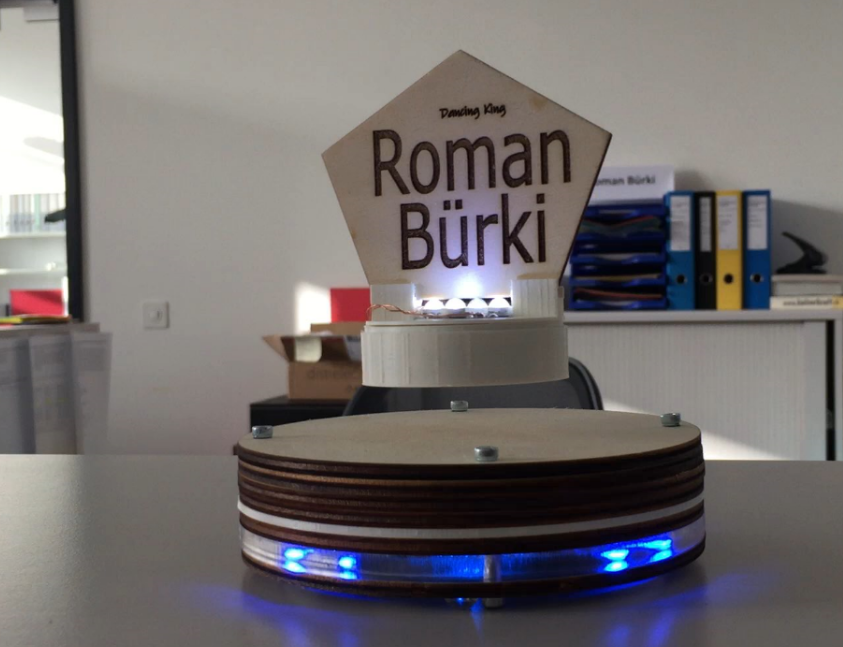
MagLev Plywood Name Plate
I like the Acrylic one too:

Acrylic MagLev Nameplate
But maybe you like the version with the moon too:

MagLev Moon Nameplate
It is cool to make such a MagLev device. All what it needs is some pre-built parts and putting them together.
Happy Mooning 🙂
Links
- https://blog.mifi.no/2015/12/29/levitron-ion-revolution-platform-ez-float-teardown/
- https://hackaday.com/2017/02/26/howd-they-do-it-levitating-orb-clock/
- https://conorpp.com/blog/designing-a-clock-with-levitating-arms-part-1

Nice project! Happy 50th Moon Anniversary!
LikeLike
yes, indeed! I took me a few iterations to get it right.
LikeLike
This post is so inspiring. Congratulations on the hard work and the results look great. You’ve given me a great idea to try.
LikeLike
Thanks! Just make sure you are rather quick with placing an object on the platform: I destroyed one coil while trying to hard and too long.
LikeLike
Erich, I can use your help! I’ve searched high and low, and you are the closest thing to “instructions” I’ve found! I 3D printed a sphere. I bought a magnetic levitation kit. I purchased the Qi based LED kit. My issue is, if I get that LED coil anywhere near the magnet, even though the coil looks like it was made to fit perfections around the smaller magnet, it kills the power to the LEDs. I need to either suspend the coil above the magnet, which works, but causes the LEDs to be less bright or else I can’t get this to illuminate. I’ve thought I needed a wider coil, around the magnets permitter and maybe that’s how I do it? Is there a trick to get both the LED coil UNDER the magnet, and still be able to mount the magnet to the base of the sphere on the inside? Your 3D printed housing for the coil and magnet is brilliant, but I don’t think it would give me the separation It takes to make mine work. I’m struggling with this one.
LikeLike
As you can see, I’m having a distance of about 5 mm from the coil to the magnet. You cannot get them touching together because that way the induction field cannot get around the coil.
LikeLiked by 1 person
That makes complete sense. So, I have 3 possible options… 1. The coil sits ABOVE the magnet, as I have it now, working, but a bit dimmer. 2. The coil is on the bottom, and the magnet is set 5mm above the coil. This may cause the ball to float lower, as it’s heavy already and I’ll have to re-think how to mount it inside. or 3. make the coil a wider circle to possibly be wider than the magnet and still fit in the indiction field. I may at the very least try this, since it’s easy enough to try. Thank you for this page! You’ve helped me work through the issues in my head about “how” I want to make this work!
LikeLike
you are welcome! I hope you will get a working solution.
LikeLike
Love the work, also made one!
Quick question, my moon is turning quite quick and I love to make it turn (much) slower.
Any ideas on how to do that? I do see 2 tunable meters in my base, but no idea what they do.
LikeLike
Thanks :-). My thinking is that the turning is created by small current fluctuations and differences between the coils. I’m not sure about the two (or several) tuning potentiometers, but I think they are to configure the current into the coils.
LikeLike
My lamp no longer works. The moon was setting on the base for a long time after the power went out and I can no longer get it to levitate. Any suggestions?
LikeLike
I suspect the electronics was overheating and has been damaged. I recommend that you get a schematics and check the components on the power side, probably some FETs have been damaged. Or simply buy a new base.
LikeLike
Cool stuff 😱
I am curious if I coat the coil in a resign and hover a resign object with the magnet inside, will this be an issue? Also not sure how to measure what coils and magnet to hover a specific amount of weight…
LikeLiked by 1 person
Resin is a good way to add physical protection, but keep in mind the change of magnetic field force. You can calculate and predict the force, e.g. see https://en.wikipedia.org/wiki/Magnetic_field. The biggest concern I have about using resin is that you need some way to get proper cooling, so you need to consider taht.
LikeLike
Is there any way I can build this except with a bulb instead of that led power supply you listed I’ve been looking but I cant find any tutorials on how to make something like that? Any links/advice helps.
LikeLike
You mean: you want to use the mains voltage with a light bulb inside? You don’t want to do that, and that’s the reason you won’t find anything. First mains voltage is very dangerous, second it will be hard to transmit enough energy for a the light bulb instead of a LED light. Sure, technically you can do it, it is just not reasonable.
LikeLike