
Sometimes it is very convenient to load a new firmware to a board without the need for a hardware debugger. This is usually done with a bootloader. The NXP Freedom and Tower evaluation boards have on-board debug device/microcontroller (OpenSDA) which can load different firmware implementations like CMSIS-DAP/mbed, P&E Multilink or a Segger J-Link OpenSDA applications. Both mbed and P&E implemenations support to program the board with drag&drop: simply send a file to a virtual MSD (Mass Storage Device) to get it programmed. The latest Segger OpenSDA firmware has this ability added now too: Programming the board with a virtual MSD device:
Virtual MSD Device
Outline
The principle is that the OpenSDA (Kinetis K20) on the board is not only provide a USB interface for debugging (CMSIS-DAP, P&E or Segger). It can implement multiple USB functions as a ‘composite’ device. For example Debug+USB CDC (USB-to-Serial). What Segger has now added to their ‘J-Link Debug + USB CDC’ implementation is a ‘virtual MSD’: the device emulates a virtual Mass Storage Device like a disk drive or memory stick. The firmware recognizes writes to the MSD device and translates that into flash programming of the target device. That way I can copy a S-Record file to that virtual MSD device, and it will program the target device on the board.
This ability is in *addition* to the normal debug and virtual COM (USB-2-UART/Serial) capabilities :-).
Installation
The Segger.com page for OpenSDA is on https://www.segger.com/opensda.html
Download the firmware (.bin file) matching your board from https://www.segger.com/downloads/jlinkopensda.
💡 Because the flash programming of the virtual MSD device has to match the target device on the board, make sure you select the correct firmware! The Segger page still provides the ‘generic’ firmware without virtual MSD at the bottom of that page.
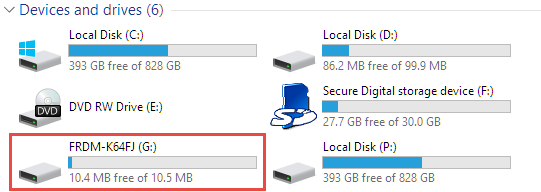
To program the board with the firmware .bin file, put it into bootloader mode first so it shows up as BOOTLOADER device. For this, power the NXP Freedom or Tower board with the Reset button pressed (see as well “Step-by-Step: Updating OSBDM/OSJTAG Debug Firmware“).
Then copy the firmware .bin file to the BOOTLOADER device. One way on Windows is to use the ‘Send to’ function:
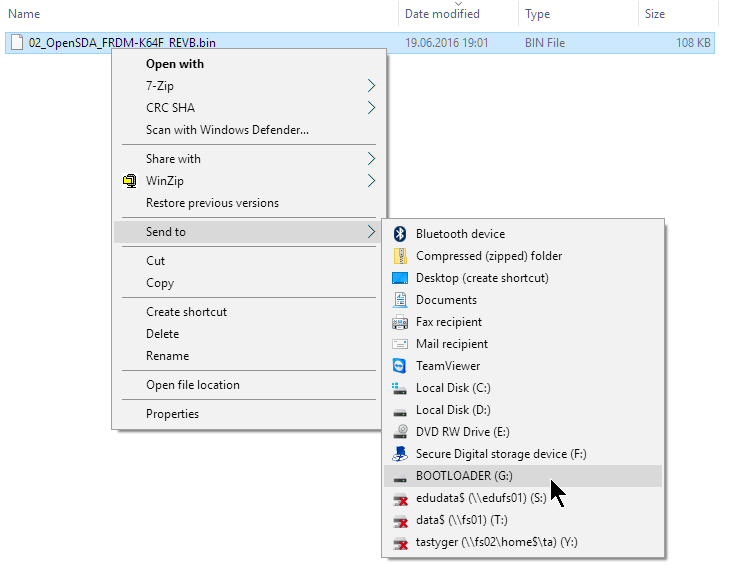
Send to Bootloader
Restart (re-power) the board again. The first time it now might install other drivers:
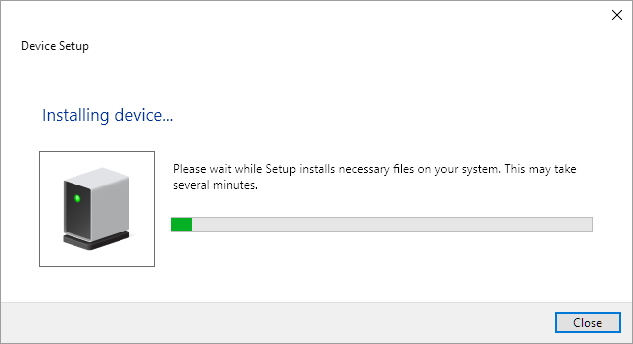
Device Setup
Now it should show up as an additional device on the host:
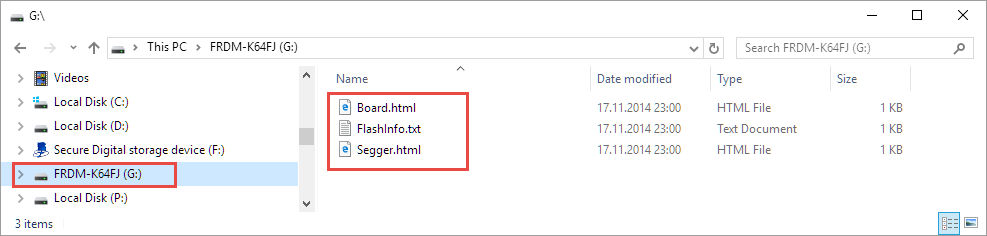
MSD Device on the Host
The FlashInfo.txt file informs about which flash programming is used. It has to match the device on the board used:

FlashInfo Text File
The Board.html points to the vendor board page so this is cool way to get started with the board:
Board Page
For the flash programming, the following file types are supported:
- Motorola S19 (S-Record)
- Intel Hex
- Binary
See “S-Record, Intel Hex and Binary Files” about the different file types and “Binary (and S19) Files for the mbed Bootloader with Eclipse and GNU ARM Eclipse Plugins” for how to generate them for example in Kinetis Design Studio.
Using Virtual MSD
To program an application with the virtual MSD, I have to write it to the device. I can do this with a ‘copy’ command, or copy-paste the file with a file explorer.
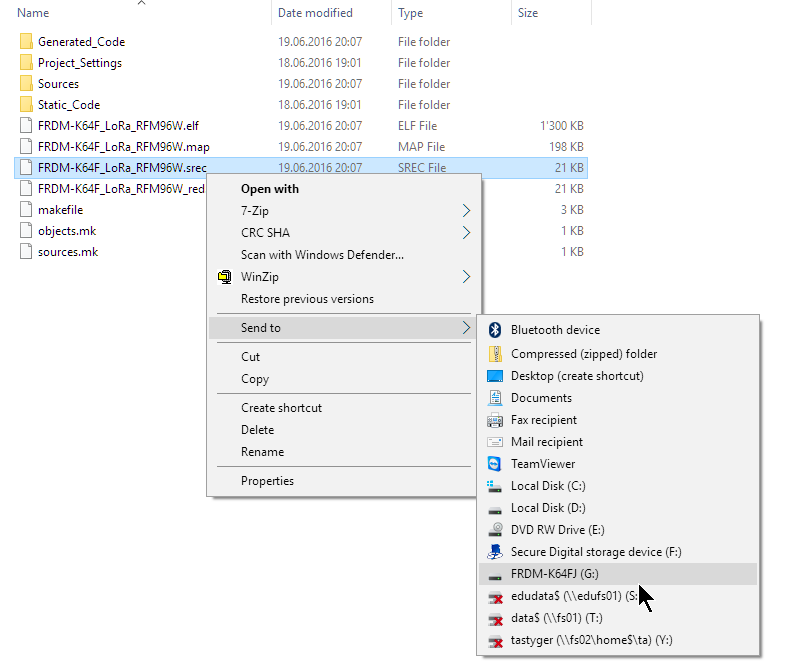
Sending S-Record File to the MSD
Summary
Normally I program an evaluation board with the debugger. Having a virtual MSD programming feature is a cool add-on with this re-programming the board does not need a debugger: a simple copy operation to the virtual disk drive is enough.
Happy Programming 🙂
Links
- OpenSDA: http://www.nxp.com/opensda
- Segger OpenSDA: https://www.segger.com/downloads/jlinkopensda

Very useful for new board and first tests !
LikeLike
Only if the board has that OpenSDA firmware loaded. So far existing NXP Freedom and Tower boards have a different firmware on it, so you need to load that Segger firmware first.
LikeLike
Pingback: Remote Debugging with USB based JTAG/SWD Debug Probes | MCU on Eclipse