
In “openHAB RGB LED Light Cube with WS2812B and NXP Kinetis” I started experimenting Kinetis boards, a LED cube diffuser and Adafruit WS2812B NeoPixel LEDs. That worked well, but I was not to very happy about the visual effect. So here is my next version: I wanted to have control over each side of the cube. For this I have built a cube inside the cube with a 3D printed structure:

Bare LED Cube
To mount the LCD boards in a cube form, I have printed a 3D structure:
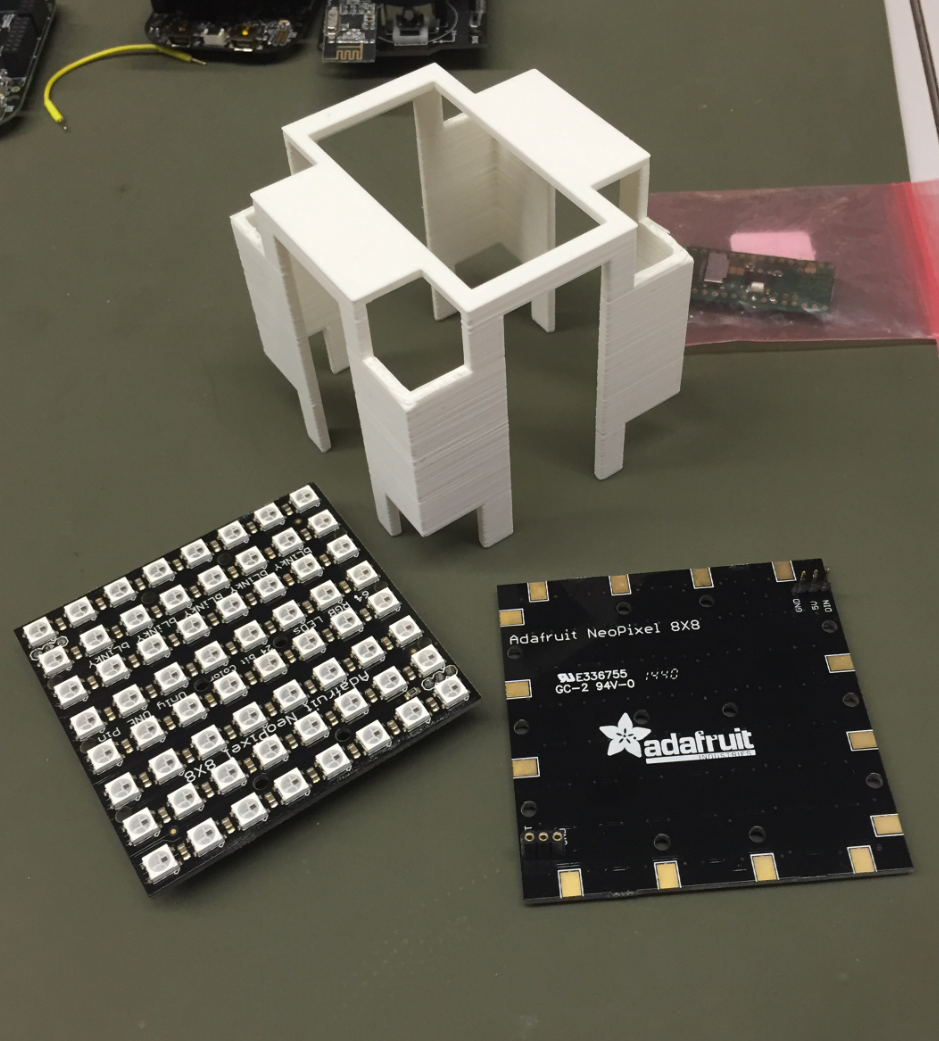
3D Printed Structure with Adafruit Boards
The boards get attached to the structure:
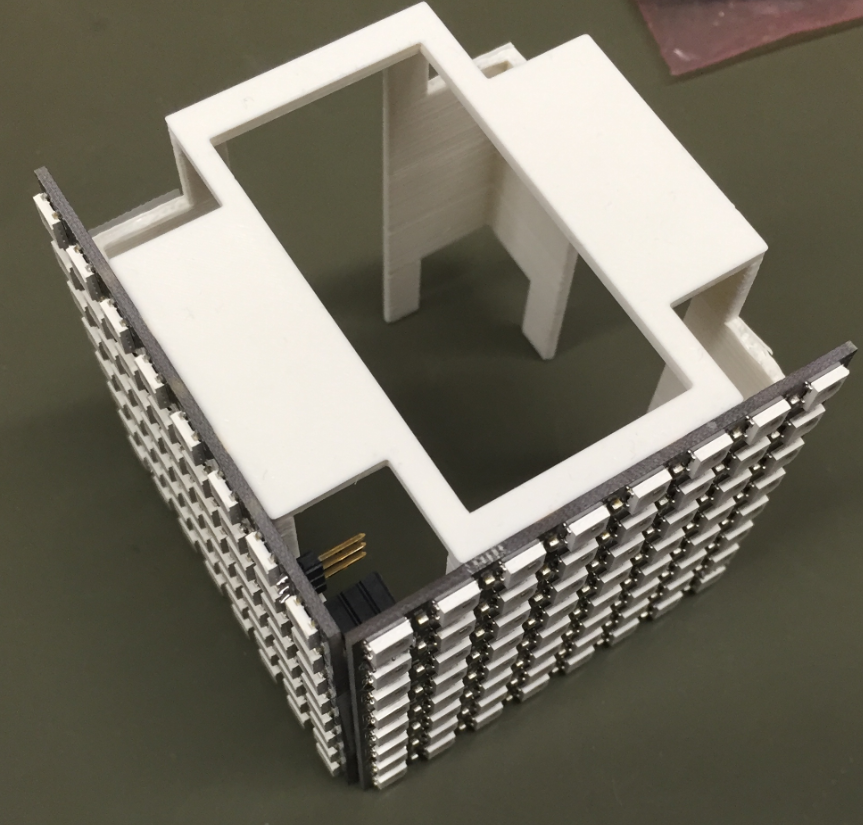
Board Placement
This is how the cube looks like with 5 boards mounted:

Boards mounted on Cube
First LED Tests, with low current:

First Cube Tests
With built-in smoothing between colors:
Bare LED Cube
Video of the transition:
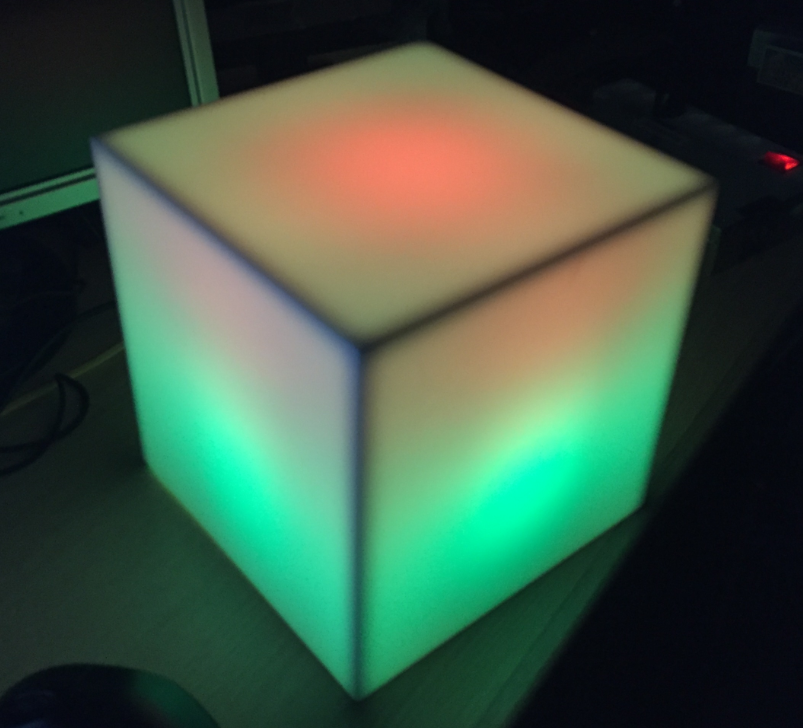
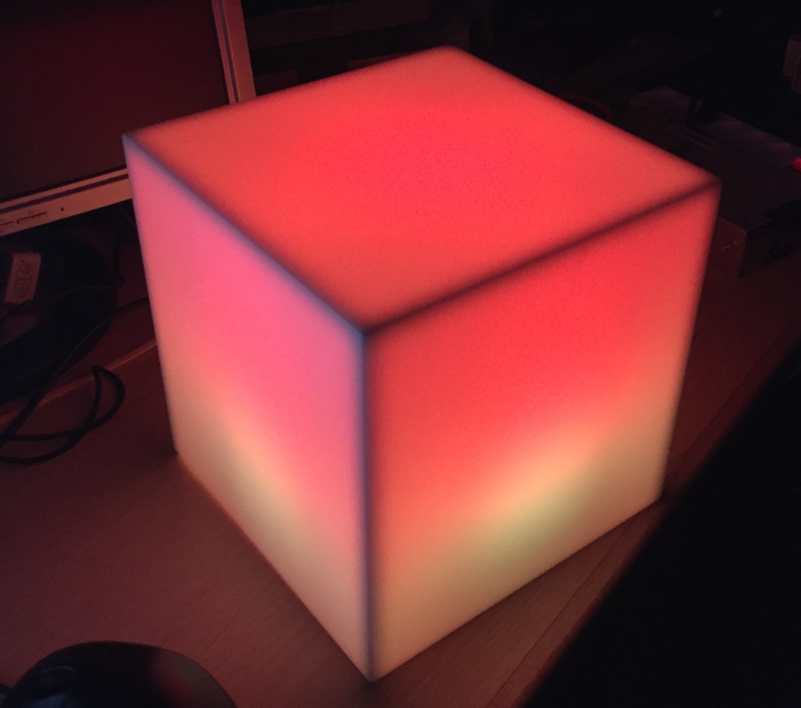
With this I can control each side of the cube and blend the colors nicely. With sides and parts of the sides changing slowy the colors and moving up and down the cube it gives that ‘Lava Lamp’ kind of look:
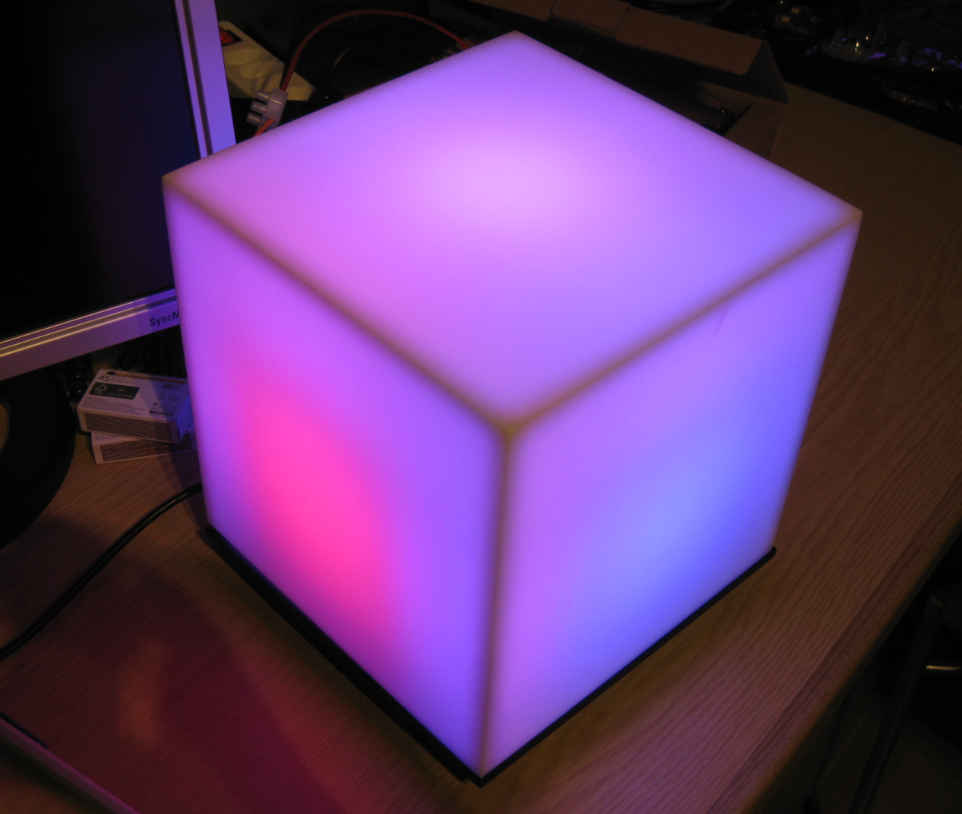
Cube
Temperature
The cube structure made of PLA can get warm (around 70°C) and softens a bit if the LEDs are at full power. PLA melts around 180-220°C, but because the structure is very light it easily can affect the stabilit. I think I would definitely need some different internal structure material, both for cooling and heat resistance. Right now I’m limiting heat with controlling the average brightness.
Power
Each LED color needs up to 20 mA, so that would be a max of 60 mA per LED (red, green and blue). With 5 times 64 LEDs that makes a maximum of 20.4A (!!!). Glad I had a 5V 40A power supply so I could even add more modules to the cube :-):

5V 40A Power Supply
Enoug power to drive more LEDs, but because of the heat I don’t want to run the LEDs full power for too long anyway.
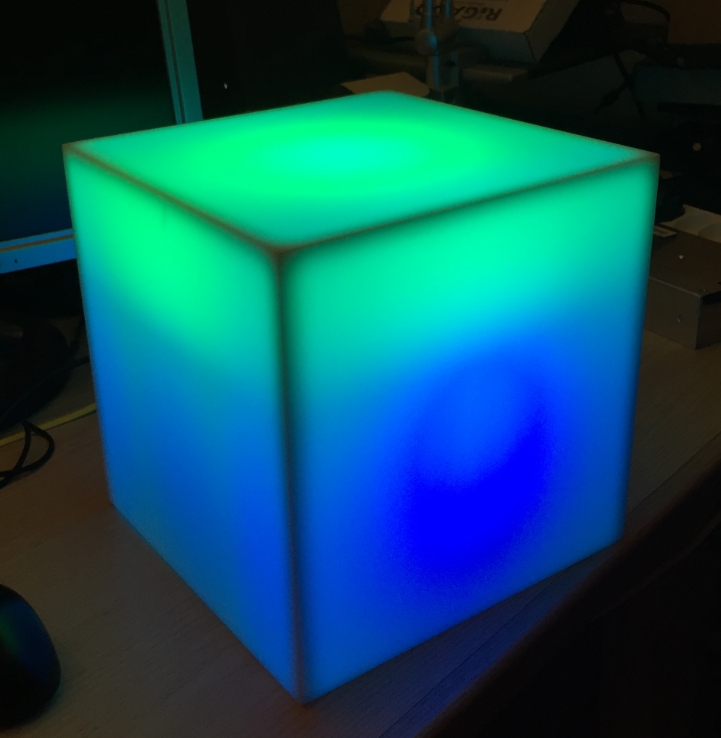
Colors
Here are a few impressions how it looks like. But the pictures only barely can capture the real effect in the room:


Video:
I have now 5 different scenes I can control (color, speed, transition effects).
Summary
The cube supports now multi-color effects with a RGB LED cube inside. The total of 320 LEDs draw a lot of current and cooling might be a challenge if running at full brightness. In a next step I could add extra BLE beside openHAB control (see “How to Add Bluetooth Low Energy (BLE) Connection to ARM Cortex-M“). And of course add more colorful programs :-).
Sources of the project are available on GitHub.
Happy Cubing 🙂

This is a very nice project – something I need to build for my home!
I did something similar with a Christmas tree shape, but with just 49 NeoPixel-type LEDs – see the short YouTube video here:
http://youtu.be/0LZN7ZdqucE
It was a big hit during the past season.
Jeff
>
LikeLike
Hi Jeff,
that one looks cool! Have you had any heat problems with running the LEDs full brightness for a longer time
Erich
LikeLike
Erich,
My tree used a breathable light-diffusing fabric (covered in gold tulle) to hide the LEDs and allow good ventilation, so heat buildup was not an issue. I also included a 1500mA-hr battery in the base, which allows about 8 hours of run time on moderate brightness.
I imagine some ports in the base of your light would allow a quiet fan to draw in cool air and release warmer air to the environment. I don’t think it would take much ventilation to keep internal air temps at a maximum of 40C.
By the way, did you mitre/chamfer the box edges to get such a nice fit? The pieces appear to go together beautifully!
LikeLike
Hi Jeff,
the box edges has been cut on a machine with proper aligned, then glued togehter. You see the detail in https://mcuoneclipse.com/2016/01/30/openhab-rgb-led-light-cube-with-ws2812b-and-kinetis/
LikeLike
Hi Erich, I’ve built a similar project, but using the PSoC BLE from Cypress. It has programable logic blocks, called UDBs, in this way I could link the DMA to it. It loads the light control programs from the SD card and is linked to a Raspbery Pi 2 running OpenHAB, which I use to control and bridge all my devices.
It used 3 bytes for each led, and has the capacity to drive 16 streams each with 64 LEDs. The UDBs serialise the byte into the WS2812b and APA104 protocols. Giving a lot of time to the CPU to process the programs.
The difference on my project is that it uses a 15cm diffuse acrylic tube, the LEDS are arranged at the center in 8 rows of 36 LEDs. The cooling comes from a small fan on the base and goes through the inside of the structure to top where there are small roles.
The power is supplied by a custom power supply using a 115v/230v -> 48v transformer (3A) -> 2 discrete DC/DC converters (5v/12A) controlled by the PSoC.
I can share the project if you want to take a look.
My current project is to build and enclosed POV with the same acrylic diffuse tube using a brushless motor on the base with a balanced pivot rotating two sets of 20 LEDS, rotating in 60hz, indexed, PID controlled and using inductive power transfer.
– Rodrigo
LikeLike
Hi Rodrigo,
is there a video or something else available on that project (sounds exciting!). I’m using DMA for transmitting the data to the WS2812B LEDs (see https://mcuoneclipse.com/2015/08/05/tutorial-adafruit-ws2812b-neopixels-with-the-freescale-frdm-k64f-board-part-5-dma/), and use as well 3 bytes only for a LED with a maximum 8 parallel lanes.
LikeLike
Pingback: Avoid Warping ABS on Ultimaker 2 | MCU on Eclipse