For the INTRO Zumo robot I have three wireless options: Bluetooth, nRF24L01+ and IEEE802.15.4 with the Freescale MC1320x transceiver. For the nRF24L01+ I have developed a simple radio network stack which I can use with the MC1320x transceiver too.

MC1320x and MC13213 SRB Board
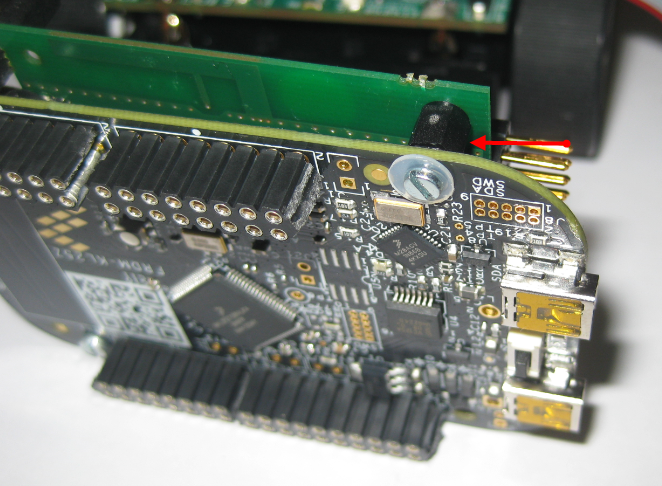
MC1320x and MC1321x
I’m using two variants of the Freescale IEEE802.15.4 transceiver:
- MC1320x on a daughter card (evaluation board). This board is put on top of the robot.
- MC1321x which is present in the MC13213 microcontroller from Freescale. Basically this is a SiP (System in a Package) with an S08 GT60 microcontroller and the MC1321x transceiver). I use it with the Freescale SRB board.
The two transceivers are pretty much the same, but initialization is a bit different. I already use the transceivers with a SMAC driver in many projects.
Because of the limited space on the robot base PCB, it was not possible to directly connect the transceiver card. The transceiver card is simply too big and has too many connections. We could have designed our own transceiver boards, but that would have been too much efforts. And as we had the transceiver cards available, why not simply using what we have.
💡 In the future I plan to phase out the MC1320x cards and replace it with nRF24L01+. These transceivers are smaller, less expensive and easier to handle.
Adapter
To connect the MC1320x card with the robot, we created an adapter PCB which connects to the robot using a flat band cable:
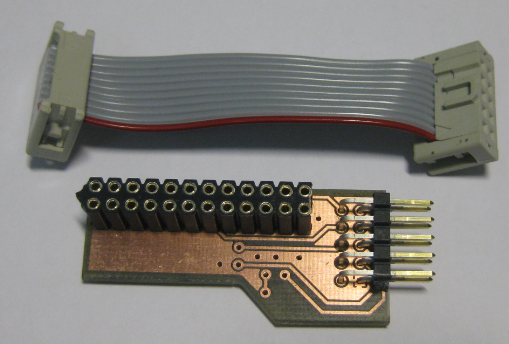
Adapter PCB with Cable
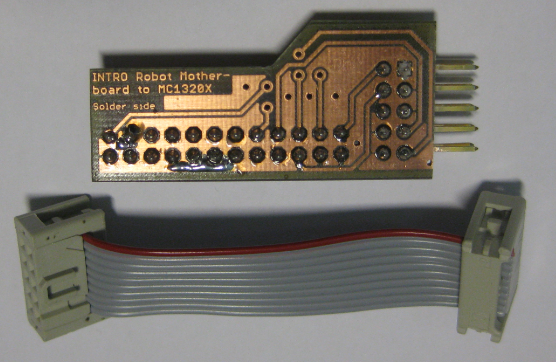
Adapter PCB back side
Connection to Base PCB
The flat band cable connects to the base PCB of the robot:

Adapter Cable connected
Even with careful review of the PCB layout, it is hard to get it right the first time :-(. And the ‘check the footprint’ thing striked again: The extra space needed for the cable connector has not been considered 😦
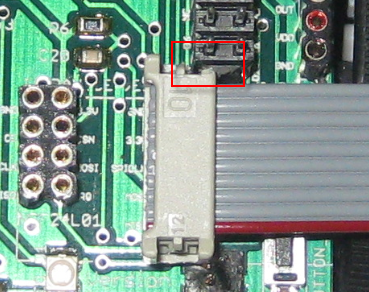
Footprint Conflict
The workaround is to cut off a corner of the connector:

Cut Off Corner
Mounting the Transceiver Card
The transceiver card gets mounted on top of the FRDM-KL25Z board:

Transceiver Card Mounted on Top of the FRDM-KL25Z
To prevent contact between the two boards, the FRDM-KL25Z rubber feet are moved under the board:

Rubber Feets Moved
With a distance holder the two cards are tight together:
Distance Holder
Mounted on Robot
Finally, the boards get mounted on the robot:

IEEE802.15.4 Card mounted on Zumo Robot
Summary
That IEEE802.15.4 card provides me an extra communication channel to my robot. Using that evaluation card is not the most ideal thing: just using what I have available ;-). On the other side: I can use it with the RNet wireless stack, so making communication very easy. With this, I can easily build a wireless network between multiple robots.
Happy Transceiving 🙂

It´s look like great. I think you should show us a video, I really want to see it in action. 🙂
LikeLike
Good idea :-). I’ll bring my camera tomorrow and post something.
LikeLike
Hi Braulio,
and here is the video: https://mcuoneclipse.com/2013/11/27/sumo-robot-with-accelerometer-remote-controller/
LikeLike
Pingback: Sumo Robot with Accelerometer Remote Controller | MCU on Eclipse
Pingback: RNet: optional ACK, Dynamic Payload and Extended nRF24L0+ Driver | MCU on Eclipse
Pingback: RNet Stack for 8bit MC9S08QE128 Microcontroller and MC13201 Transceiver | MCU on Eclipse
Pingback: 2014: A Look into the Magic Crystal Ball | MCU on Eclipse
Pingback: Enhanced RNet Wireless Components and Communication Stack | MCU on Eclipse