
Hi, this is Mark from embeddedpro in the United Kingdom and I’m back with more videos and blogs. In the next few weeks there are two new Cortex M33 development boards becoming available. I’ll blog about my first impressions of the boards, and what I’ve been doing with them. I want my blogs give you some tips, hints and ideas about things that you can do: let me know in the Comments below.

In the last week of April 2020 NXP extended their popular Cortex M33 core microcontroller family LPC55xx with the entry-level LPC55S1x series. This is a ‘streamlined’ variant with 64k up to 256kbytes of flash memory and a single core. But it maintains the smaller 64 HTQFP package and 150 MHz operation, as well as dual USB (one Full Speed and one High Speed). And it adds (at last!!) CAN-FD for industrial bus applications.
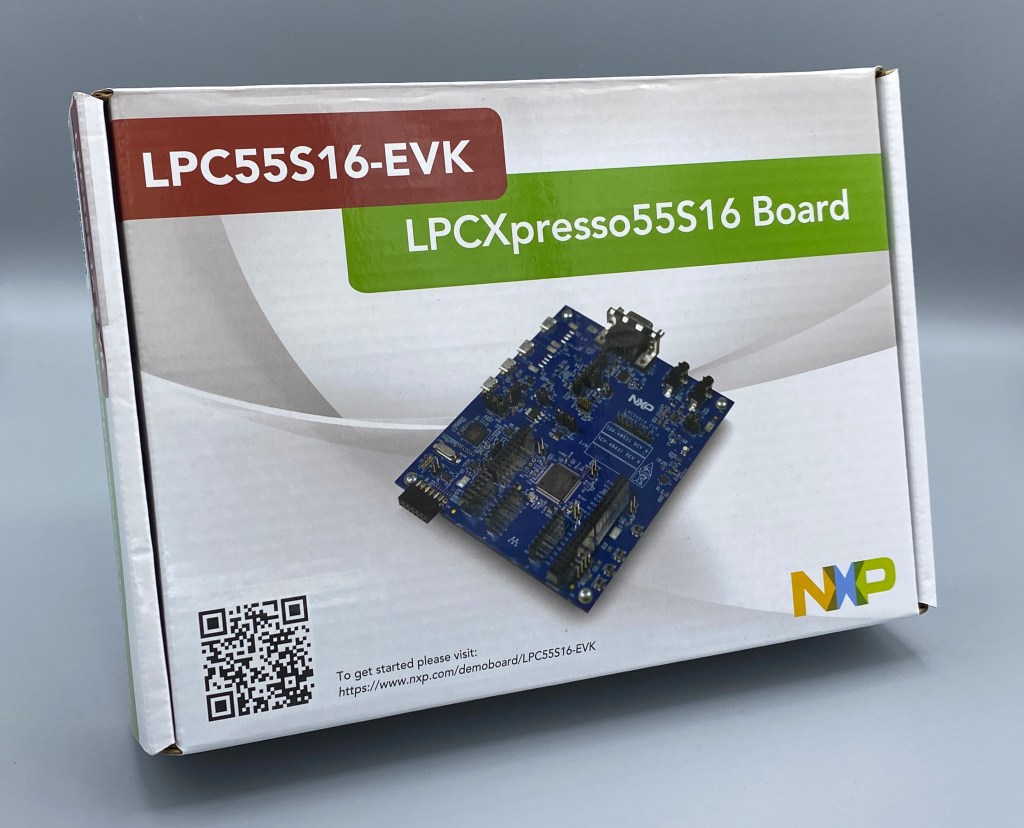
The LPC55S16-EVK is the evaluation board for this new LPC55S16 family. As is common with LPC evaluation boards, it has two names. I’ll be referring to the board as LPC55S16-EVK but you may also see it named LPCXpresso55S16: both names are printed on the glossy white box:
My 4 minutes “Unboxing” video is hosted on the embeddedpro YouTube channel with many of my previous videos about ARM Cortex® M33. You can also watch it embedded here:
The first thing that I noticed is that it is a little larger than the LPC55S69-EVK at 105mm x 123 mm. There is no SDIO interface on the LPC55S16 and so the board does not feature the microSD card socket. Instead, that part of the board is replaced with the 9-pin (male) D-sub connector. It is male gender (with pins), so not an old-fashioned UART. Instead, this is the CAN-FD connector.
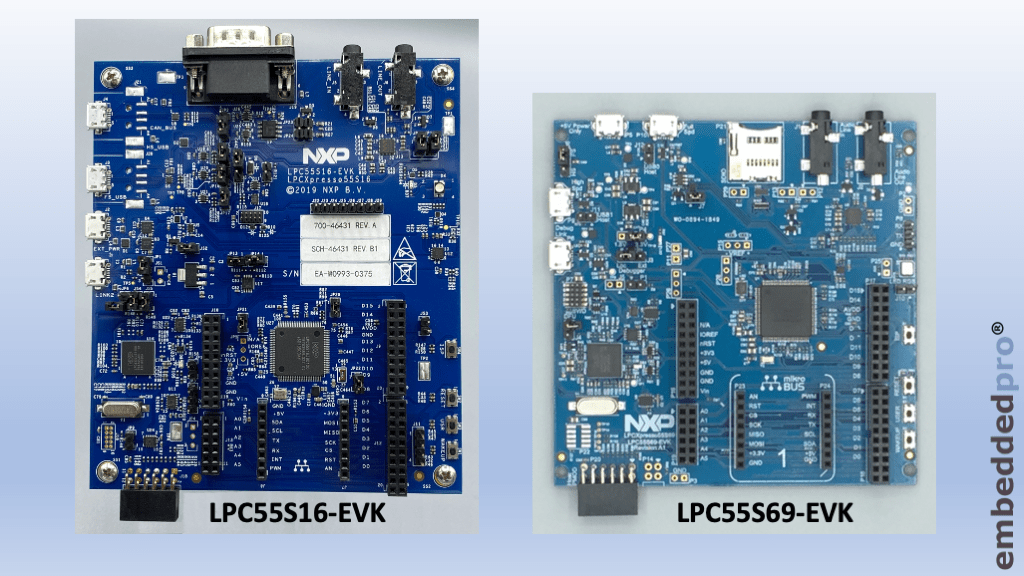
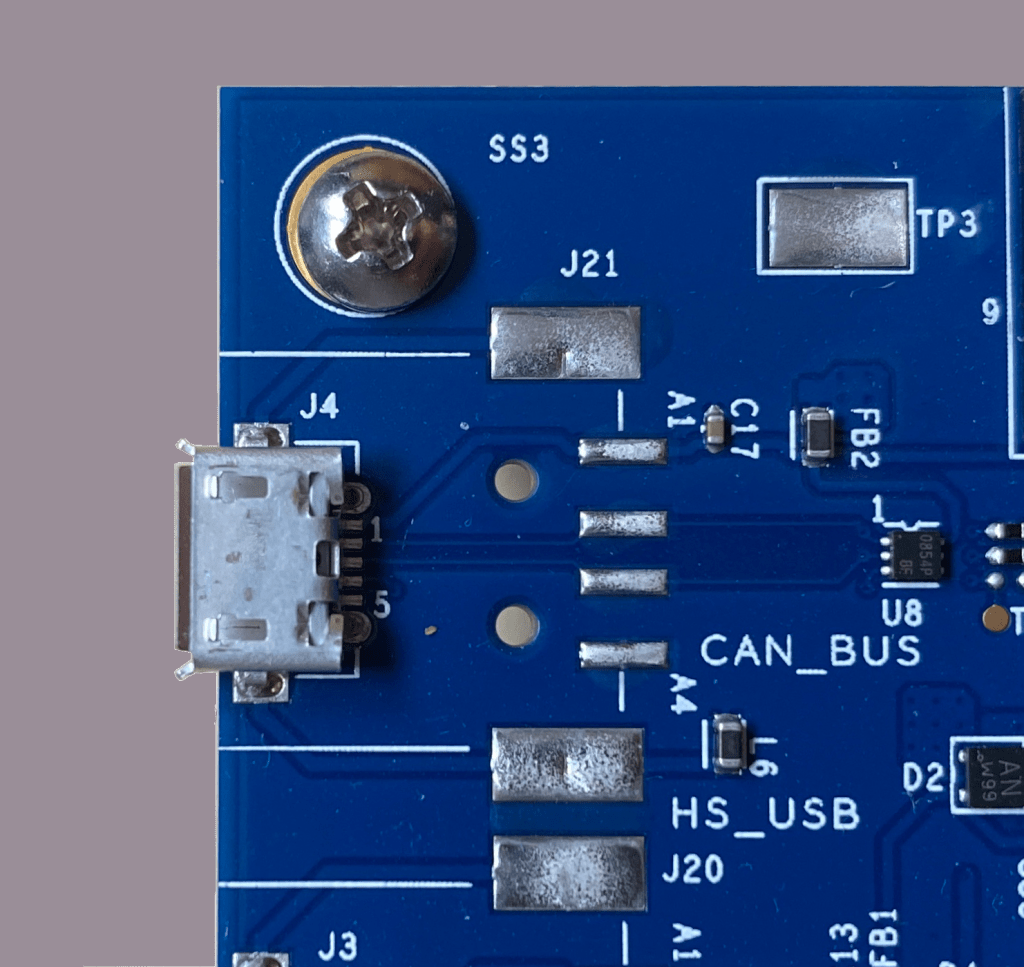
Another obvious change is that the four micro-USB receptacles have moved onto the same, left-hand side of the board. Since the LC55S16 has both full-speed and high-speed USB, the four receptacles are labelled HS_USB, FS_USB, EXT_PWR and LINK2. One really cool feature is that the PCB footprints are provided for USB Type-A receptacles for both the HS_USB and FS_USB ports. This means that you could remove the micro-USB receptacles and solder on USB Type-A receptacles when the LPC55S16 is operating as a USB host. Now you can connect a mouse, keyboard or USB pen-drive directly to the (modified) board without the need for a converter cable. Thankyou, NXP, that is very thoughtful.
One other obvious change on this LPC55S16-EVK board is the great increase in the number of headers and jumpers. This board is now very versatile and easier to adapt to your own use. As an example, I wanted to measure the current consumption of the LPC55S16. That was as easy as removing a jumper (JP20, JP22 or JP21) and inserting an ammeter onto the header. To make a similar measurement on LPC55S69-EVK I needed to solder a header at P12.
So, my first impressions of LPC55S16-EVK:
- Keeping all the good things from LPC55S69-EVK (like the audio codec, LPC Link2 debugger, ISP mode)
- Maintaining connectivity (Arduino, Mikro, PMOD)
- Much more versatility
- Thoughtful provision of USB Type-A footprints
- Many more jumpers, headers, configuration
- New CAN-FD functionality
I’m going to be posting next time as I put some of these features to the test. In my next video I’ll show the USB speaker demo from MCUXpresso SDK. In that demo the EVK is programmed to be a USB-connected speaker. Audio from my host computer will be sent via USB Full Speed to the LPC55S16-EVK and output through the Cirrus Logic audio codec to a speaker connected to the LINE_OUT 3.5 mm headphone socket. I’ll also measure the power consumption in that use-case (SPOILER ALERT – It is extraordinarily low) and well as measuring the power consumption of the CAN-FD loopback demo with the core running at 150 MHz (SPOILER ALERT 2 – It is extraordinarily low).

Pingback: Placing Code in Sections with managed GNU Linker Scripts | MCU on Eclipse