
I admit: I love command line interfaces. Because that gives me usually much more control than any GUI (Graphical User Interface). I like the fact that they have put a UART interface on the RIoT board:
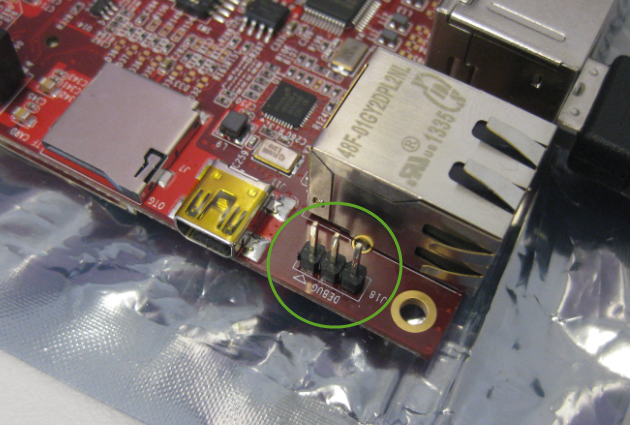
J18 UART on the RIoT Board
The header is J18, and labeled as ‘DEBUG’. But it is not really debug port, it is the console/UART to the system running on the board 🙂
To connect it to a host PC, I need a level shifter or a UART-to-USB CDC converter.
A convenient one is available from element14, and Embest has a Quickstart Guide for it (http://www.embest-tech.com/download/201406051241.html).
UART8000-U
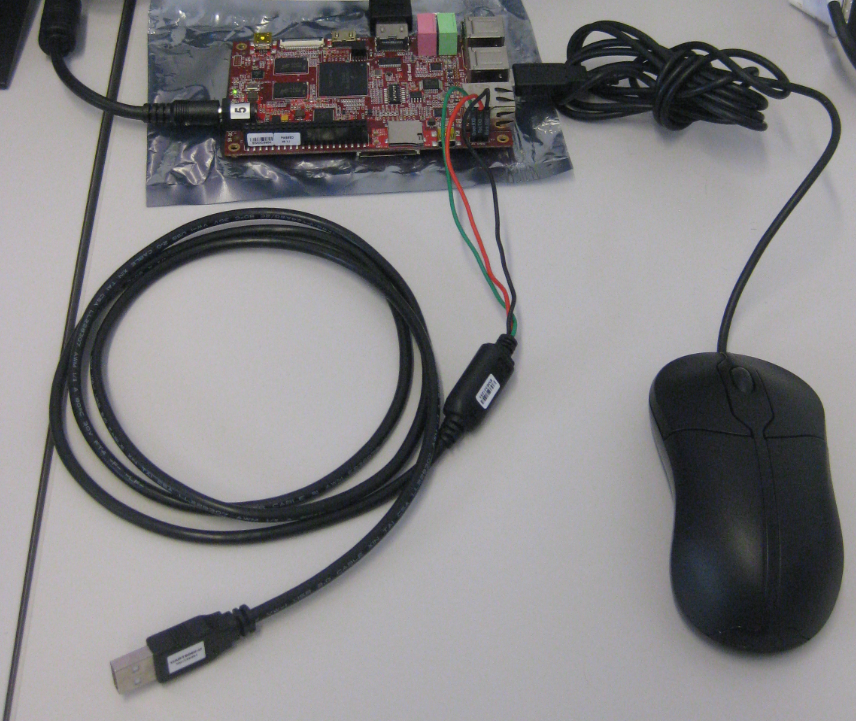
The converter gets connected to J18. The Rx and Tx lines need to be crossed as shown in the picture below:

UART8000-U Connection to RIoT Board
The UART8000-U uses a FTDI chip, and I already had drivers for it installed on my system, so everything installed automatically:
💡 http://www.embest-tech.com/shop/product/uart8000-u.html provides drivers downloads for Linux and Windows. Mac Users probably can get the drivers directly from http://www.ftdichip.com/FTDrivers.htm
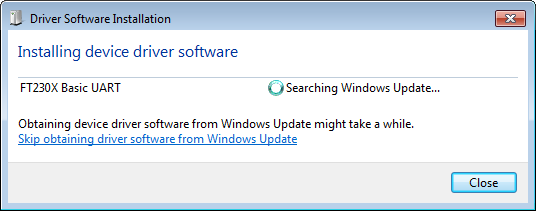
Installing Device Driver Software
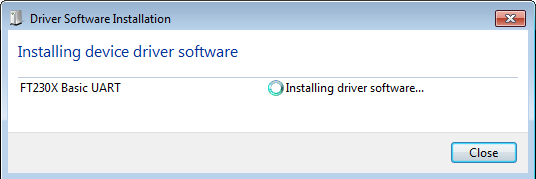
Installing FT230X Basic UART
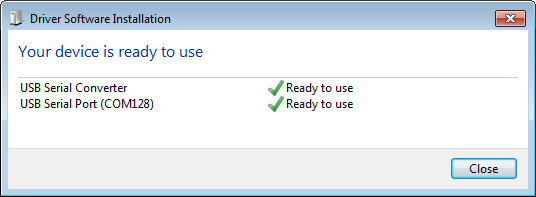
Device ready to use
Connection to the board is with 115200 baud:
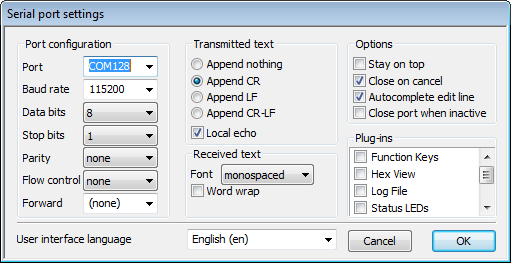
Serial Port Settings for RIoT UART
With this, I have a working console and shell interface to the RIoT board:
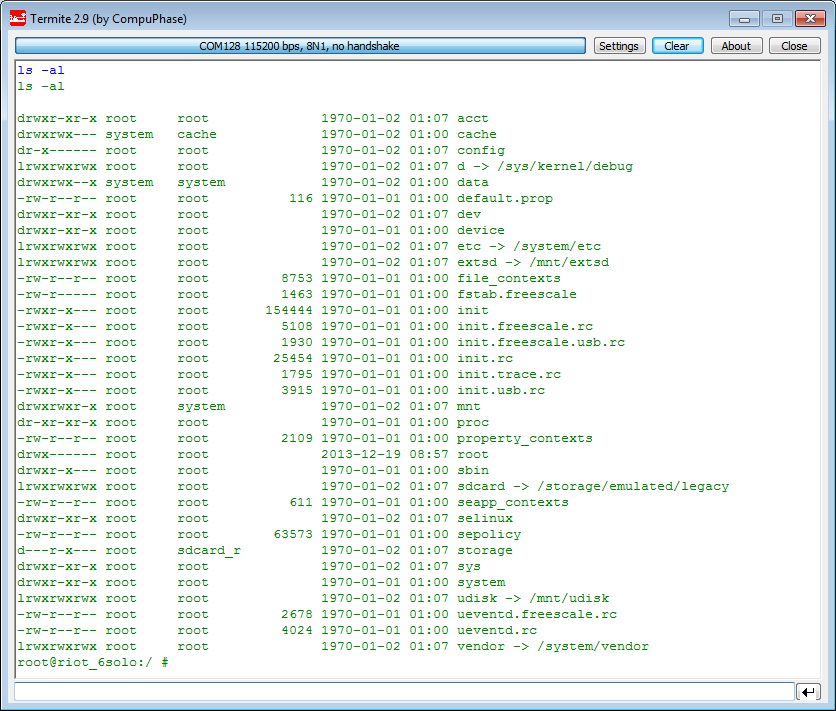
Working Console and Shell Interface
🙂
Summary
The RIoT board comes with a 3-pin header (Tx, Rx and GND) which gives a console/UART connection to the board. Any kind of UART-to-Serial (USB CDC or RS-232) can be used, and using the UART8000-U cable is a convenient solution.
💡 And as a last tip: I have found http://www.embest-tech.com/shop/star/riotboard.html which is an excellent source for schematics and other information.
Happy UARTing 🙂

Pingback: Adding the CAM8000-D Camera Module to the RIoT Board | MCU on Eclipse
what about linux user?
LikeLike
That depends on the USB-CDC cable, but in general the process should be the same.
LikeLike
Pingback: Tutorial: First Steps with NXP i.MX7 and Toradex Colibri Board | MCU on Eclipse