
Laser cutter and engraver are the kind of cool thing after 3D printers which get more and more common. One interesting thing to use a laser engraver (or cutter) is to use it with tesa Laser Labels.

Tesa Laser Label (Source: http://www.tesa.com)
The concept is simple: instead printing labels, engrave them with a laser engraver. The labels are available in different colors, and the laser will remove the acrylic film.
Such labels are commonly used in the automotive industry or as an anti-tamper label (e.g. combined with a serial number or similar).
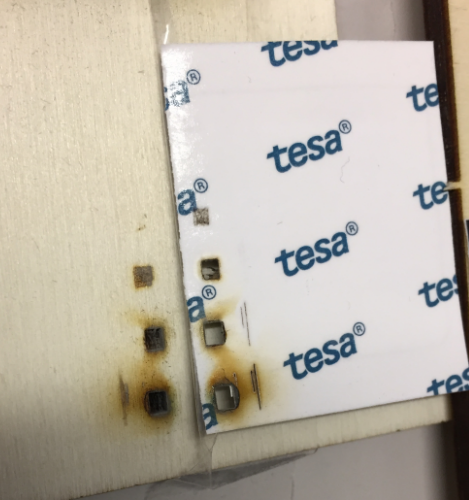
I managed to get a few samples I could tray with a 50W laser cutter. They already were used, but there was enough unused space I could tray with the laser machine. I used a scotch tape to stick the labels on a piece of plywood:

Laser Label
But engraving with 2% laser power at 20 mm/sec was still to much:

Vector Engraving
So even with the lowest setting it was burning the material 😦
Increasing the speed did not help:
Burning with high-speed
The laser power with 2% is still to high:
backside
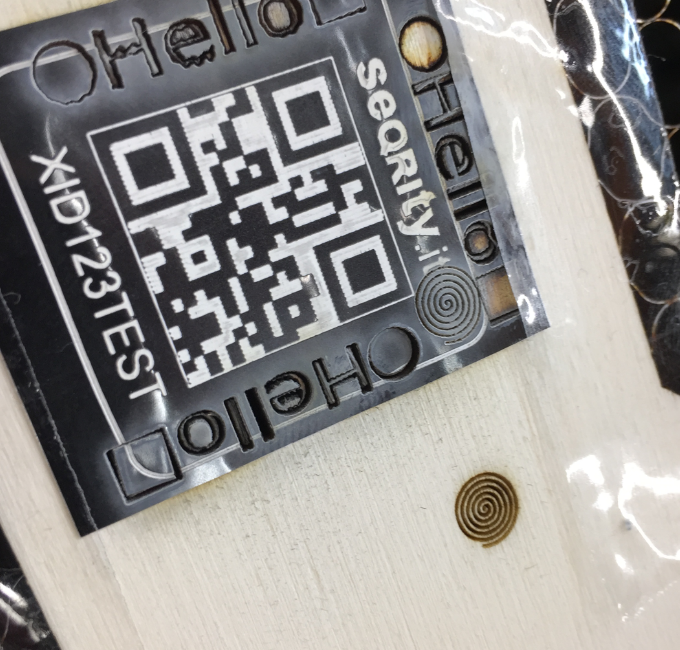
What somewhat worked was raster engraving an image:
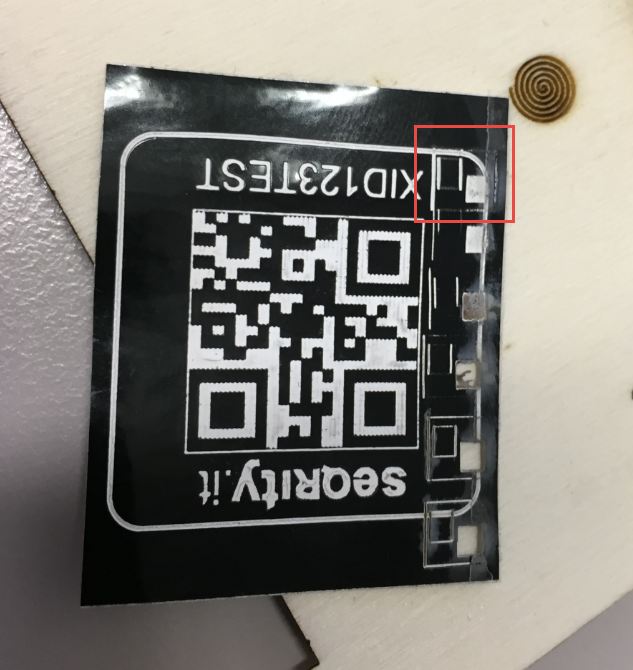
Laser Rastering
Details shown below: For that image, the laser was rastering North-South with 2% power and 300 mm/sec.
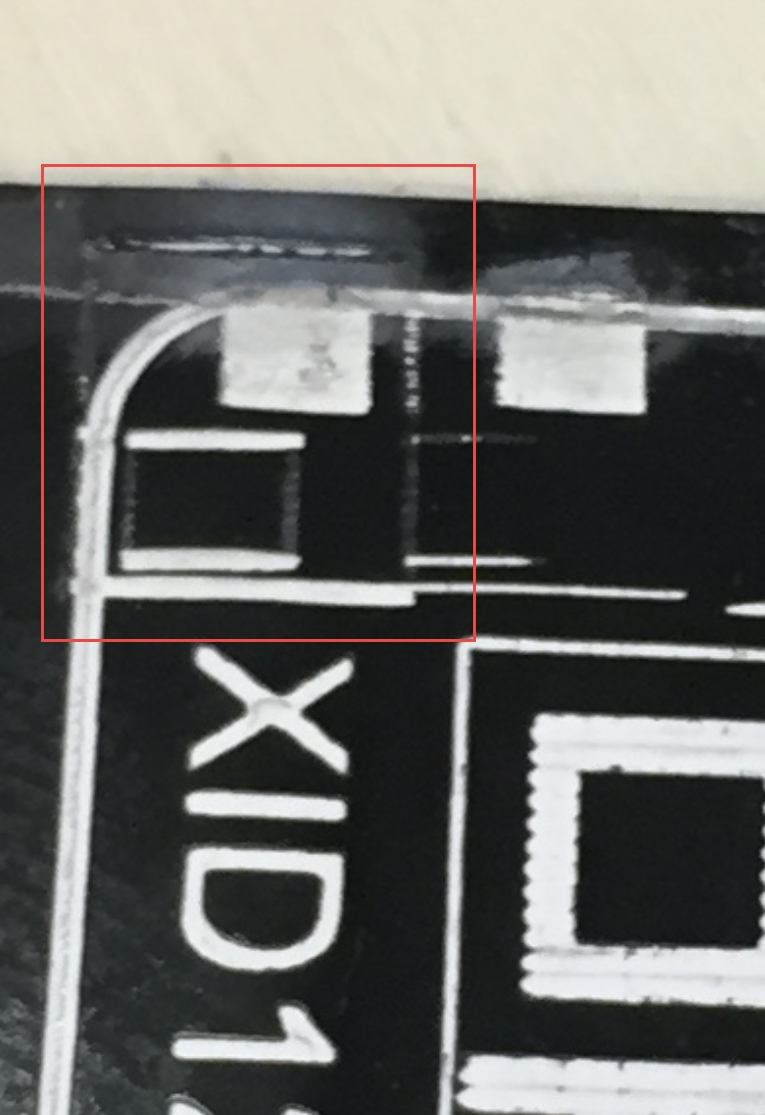
Laser Raster Image
This time it did not burn through, but the vertical lines really did not make it. Below the image used (size: 5×5 mm)

Test Image
Summary
So my 50 Watt laser is too powerful for this kind of application. Tesa did not specify the power used/needed, but I think for such an application an engraver in the 5-10 Watt or below should be used. So I admit that my experiment failed, but anyway that would have been an interesting application :-).
Happy Labeling 🙂
Links
- Tesa Laser-Label: https://www.tesa.com

My 1.5W laser engraver would probably handle these labels, since I’ve been able to cut vinyl pretty easily. My engraver is homemade, and I chose the 1.5W laser just to start out with. I’ll probably work up to higher-powered lasers, but for “proof of concept” the 1.5W laser is fine.
Interestingly my homemade engraver is able to resolve to 0.2mm dots with 0.2mm steps, and a work area of 120mm x 120mm.
Keep up the great work, Erik!
LikeLike
Thinking more about it, indeed a 1-2 Watt laser should be able to do it. Thanks for confirming that 1.5W works for that kind of material. And pretty good accuracy, congratulations!
LikeLike
Thanks, Erich. Considering that I used the toothed edge of a CD tray along with its driving gear from a couple of gently-disassembled (okay, maybe not so gently) CD drives for the platform (c-axis) and also for the laser head (y-axis), I’m very pleased with the resolution and negligible backlash. I’d show you a picture of my set-up but can’t figure out how to do that here.
LikeLike
Wow, that’s impressive! And unfortunately it is not possible to add pictures to comments (that’s a WordPress missing feature).
LikeLike
Interesting idea! Have you tried to change the focal length (lower the table below) or to impose another material on top? I did on cardboard image of the in regime cutting capacity 5%, the speed 25mm/sec. The mode of engraving the cardboard was burning.
LikeLike
I have not tried that, but I doubt it would change anything: the laser beam would be more wide with less power, but this would affect the resolution too. I still think it will burn it too much.
LikeLike