Hello all!
Here is my second blog about the Kinetis MCU development boards, introducing you to the new and more informative Getting Started process for Kinetis FRDM-K64F from Freescale. As a part of my internship I got the amazing opportunity to play with the ‘New Getting Started’ process and the most recent box of the FRDM-K64F development board from Freescale.
Freescale have been working all along to make the life of its customers easier. So, at the FTF 2015 we launched the new website:
http://www.freescale.com/webapp/sps/site/prod_summary.jsp?code=FRDM-K64F&tab=In-Depth_Tab
This website is for the new Getting started process for FRDM K-64F. This website will tell you all that you will need to start the FRDM K-64F development board.
This is how it looks when you open this link for FRDM-K64F new Getting Started process:
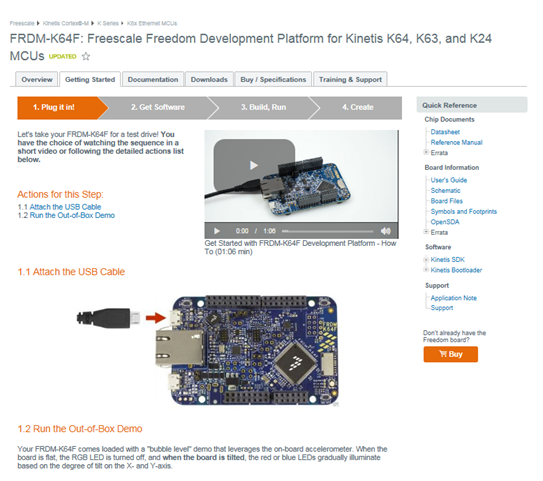
While I was trying to compare the new Getting Started process with the old one, I came across few differences. The previous Getting Started process was good. It provided me with the information needed to start the development board, but this new website is amazing in the sense that it offers sufficient amount of documentation and information required to boost our confidence while working on the board. If you will click on the above link you will find out that the whole getting started process is divided into four major steps, which was a good thing for me because it made the entire process look much easier. It took me less than an hour to download all the Software, build, debug and run the entire ‘hello_world’ demo application on the FRDM-K64F development board. The website will guide us towards the links which indicate all the action steps that we need to take to install SDK (Software Development Kit) and the Kinetis Design Studio (Integrated Development Environment). The new Getting Started Process also provides the tutorials for the terminal application, which saved much of my time while I was working on the Out of Box Experience.
You can try this new Getting started process all by yourself. It is really easy. The important point to note here is the wise use of link which teaches us how to use Kinetis Design Studio at step 3.2. Clicking on link will open up 4 pages which can also be downloaded as pdf file. But before jumping to the step 3.2, I would suggest that it would be a good thing not to skip over 3.1. It tells you how to scroll over the important documents which shall be useful for different examples we need to follow.
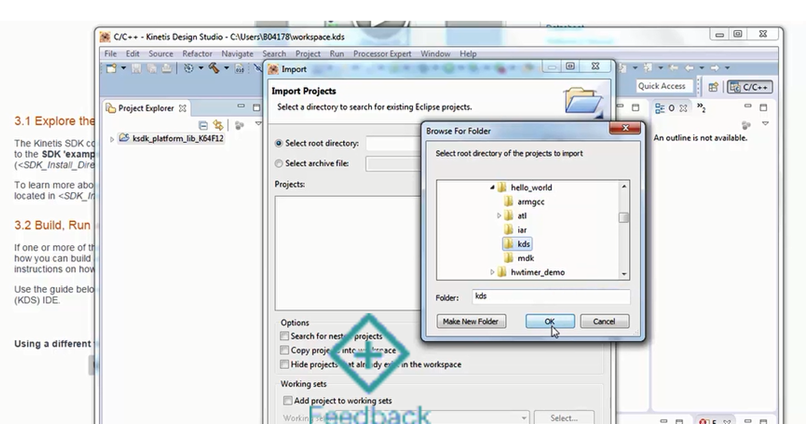
The link to ‘Use Kinetis Design Studio’ document provides all the steps we need to take in order to work with building and running the demo application. The whole process is really smooth, but there was just one place where I got little confused. On the third page of this document a path for locating the demo application folder is given. We need to be careful while locating the folder where the demo examples are given. I would suggest that it is beneficial to listen to the video given on the third page if you are not comfortable or you are confused on how to get to the folder you need. The video is really good and brief. It helped me a lot to understand how to run the ‘hello_world’ demo application. The fourth page will give you the necessary details to finally debug and run the ‘hello_world” demo. Whole process helped me build and run the demo application faster than before.
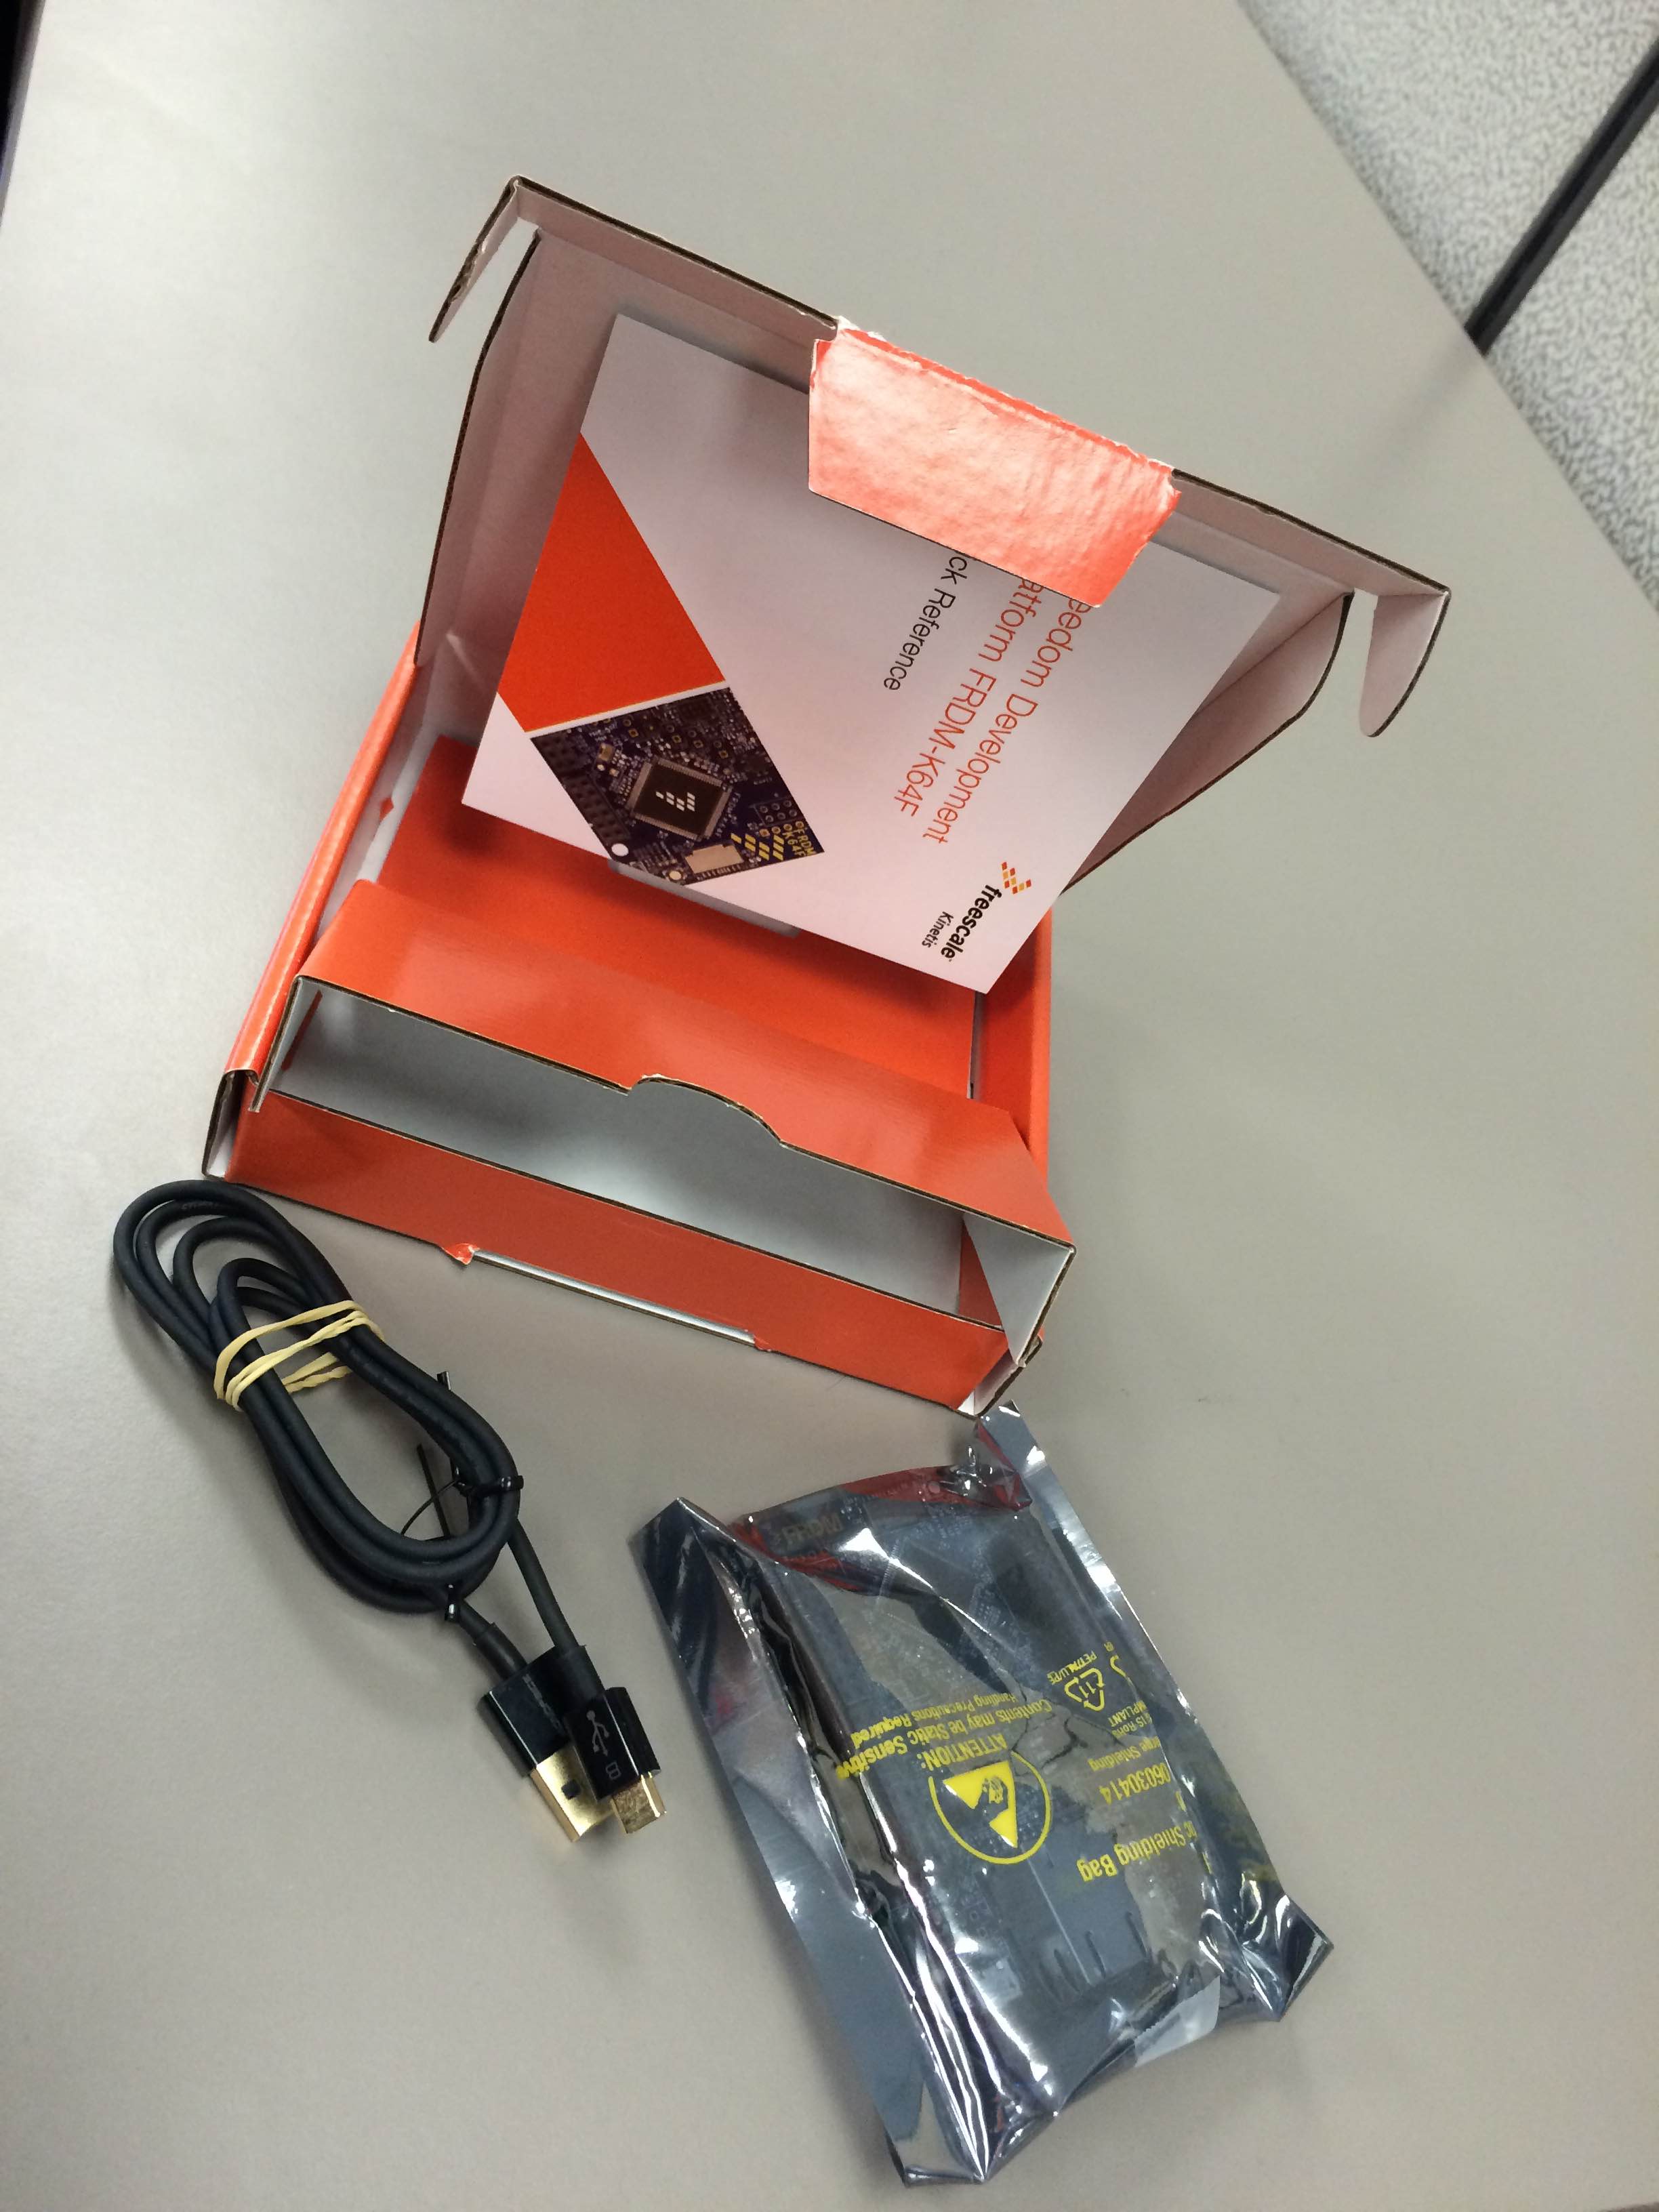
Finally the fourth and the last step of this new getting started process guides us through the steps by which we can write some code, build, download and run the project of our choice. I have not tried a new project yet, but let us work together in building something cool using the Kinetis Design Studio and FRDM-K6F development board, so that we can figure out together on how to make a better use of this important tool. Before ending this blog, let’s take a look at the Kinetis FRDM-K64F development board.
Here is the picture of the most recent Out of Box FRDM-K64F. I feel it is better than before!! Isn’t it? 🙂
In my next blog, we will work towards a new project involving the application of FRDM-K64F with an LED. Till then I would recommend do try out this new and significant Out of Box Experience for the FRDM- K64F development board. 🙂
#KinetisConnects
