
The Raspberry Pi is a versatile mini computer: as such I can use it with USB keyboard, mouse and HDMI LCD monitor. But having multiple keyboards and mouse on my desktop is not my thing: somehow I always grab the wrong one. So what I prefer is to run the Raspberry with VNC (Virtual Network Computing). That way I have the Linux GUI as a window on my normal desktop, and no messing up with keyboards and mouse 🙂 :
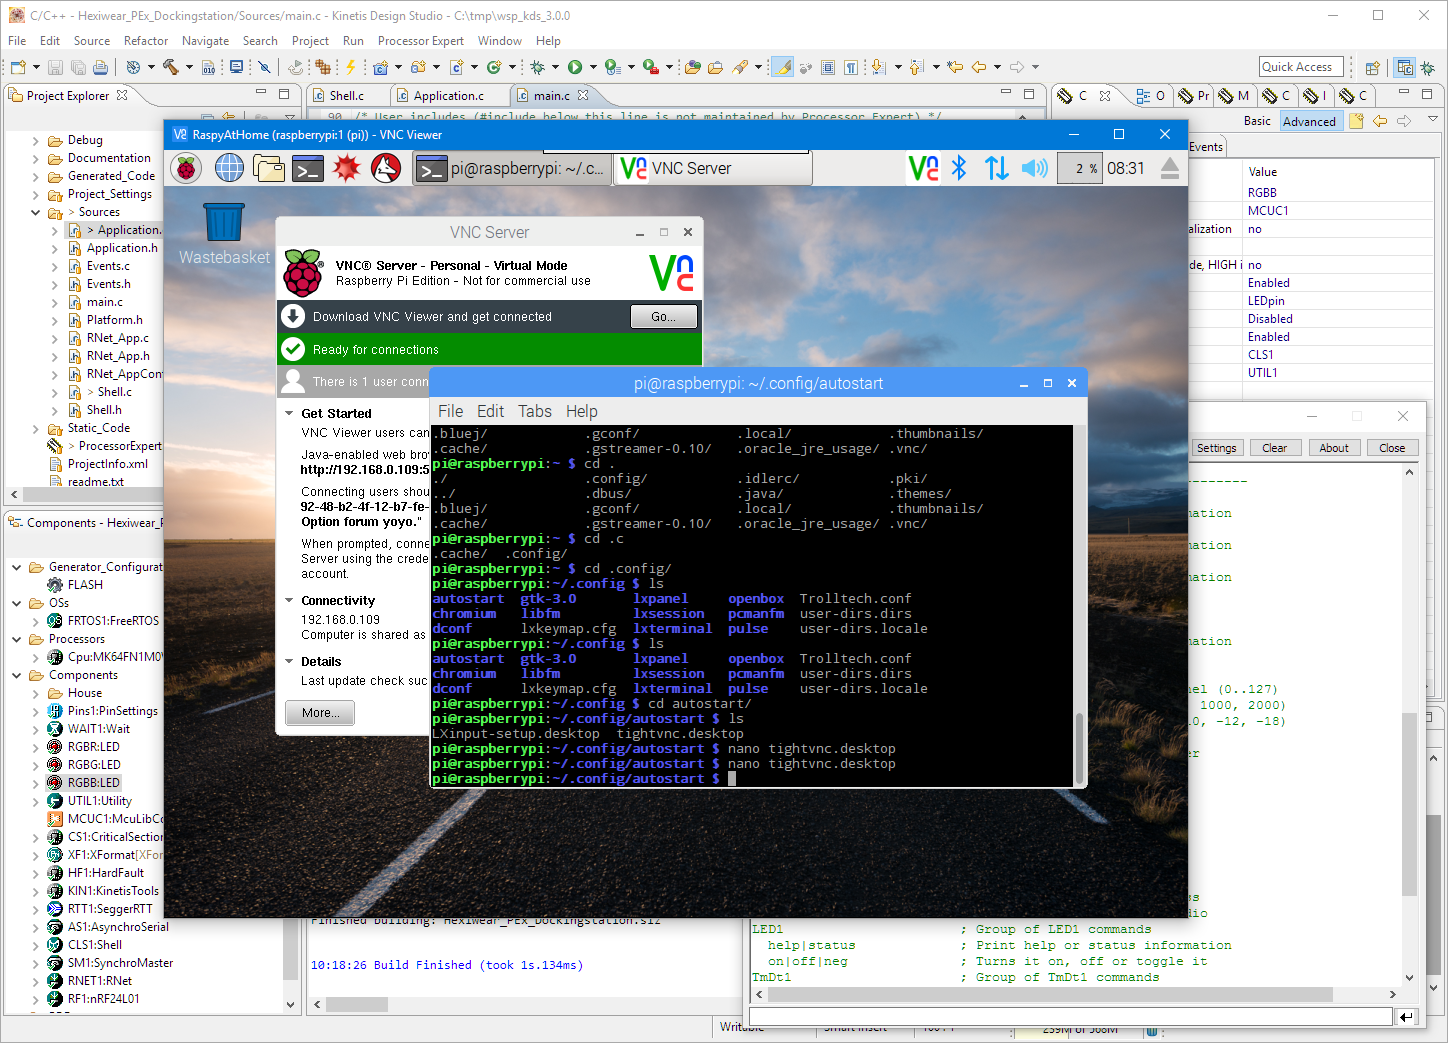
Raspberry Pi on my Dekstop
VNC is a graphical desktop sharing. It requires a software installed on the Linux machine as a server, and as viewer running on the other client machine (e.g. Windows) which then connects over the network to the server. That way the input devices and displays of the client machine can be used as if they are attached to the server.
Installation
In my setup, the Raspberry Pi is booting to the desktop environment by default.
Installation of VNC on the Raspberry Pi is described in https://www.raspberrypi.org/documentation/remote-access/vnc/. To start the server on the Raspberry, use
vncserver

vncserver started
On my laptop I’m using the free VNC Viewer from RealVNC (https://www.realvnc.com):

VNC Viewer
Connecting
In the client connection settings, I specify the IP address plus the screen number (:1):
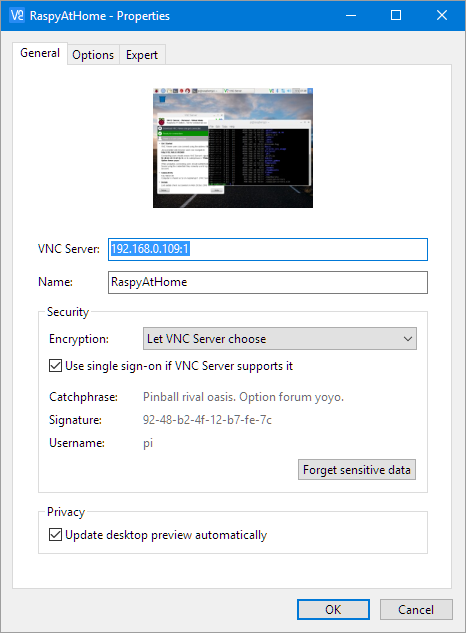
VNC Client Connection Settings
💡 I had problems connecting the client and the server if they were not in the same subnetwork. I did not investigate this further, but I believe it is about which ports are open on the network router. From a security point of view I’m OK with this.
The address to connect to is shown in the VNC Server:

VNC Server with Address
Autostarting
Now when the Raspberry Pi gets rebooted, I have to restart the server manually. Here is how to get it started automatically:
Change the director to the user (pi, usually /home/pi/) account directory:
cd ~
In that folder, there shall be a .config directory, change to that one:
cd .config
If it not already exists, create a directory named ‘autostart’:
mkdir autostart

autostart in config
Change to that directory:
cd autostart
In that folder create (if it does not already exist) a file named tightnc.desktop. It can be created/edited with
nano tightvnc.desktop
Then add the following:
[Desktop Entry]
Type=Application
Name=TightVNC
Exec=vncserver :1
StartupNotify=false

Editing tightvnc.desktop
Save the content with CTRL-O and then exit with CTRL-X.
That’s it: reboot Linux and the VNC server will be running automatically.
Summary
Virtual Network Connection (VNC) with a VNC viewer is a good way to avoid too many input and output devices on a workbench: it allows me to use my desktop display, mouse and keyboard to use it for the Raspberry Pi. All what it requires is a viewer on the desktop and a the VNC server running on the Linux machine. To autostart the VNC server, a file tightvnc.desktop has to be created.
Happy VNCing 🙂
Links
- Installation of VNC: https://www.raspberrypi.org/documentation/remote-access/vnc/
- RealVNC: https://www.realvnc.com

I am working a lot with the R Pi 3 now and this blog entry is very helpful. Thanks.
LikeLike
Excellent! I was even not sure if I should write about VNC at all. Now I know better 🙂
LikeLike
Great tip. I set the Exec entry to
Exec=vncserver :1 -geometry 1600×900 -depth 24
… to enable a little larger display than what I was getting for the default.
LikeLike
Ah, I was looking for such a geometry option too, thanks for providing that tip!
LikeLike
Thank you. I use vncserver-x11 instead of vncserver.
LikeLike
that should work too.
LikeLike